Using the 3-Jaw Chuck
A 5-inch 3-jaw chuck is included with the lathe.
The chuck attaches to the spindle by three
studs threaded into the back of the chuck
which pass through corresponding holes in the
spindle plate and are locked in place by nuts.
Always ensure studs are properly threaded into
the back of the chuck before mounting the
chuck on the spindle. Before starting the lathe,
verify that the nuts holding the chuck on the
spindle are securely tightened.
3-Jaw Chuck
The jaws of the chuck are opened or closed by
inserting the square end of the chuck key into
any one of the three key slots and rotating the
key clockwise to tighten the jaws or counter-
clockwise to loosen the jaws. A spring is fixed
to the end of the key to prevent the key from
being left in the chuck, which would pose a
safety hazard.
Chuck key with safety spring
A safety shield is mounted above the chuck to
ensure that the chuck key is removed from the
chuck before starting the lathe. When the
safety shield is in the raised position, an
electrical interlock switch prevents the lathe
from starting.
Chuck Safety Shield
The standard jaws mounted in the chuck when
it is shipped from the factory can grip a
cylindrical workpiece. The jaws can also grip
short tubular stock by expanding them outward
to grip the inside diameter of the tubing. Since
the gripping surface is not very large, this
procedure should be restricted to rigid-wall
tubing no longer than 4” in length.
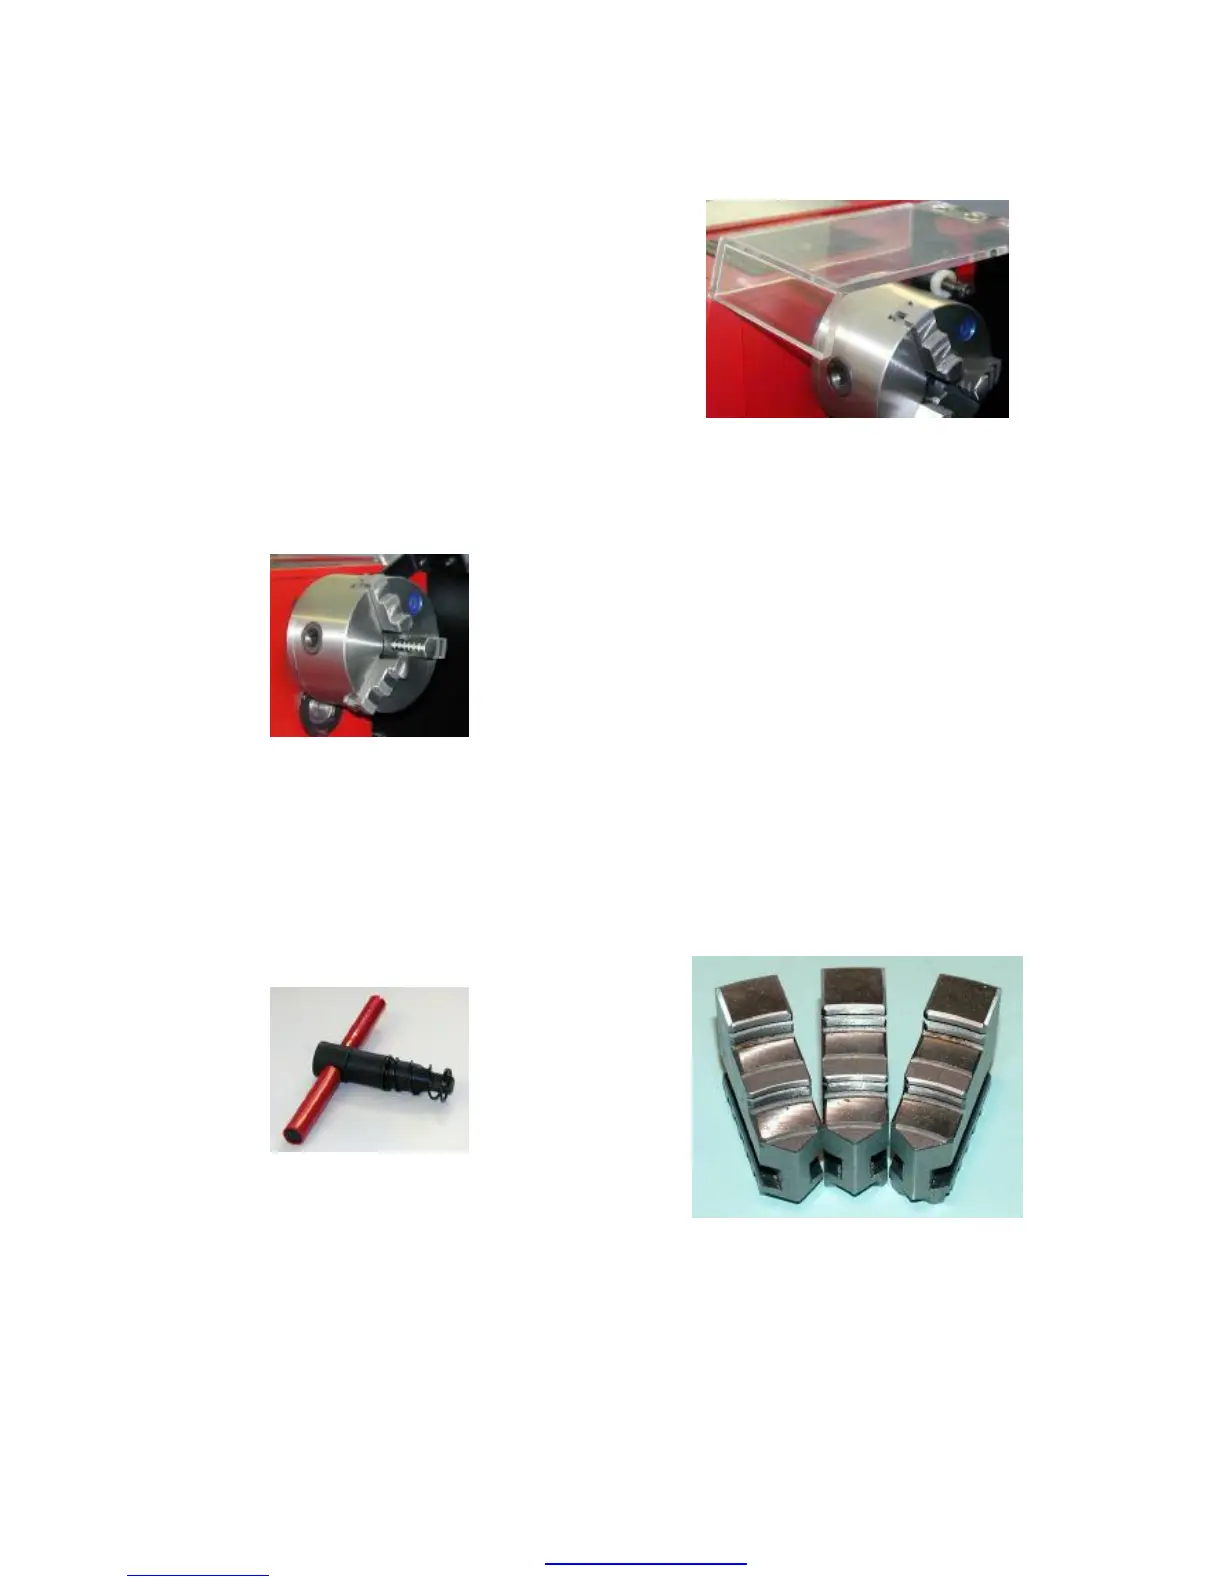
A second set of jaws shipped with the chuck
can grip the outside diameter of larger
diameter stock than can be gripped by the
standard jaws. These are called external jaws.
Remove the standard jaws by rotating the
chuck key counter-clockwise until the jaws
drop out of their slots in the chuck. Place a
shop rag on the ways below the chuck to
prevent the jaws from dropping on and denting
the ways.
External chuck jaws
When installing the external jaws, or re-
installing the standard jaws, the jaws are
individually numbered 1, 2 and 3 and must be
installed in that sequence. The numbers
PDF created with pdfFactory Pro trial version www.pdffactory.com