12 | Ottobock 3R90, 3R92
2 Technical data
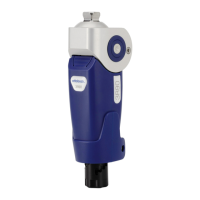
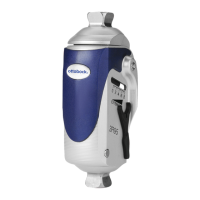
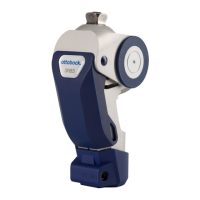
Article number 3R90 3R92
Proximal connection Pyramid adapter
Distal connection Tube clamp
135°
Weight 700 g (24.7 oz) 840 g (28.2 oz)
System height 745 g 895 g
Proximal system height to alignment reference point 8 mm (0.31 in)
Distal system height to alignment reference point 89 mm (3.5 in) 146 mm (5.75 in)
Max. user weight 125 kg (275 lbs)
Mobility Grade 1, 2 2, 3
3 Alignment instructions
The advantages of the 3R90 / 3R92 can only be made optimal use of in case of a correct alignment.
The optimal residual limb position must be anticipated when positioning the socket connector.
Plumb lines in the frontal and sagittal planes drawn from the proximal center of the socket and
-
ing of the lamination anchor / socket adapter.
To align the prosthesis please proceed in two steps:
First make the bench alignment using an alignment tool such as 743L200 L.A.S.A.R. Assembly.
For subsequent optimization of the alignment, please use 743L100 L.A.S.A.R. Posture.
3.1 Bench alignment with alignment tool (Fig. 7)
1
Position the middle of the foot approx. 30 mm anterior to the alignment reference line. This
applies to all feet recommended for use with 3R90 / 3R92, independent of the values in
the instruction manuals of these feet!
2
Add 5 mm to the required heel height. Set correct outward rotation of the foot.
3
Clamp knee joint using Assembly parts. Place the knee center 10 mm posterior to the align-
ment reference line. Pay attention to the knee ground distance and outward rotation of the
knee (approx. 5°). The ring disc – divided into 5 mm sections – makes it easier to read (Fig. 1).
4
Connect knee and foot. Either use the adjustable 2R45=34 Tube Adapter or shorten tube
adapter to the correct length.
5
Mark the center of the socket proximal and distal on the lateral side. Connect both marks with
a line.
6
Now position the socket such that the upper mark passes through the alignment reference
should be provided. Pay attention to the ischial tuberosity to ground distance!
Attention!
If the residual limb exion is not taken into account, the joint will be positioned too
far anterior. This will lead to malfunction and premature wear.



 To Next Page