16
5 Preparing the product for use
CAUTION
Incorrect alignment or assembly
Risk of injury due to damaged prosthetic components
►
Observe the alignment and assembly instructions.
CAUTION
Improper assembly of the screw connections
Risk of injury due to breakage or loosening of the screw connections
►
Clean the threads before every installation.
►
Apply the specified torque values.
►
Follow the instructions regarding the length of the screws and about how to secure the
screws.
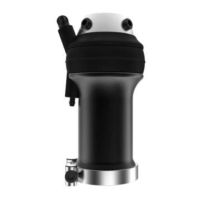
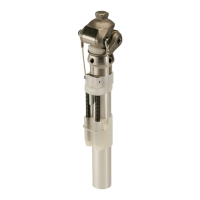
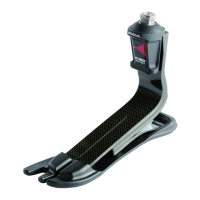
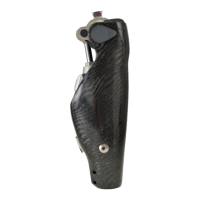
5.1 Pre-compressing the functional ring
In order to achieve its full flexibility, the functional ring has to be compressed before the first use.
> Required tools:4X247 Pretensioning tool
1) Using an Allen key, unscrew the mounting screw in the distal end of the base body (see
fig.2).
2) Pull the adapter with pyramid up and out of the base body (see fig.3).
3) Compress the functional ring for 15minutes using the pretensioning tool (see fig.4, see
fig.5).
4) Disassemble the pretensioning tool.
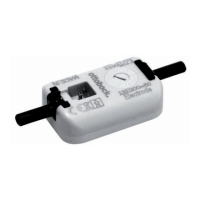
5.2 Installing the socket connector
The vacuum pump is connected to the prosthetic socket by a socket connector. The hose can
either be considerably shortened or wrapped around the adapter to secure it closely on the pros
thesis.
A hole in the prosthetic socket is required for assembly of the socket connector. It is either drilled
or an existing hole is used (from an installed check valve, forexample). The socket connector is
inserted through the hole and glued to the prosthetic socket.
> Required materials: Sandpaper, adhesive (Ottobock recommends Fabtech +PLUSeries
Composite 1 Minute Adhesive or Ottobock SuperGlue), 627B40 polyethylene adhesive tape,
rounded knife
1) If not already present: Drill a ⌀ 6mm hole in the distal, posterior area of the prosthetic
socket (see fig.6).
2) Deburr the hole.
3) Roughen the adhesive surface on the prosthetic socket with sandpaper (see fig.7).
4) Clean the roughened surface and the flange of the socket connector with a degreasing clean
er.
5) Apply the adhesive to the flange of the socket connector (see fig.8). In doing so, make sure
that no adhesive gets onto the end of the flange that tapers to a point.
6) Insert the tapered end of the flange into the bore hole, aligning the hose in the direction of the
vacuum pump.
7) Wrap the prosthetic socket with polyethylene adhesive tape at the level of the socket connect
or to generate contact pressure (see fig.9).
8) Allow the adhesive to cure and then remove the polyethylene adhesive tape.
9) Using a suitable knife, cut off the protruding end of the flange inside the prosthetic socket.