Do you have a question about the Outsunny 84C-205 and is the answer not in the manual?
| Color | Brown |
|---|---|
| Assembly Required | Yes |
| Material | Steel, Polyester |
| Seating Capacity | 3 |
| Cushion Material | Polyester |
Lists the essential tools needed for assembling the product.
Details all parts with reference pictures and quantities for correct assembly.
Assembling the base structure using parts A and J with M6x15 screws.
Attaching beams B, B1, C, C1 to part P using M6x15 screws.
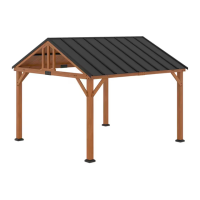
Building the main frame structure with uprights (A) and crossbeams (B, B1, C, C1).
Securing roof supports (H) to the main frame using M6x15 screws.
Installing corner brackets (K, K1) and securing them with screws (3, 4).
Attaching curved roof elements (E) to the structure using part L and M6x15 screws.
Fastening roof panels (E) to the frame using M6x15 screws and part P1.
Attaching angled roof supports (E1) to the structure using part L and M6x15 screws.
Installing the ridge cap (M) using M6x15 screws and part L.
Connecting roof sections (G3, G4, N2, E1) using M6x15 screws.
Attaching roof slats (S, S1, S2) to the roof structure.
Installing lower support rails (G, D1, D2, N1, N2) to the frame.
Attaching middle roof beams (F, F1, F2) to the frame structure.
Installing side panels (Q, Q1, Q2) and top rails (R, G, G1, G2, N, N1).
Attaching the main roof panels (R1, R2) using part Y.
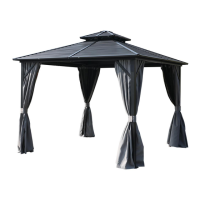
Installing mosquito netting (S, T) onto the frame using hooks (U).
Finalizing the attachment of netting (T1) and securing the base with parts Z1 and 8.
Lists components found in Carton 1/3, including parts A through T.
Lists components found in Carton 2/3, including parts E through Z1.
Lists components found in Carton 3/3, including parts Q through S2.
Provides contact details and QR codes for customer service in various regions.