10400371-001 03/2012 ©2012 Overland Storage, Inc. Page 1 of 3
*10400371001*
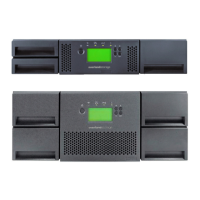
NEO
®
200s/400s
Add-on/Spare Tape Drive Instructions
This document describes the following procedures for a NEO
200s/400s library from Overland Storage:
• Adding another tape drive to a library.
• Removing and replacing an existing tape drive.
Tape drives are hot-swappable.
CAUTION: While working with the unit, observe standard
Electrostatic Discharge (ESD) precautions to prevent damage
to micro-circuitry or static-sensitive devices.
Register the Add-on Drives
NOTE: If you are only replacing an existing drive, skip to the next
section, “Prepare the Unit.”
When installing tape drives to your new library, you must
register them to activate their warranty. This is normally done
at the same time as you register your new library. Technical
and warranty support are not available until this is done:
1. Go to the Overland Storage website
(http://www.overlandstorage.com/).
2.
Select Service & Support > My Products.
3. At the Site Login
, enter your e-mail address and
password, and click GO.
4. Click the
Manage Products button.
5. From the Product Selector drop-down list, select the unit
in which you are installing the extra drives.
6. Click
Add a Component.
7. Enter the drive information.
8. For each additional drive, click
Save & Add Another,
then repeat Step 7.
9. When ALL disk drives are registered, click
Save & Exit.
IMPORTANT: Your warranty certificate will be emailed to you.
Follow the instructions included in the email to complete the
registration process.

 Loading...