10400359-004 ©2011-2014 Overland Storage, Inc. Page 4 of 5
Add-on/Spare DIMM Instructions
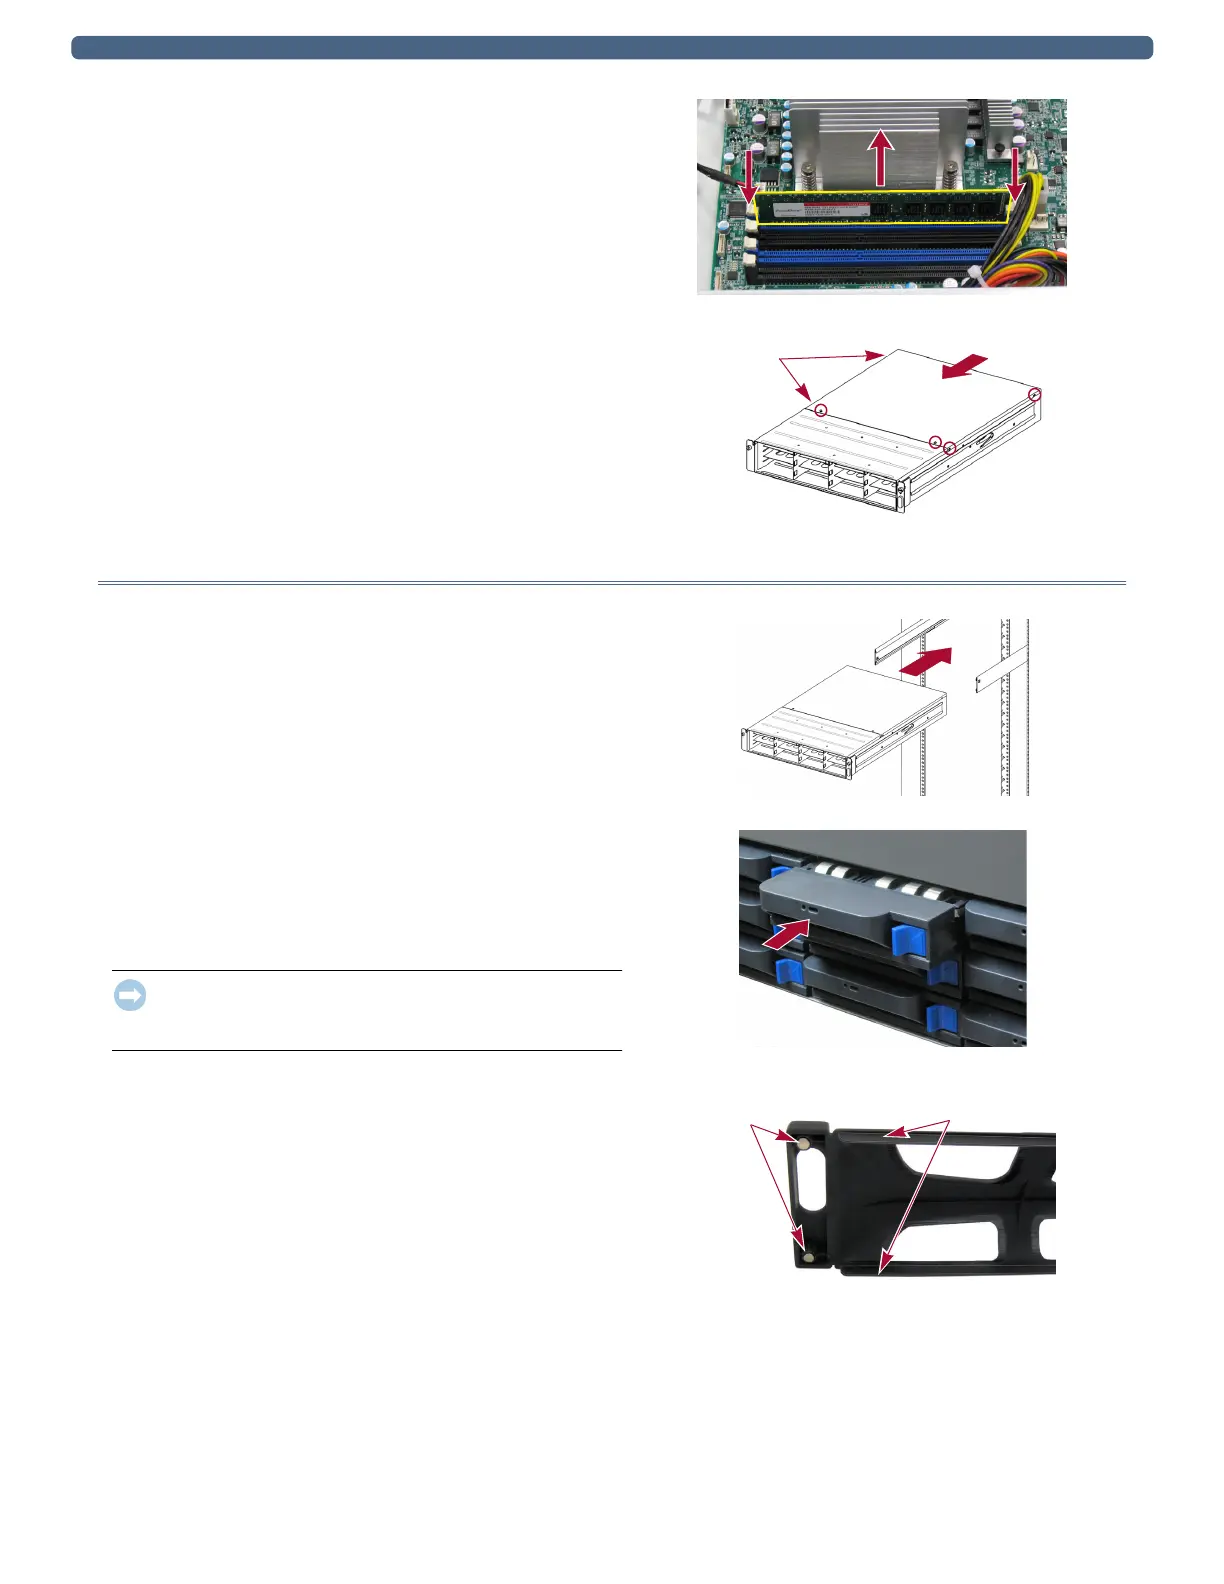
Replace DIMMs
1. Remove the old DIMM by pressing the latches on each
end and popping the DIMM out.
Set the DIMM aside on an ESD-safe surface.
2. Position the new DIMM in the same slot, lining up the
DIMM notch with the guide in the slot.
3. Firmly press the DIMM down until the latches lock it in
place.
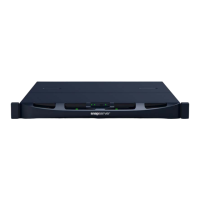
Reinstall Top Panels
1. Position the top panel with no more than one-half inch
(1.25cm) extending out over the rear of the unit.
2. Slide the panel forward until it is fully seated.
3. Using the six retained screws, secure the panel.
Reinstall in Rack
Reinstall the Chassis
1. Using the mechanical lifter, position the chassis in front
of the rack rails.
2. Pull the middle rails out of the rack connecting them to
the inner rails, and slide the chassis into the rack.
3. Secure the unit using the two captive screws on the
front flanges.
Reinstall the Drives
Return the drive carriers back to their original bays:
1. Position a drive carrier in front of its empty bay.
2. Slide the carrier in until the latch locks (clicks).
3. Repeat Steps 1–2 for all remaining drive carriers.
IMPORTANT: To maintain proper airflow and cooling, a drive
carrier or a blank carrier must be installed in every bay. No
empty bays are allowed.
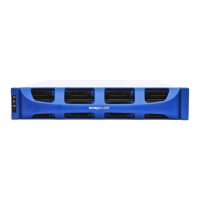
Reattach the Bezel
1. Position the bezel with the tabs aligned inside the top and
bottom edges of the chassis.
2. Move the bezel toward the unit until the magnets make
contact.
3. Verify that the bezel is aligned properly, all the LEDs are
visible, and the Power panel is cleanly centered in its bay
on the right flange.
2 Screws
On Side
Magnets Tabs
SnapServer DX2 (Inside View)


 To Next Page