10400570-001 ©2014 Overland Storage, Inc. Page 2 of 4
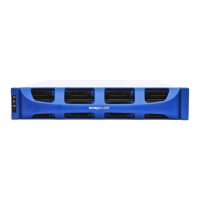
Chassis Replacement Instructions
Transfer Components
Remove the Side Panels
All installed components, such as DIMMs and PCIe cards, need
to be transferred to the new chassis. DIMMs are accessed
through the right-side panel (when facing the unit front); the
PCIe card is accessed via the left-side panel.
NOTE: The right- and left-side panels are interchangeable.
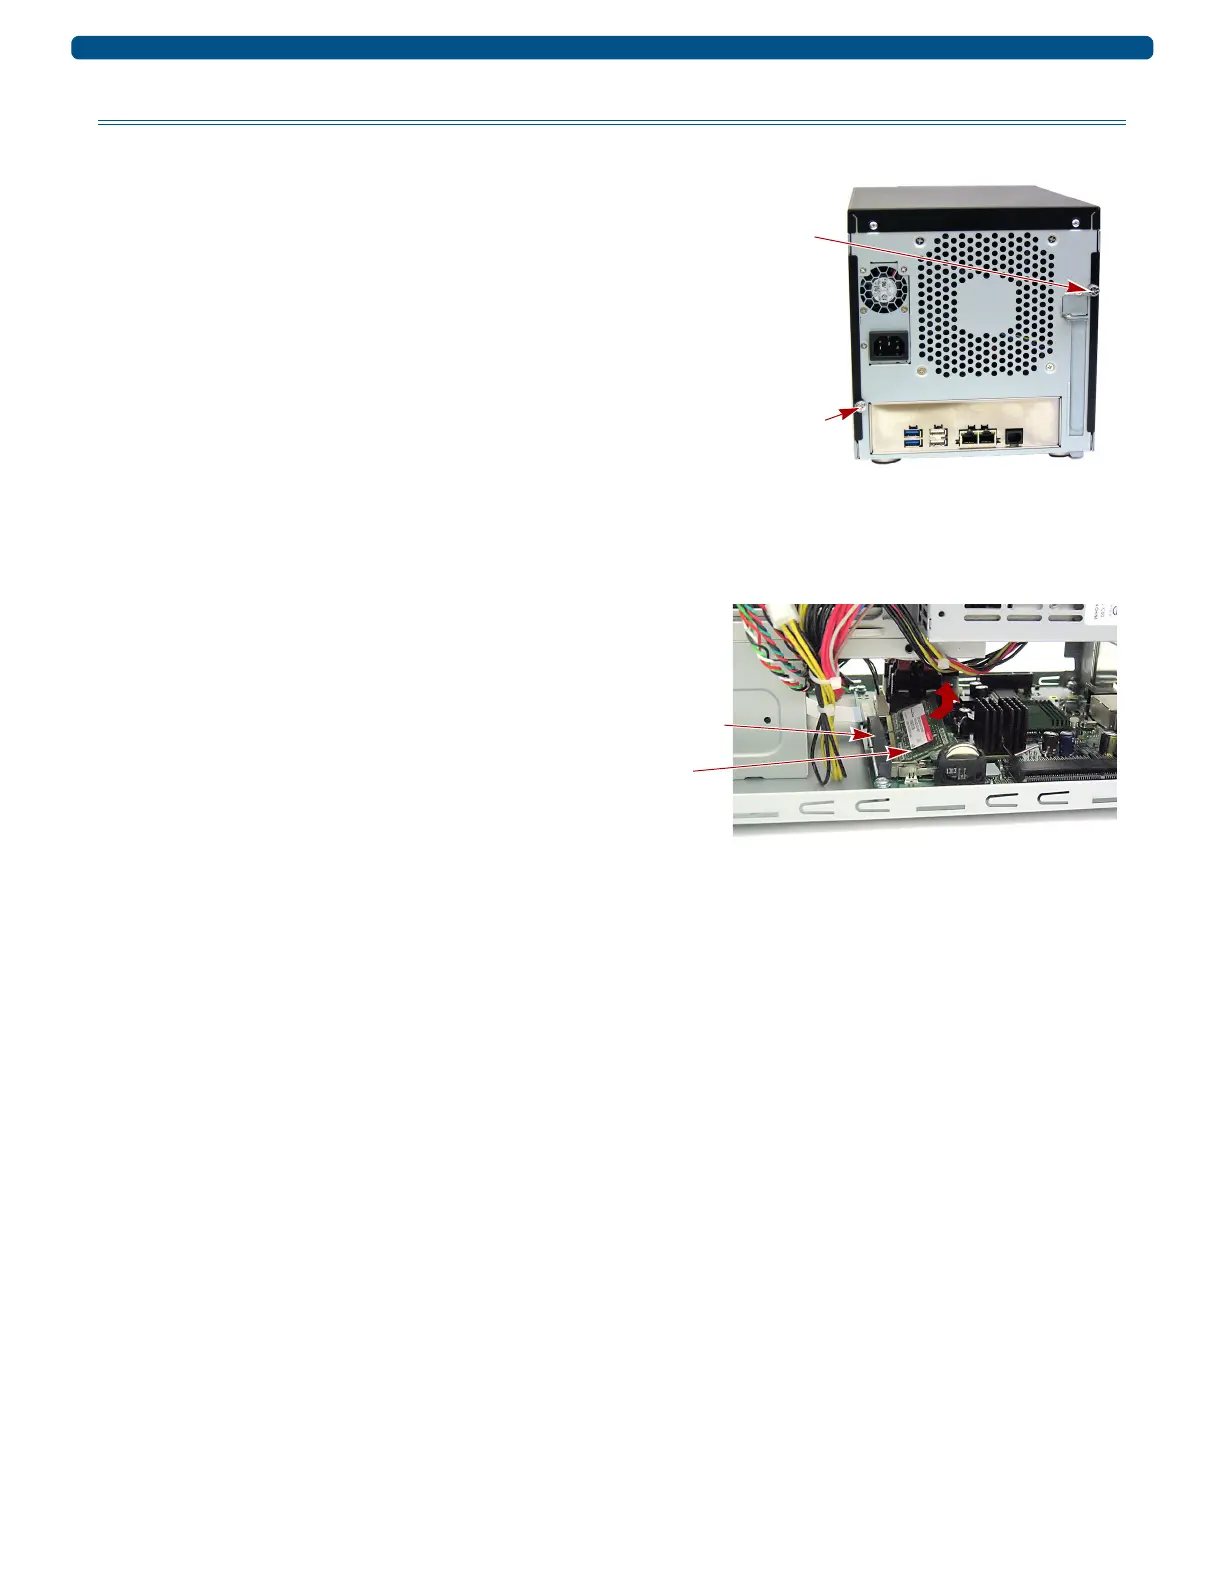
1. On the back of the unit, remove and retain the right-side
thumb screw securing the side panel.
2. Slide the side panel towards the back of the unit until the
anchors release and the panel is free.
3. Set the panel on a secure surface.
4. If an optional PCIe card is installed, repeat Steps 1–3
for the left-side panel.
Move DIMMs
DIMMs are accessed via the right side of the unit. All installed
DIMMs should be transferred to the new chassis:
NOTE: Carefully move all cabling aside while installing and
removing components.
1. Remove the DIMMs from the old chassis by pressing the
latches on each end and popping the DIMMs out.
2. In the new chassis, slide the DIMM into the lowest
DIMM slot, lining up the DIMM notch with the guide in
the slot.
3. Firmly press the DIMM down until it latches in place.
4. Do one of the following:
• If there are two DIMMs installed, repeat Steps 2–3, to
seat the second DIMM in the remaining slot.
• If there is only one DIMM installed, go to “Reinstall
the Side Panels.”
Right-side Thumb Screw
Left-side Thumb Screw