10400570-001 ©2014 Overland Storage, Inc. Page 4 of 4
http://support.overlandstorage.com
You can get additional technical support on the Internet at the Overland Storage Support web page, or by contacting Overland Storage using
the information found on the Contact Us page on our web site.
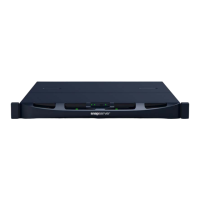
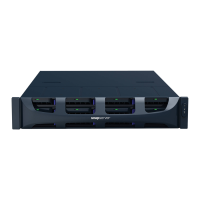
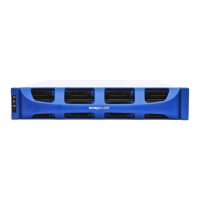
Chassis Replacement Instructions
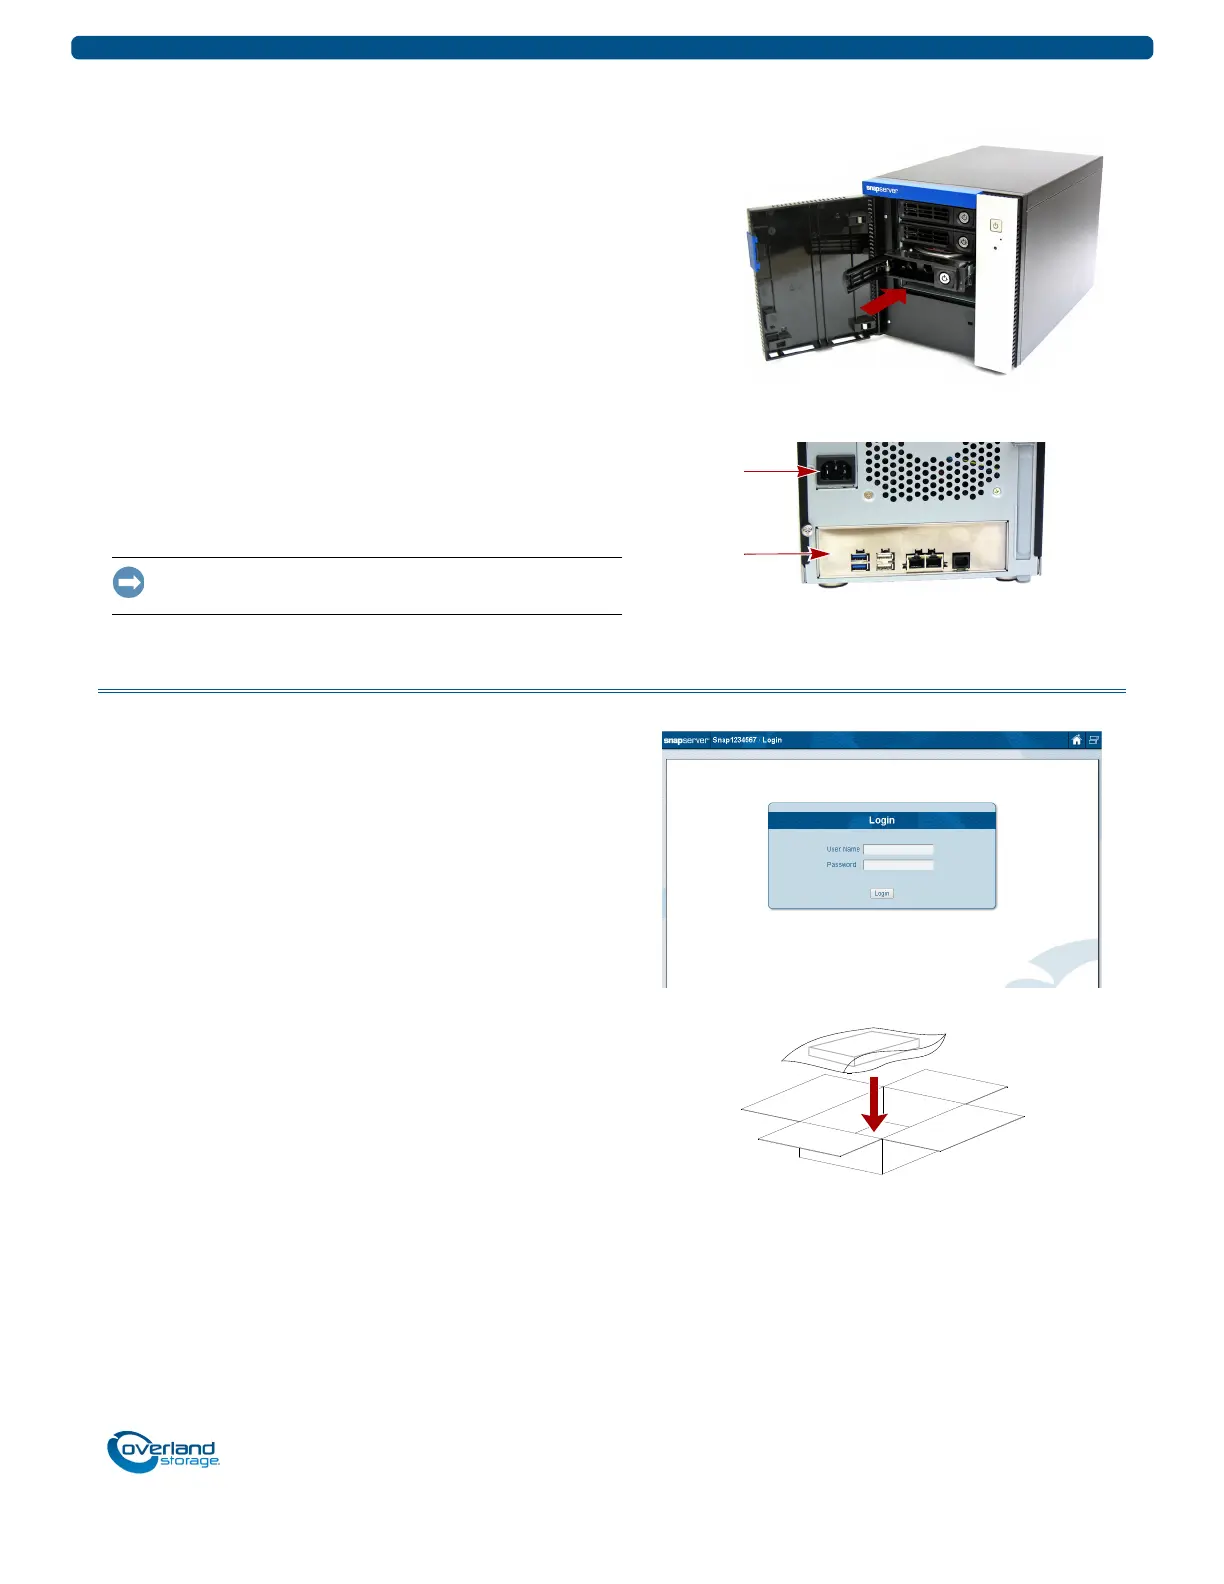
Reinstall the Carriers
Return the drive carriers to their original bays.
1. Position a drive carrier assembly in front of its empty
bay.
2. Slide the assembly into the bay until it stops.
3. Swing the handle closed until it locks (clicks) into place.
4. Repeat Steps 1–3 for all remaining drive carriers.
5. Close the door.
Attach Cables and Power Cord
1. Reattach all the cables (except the power cord) to the
same connections previously used.
2. Attach the power cord.
3. At the front, press the power button to power it ON.
IMPORTANT: If this is a new appliance install, continue with
the SnapServer XSD 40 Quick Start Guide instructions.
Complete the Exchange
Validate the System
1. Log onto the system and verify both the connections and
settings.
2. Check the front LEDs for flashing indicating errors.
If there are any problems, contact Overland Technical
Support:
http://docs.overlandstorage.com/support
Return Old Chassis to Overland
1. Place the old chassis in the anti-static bag and put it in
the replacement part’s box.
2. Use an RMA to return the part to Overland Storage.
For return shipping details and RMA number, go to:
http://docs.overlandstorage.com/return-instructions
 Loading...