10400557-002 ©2014 Overland Storage, Inc. Page 5 of 5
http://support.overlandstorage.com
You can get additional technical support on the Internet at the Overland Storage Support web page, or by contacting Overland Storage using
the information found on the Contact Us page on our web site.
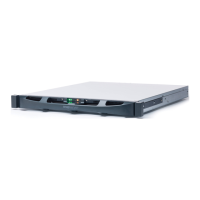
Optional Sliding Rail Kit Instructions
Reinstall Drives
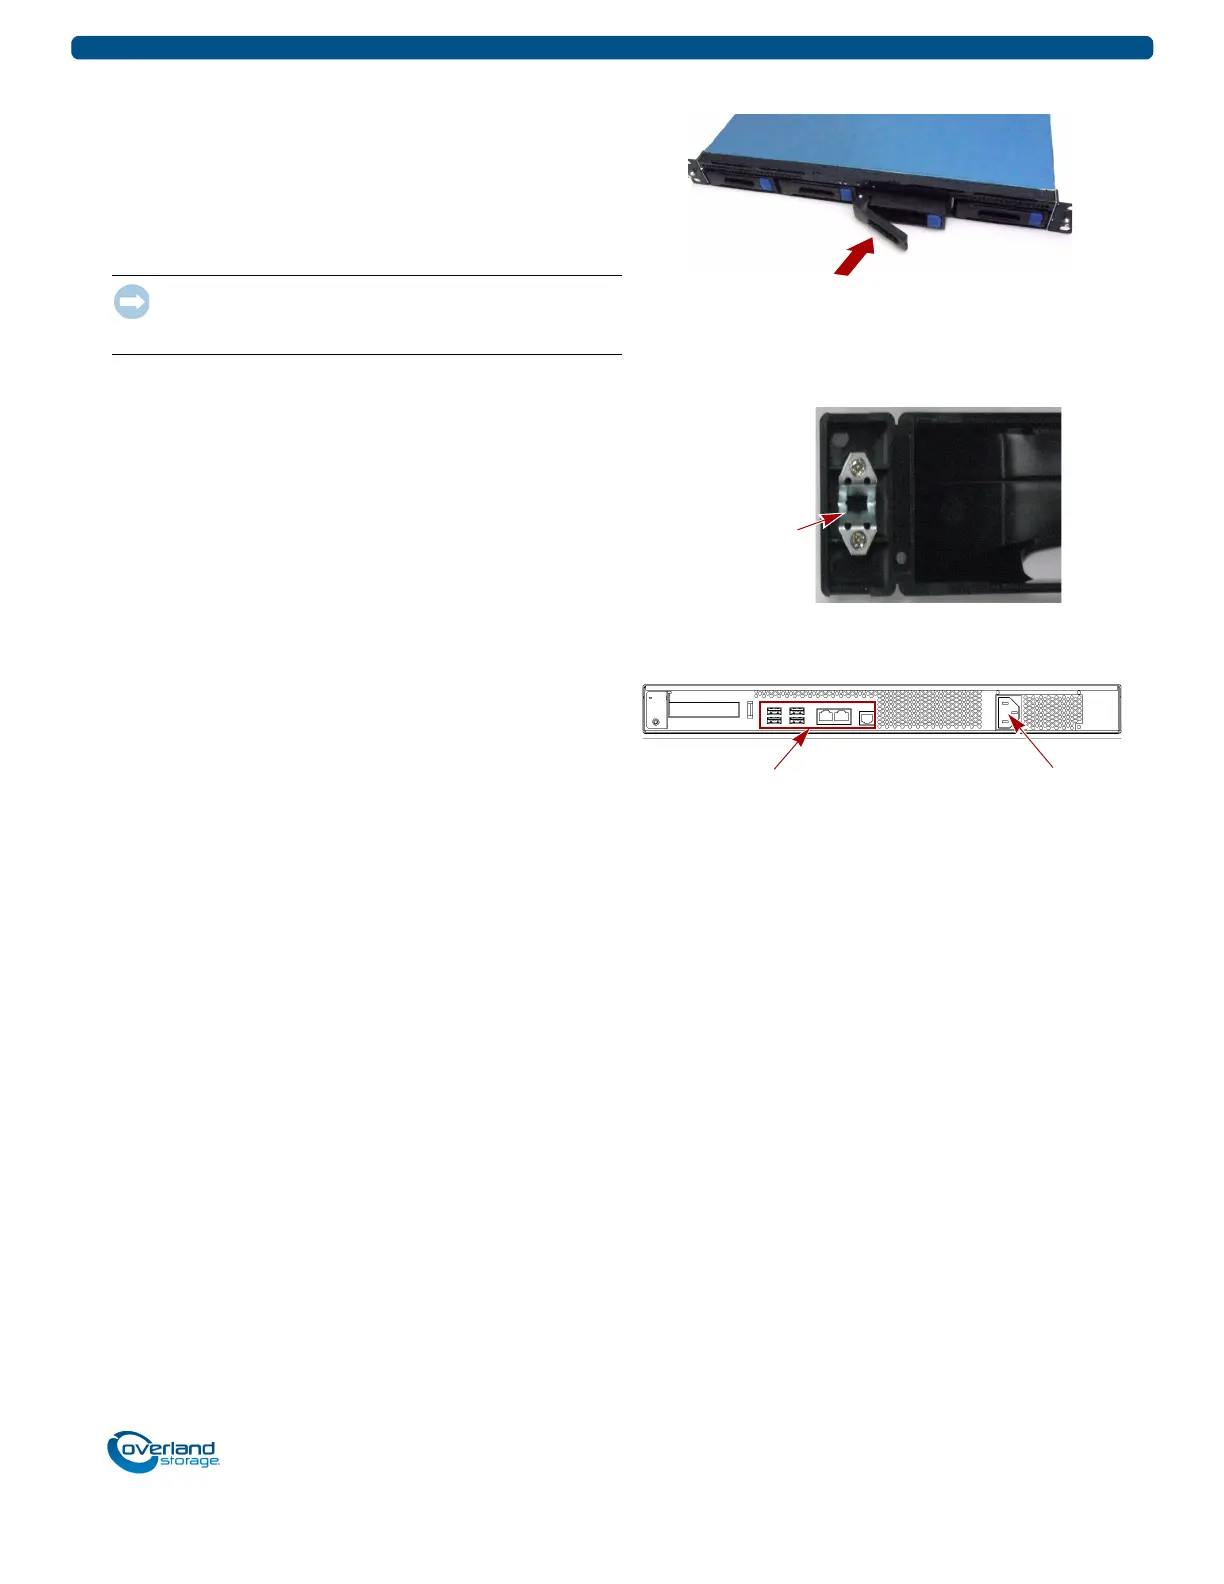
Return the drive assemblies to the bays.
1. Position a drive assembly in front of an empty bay.
2. Slide the assembly in until the latch clicks, locking it in
the bay.
3. Repeat Steps 1–2 for all remaining drive carriers.
IMPORTANT: To maintain proper airflow and cooling, a drive
assembly or a blank carrier must be installed in every bay. No
empty bays are allowed.
Reattach the Bezel
1. Position the bezel with the top and bottom edges aligned
with the slots on the front of the appliance.
2. Push the bezel onto the unit until the retaining clips latch
and the bezel snaps into place.
3. Verify that the bezel is aligned properly and that all the
LEDs are visible.
Reattach Cables and Power Cords
1. Reattach all the cables (except the power cord) to their
previous positions.
2. Attach the power cord.
3. At the front, press the power switch to power on the
unit.
NOTE: Refer to your SnapServer XSR 40 Quick Start Guide for
complete cabling details and locations.
 Loading...