OWC Mercury Elite-AL Pro Dual mini Chapter 2 - System Setup
2.1 Hard Drive Assembly & Installation (concluded)
2 SYSTEM SETUP
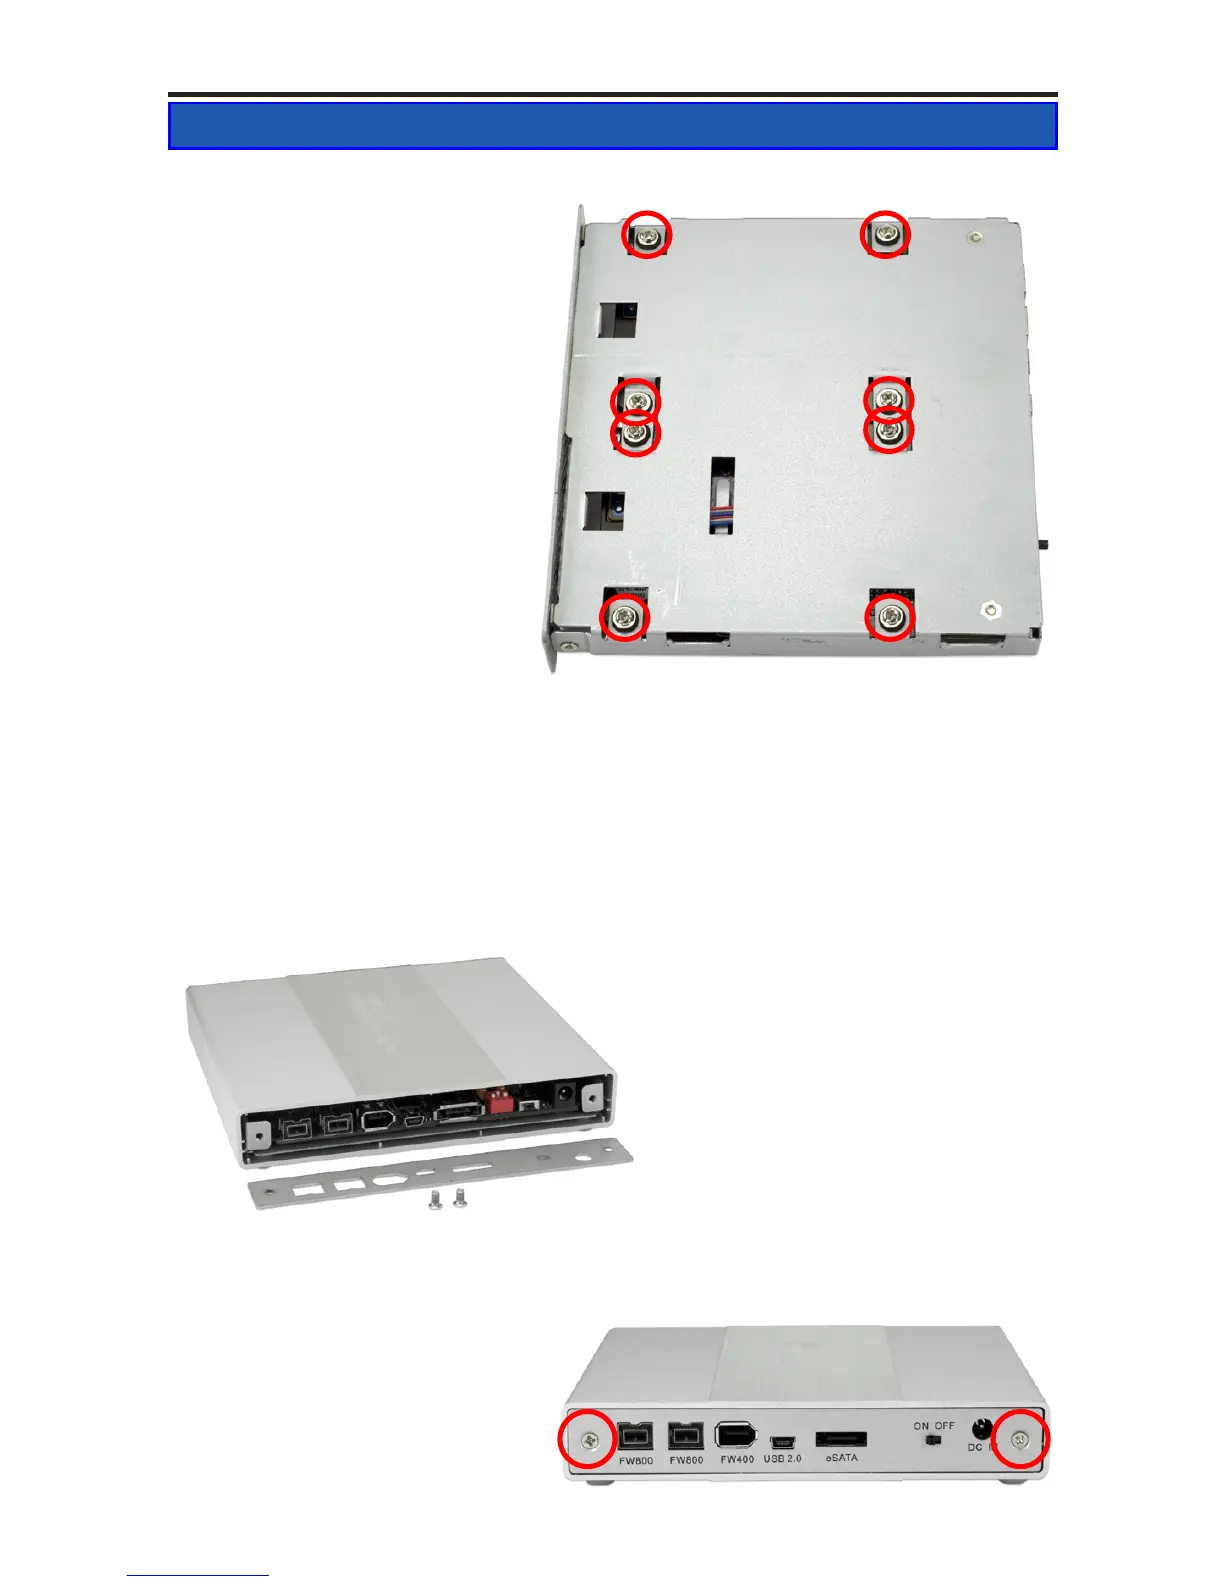
➆ Using the included
screws from the plastic bag,
attach the drive mechanisms
to the enclosure through the
rubber grommets using your
Phillips P0 screwdriver.
It is recommended that you
start using 2 screws in each
drive, and not fully tighten
them until all 8 screws are
started into the drive mecha-
nisms.
Once you have installed the
drive mechanisms, simply slide
the inner chassis back through the
outer shell. The outer shell can be
installed in either direction, but
there is a notch on one side that al-
lows the back plate to t properly.
If your case gets turned around
and the back plate does not t cor-
rectly, try reinstalling it from the other side.
Then, place the rear port
cover onto the back of the
enclosure, and attach it using
the 2 Phillips screws and your
Phillips P0 screwdriver you
removed to begin the process.
➇
➈
RAID Conguration Note:
Before proceeding further, look at the next page of this manual, Section 2.2
RAID Conguration and conrm that the enclosure is properly congured
for the RAID type that you wish to use.
Failure to do this step before assembling the enclosure will result in you
having to dissasemble the unit to congure the RAID.
 Loading...