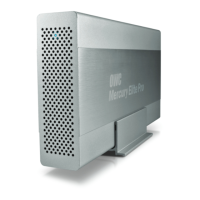
MERCURY ELITE PRO DUAL
INTRODUCTION
3
1.5.1 Rear Features
1. USB 3.1 Gen 1 port — Attach the included USB 3.1 Gen 1 (Standard-A to
Standard-B) cable here.
2. Conrm button — Press this button to conrm a newly selected RAID mode.
3. RAID dial — Adjust the position of the dial to change to a new RAID mode.
4. Thunderbolt ports — Attach the included Thunderbolt cable to one of these
ports and to a computer or a display, or to another Thunderbolt device. Use the
other Thunderbolt port to add more Thunderbolt devices to the chain.
5. DC IN — Connect the included power supply here.
6. Kensington® Security Slot — Connect a security tether here.
1.5.2 Connectivity Notes
• Only one interface (USB 3.1 Gen 1 or Thunderbolt) at a time can be used.
• To change the data connection type from Thunderbolt to USB or vice-versa,
unmount the volume in the OS, then power o the Elite Pro Dual. Next switch
the data connection, wait 10 seconds, then power on the Elite Pro Dual.
• Thunderbolt device chains can support up to six Thunderbolt devices.
• There is no power switch on the Mercury Elite Pro Dual. As long as the power
supply is connected, the device will power on when it receives a data signal
through the interface cable (USB 3.1 Gen 1 or Thunderbolt). If there is no
interface cable connected, or if the computer is o or in a sleep or hibernation
mode, the device will power o.
• For the safe removal of your drive and to assure that no data is lost, always
eject or unmount the drive from your operating system before unplugging the
drive.
• In order for the computer to access volumes larger than 2TB, the operating
system needs to support large volumes (e.g., Windows Vista or OS X 10.4 and
above).
 Loading...
