1) Calibrate
Accurate measurements need accurate calibration, which in turn needs stable
conditions. Polaris TGP checks and only permits calibration if conditions are
stable. The sensitivity of this check can be changed - see "Setup – Calib. Preci-
sion". The “Field” setting is recommended.
A good way of checking calibration is to do so in the morning before taking the
Polaris into use. If you have stored it in its pouch in a place where the temperature
is moderate and stable, and leave the probe in the pouch when you turn it on and
check, conditions for the probe should be very stable!
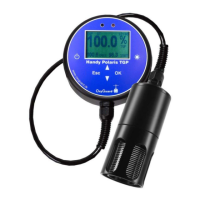
Turn the Polaris on and observe the display. The following values are acceptable:
“Show oxygen”: 100.5% +/- 1%
“Show TGP %Sat”: 100% +/- 1%
“Show TGP %Vol”: 100% +/- 1%
If calibration is needed select "Calibrate" and press "OK" to start. Progress is
shown on the display. When "Calibration done" is shown press "OK" to measure.
If “Calibration error - unstable conditions” appears check that the “field” calibra-
tion precision is chosen and try again.
2) Start log
Use this menu function to start or stop logging. When viewing measurements
logging can also be started or stopped by holding “OK” or “ESC” respectively
depressed for 3 seconds.
3) Show Oxygen
Select this to make the instrument act as a standard Polaris 2 DO and temperature
meter.
4) Show TGP %Sat
Select this to make the instrument show partial pressure measurements as percent-
ages related to the actual atmospheric pressure, where a 100% value is the partial
pressure obtained when the water is saturated with air. Three values are shown,
%TGP, %02 and %RES:
%TGP is the total dissolved gas pressure
 Loading...