UNITS
PSI BAR KG/CM
2
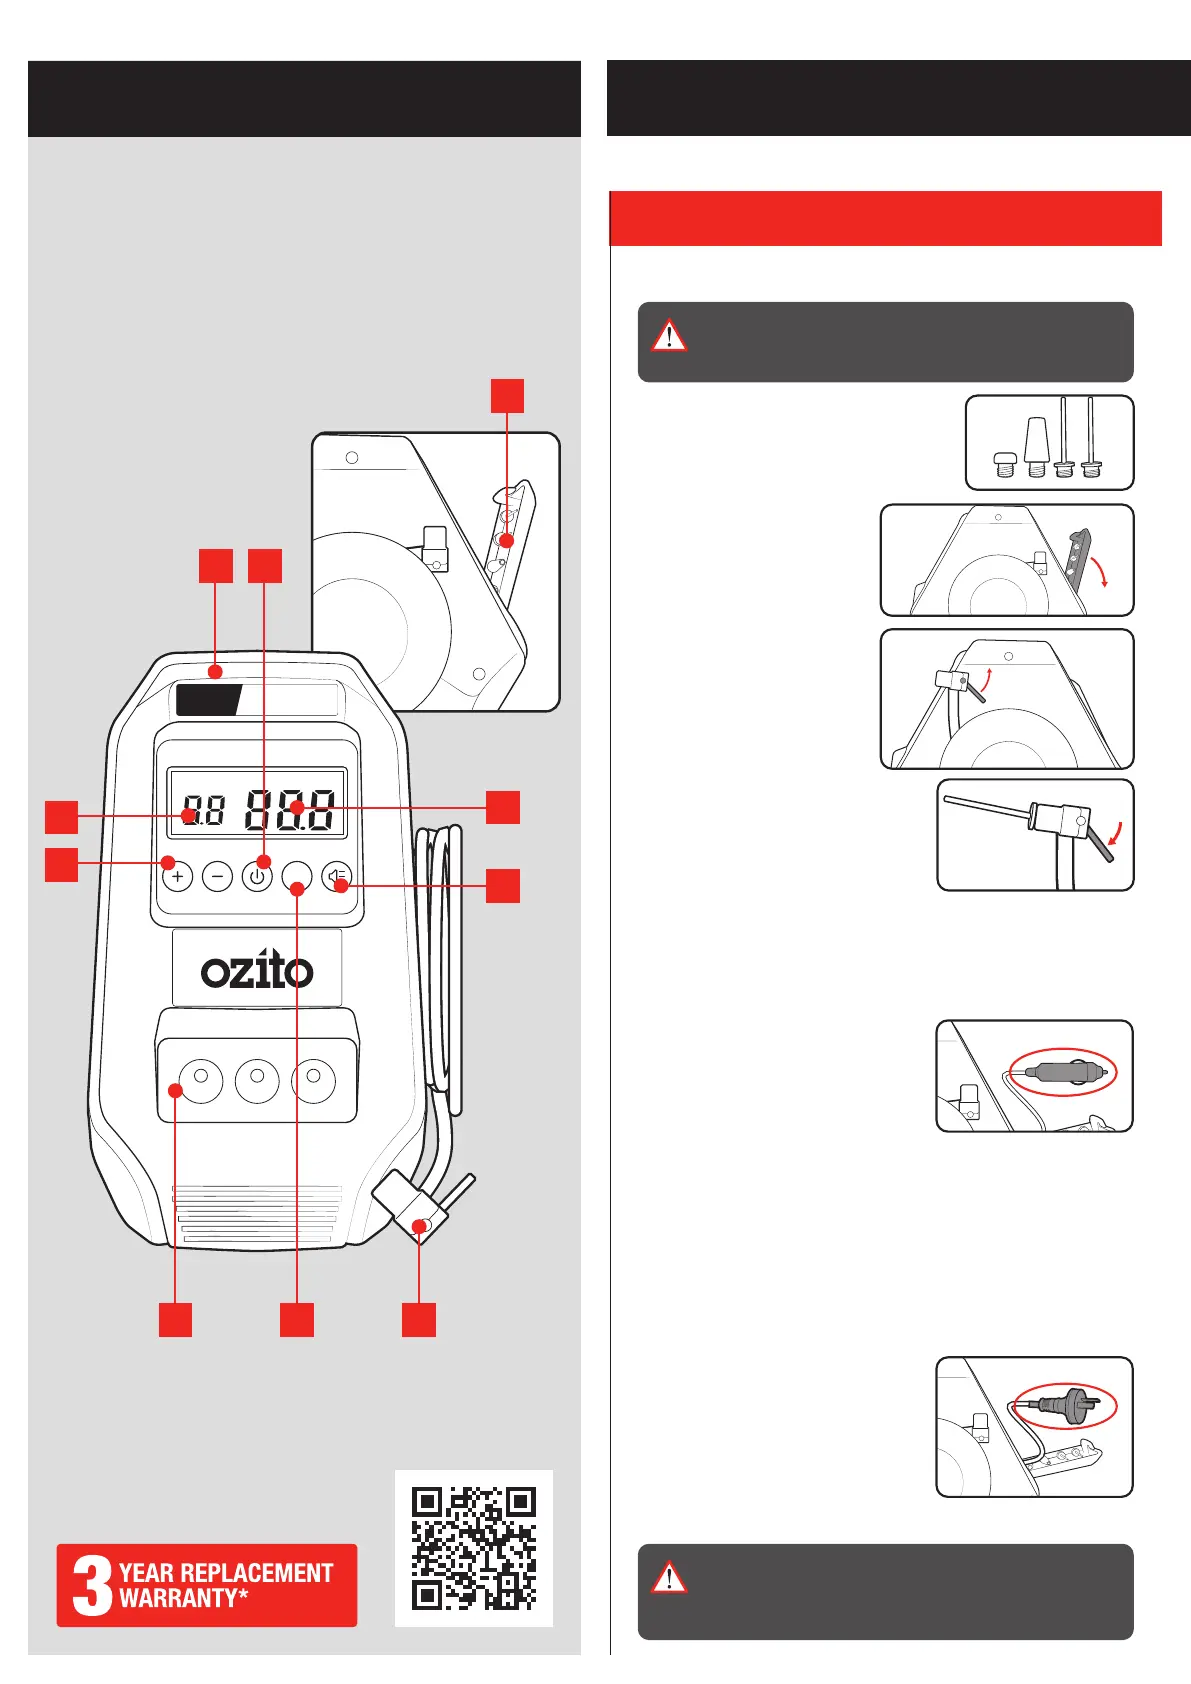
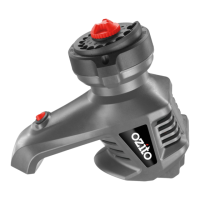
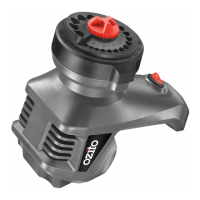
1. Storage Compartment
2. Current Pressure
3. Light Switch
4. Hose Nozzle
5. Unit Button
6. LEDs
7. Pressure Adjust Buttons
8. Target Pressure
9. Carry Handle
10. Power Button
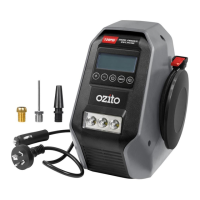
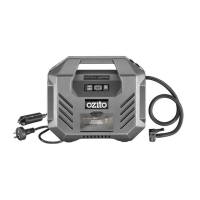
DUAL POWER INFLATOR
KNOW YOUR PRODUCT
1. ASSEMBLY
SETUP & PREPARATION
Attaching Adaptors
WARNING! ENSURE THE TOOL IS TURNED OFF AND
DISCONNECTED FROM THE POWER SUPPLY BEFORE
PERFORMING ANY OF THE FOLLOWING OPERATIONS.
The inflator unit has 3 types of adaptors to
allow a range of functions. All the adaptors
are secured in the compartment at the
back of the unit.
1. Open the compartment at the
back of the compressor.
2. Remove the desired adaptor
for the inflation task.
3. Unreel the air hose at the
right side of the unit and
unlock by lifting the locking
lever.
4. Insert the adaptor into the hose
nozzle and lock by pushing down the
locking lever.
12V DC Outlet
1. Remove the 12V socket from the
compartment at the back of the unit
and roll out.
2. Connect the 12V socket to a 12V DC
outlet which can be found in your
vehicle.
Note: Start the car and keep the engine running when using the
12V socket to avoid a flat car battery.
240V AC Outlet
1. Remove the 240V power cord from
compartment at the back of the unit
and roll out.
2. Plug the cord into a 240V AC power outlet.
WARNING! THE INFLATOR IS DESIGNED TO BE USED
WITH EITHER 12V DC OR 240V AC INPUT. DO NOT
PLUG INTO A 12V DC OUTLET AND A 240V AC OUTLET
AT THE SAME TIME.
9 10
7
8
1
456
2
3
ONLINE MANUAL
Scan this QR Code with your mobile
device to take you to the online manual.