Do you have a question about the PAC GM1A-R and is the answer not in the manual?
Explains the GM1A-R interface for replacing factory radios in GM vehicles, retaining features like warning chimes and Bose amps.
Key points to be aware of, including what the interface does not retain or provide, and compatibility.
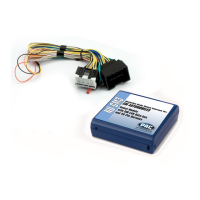
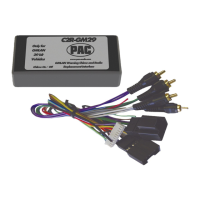
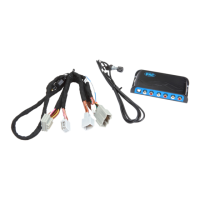
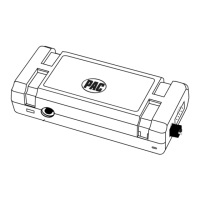
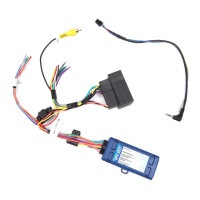
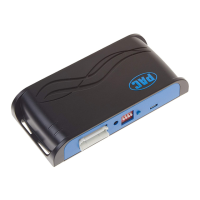
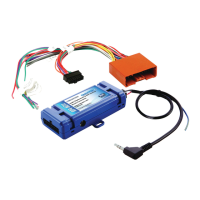
Diagrams and labels for the GM1A-R interface's connectors, LEDs, buttons, and ports.
Step-by-step guide for wiring the aftermarket radio, connecting interface connectors, and installing the GM1A-R.
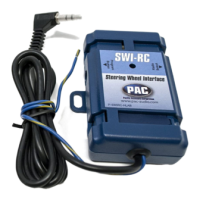
Details on connecting and using PAC SWC interfaces (SWI-RC, SWI-CP2) with the GM1A-R.
Overview of settings adjustable via PC app or module buttons, including chime volume and amp settings.
Explains how to use the programming button and adjustment dial for various modes and settings.
Procedure to test functionality after installation, including LED indicators and accessory output.
Specific steps for recalibrating steering wheel controls for Corvette models if they are erratic.
Information on RSE system functionality and limitations with the GM1A-R.
Guide to downloading and using the RadioPRO PC app for configuration, updates, and adjustments.
Further details on RadioPRO app features like interface user options, infotainment settings, and real-time fade.
Instructions on how to update the GM1A-R interface with new firmware using the PC app.
Contact information for technical assistance via email, phone, and international lines.
| Brand | PAC |
|---|---|
| Model | GM1A-R |
| Category | Automobile Accessories |
| Language | English |