RP4-NI11
Radio Replacement & Steering Wheel Control Interface
for Nissan Vehicles
Pacic Accessory Corporation
®
| Ph. 866-931-8021 | support@pac-audio.com
©2016 Pacic Accessory Corporation
www.pac-audio.com
Pacific Accessory Corporation
Rev. 011116
Default Steering Wheel Control Programming
IMPORTANT! The interface comes pre-programmed for all of the vehicles factory SWC functions and does not require programming
unless you wish to re-assign the SWC functions or utilize short press long press dual command functionality. The SWC can always
be restored to default settings by pressing and releasing the program button on the side of the interface once and waiting 7
seconds for the LED to ash 4 times.
Installation Steps
Default SWC Button Assignments
Alpine JVC Kenwood Clarion Pionee
Sony Fusion
olume + Volume + Volume + Volume + Volume + Volume + Volume + Volume +
olume - Volume - Volume - Volume - Volume - Volume - Volume - Volume -
Source Source Source Source Source Source Source Source
Track + Track + Track + Track + Search + Track + Track + Track +
Track - Track - Track - Track - Search - Track - Track - Track -
Ente
Play Power Disc Up Band Preset Up Preset Up Power
Phone Answe
Receive Receive Answer Send Answer Call Answer/End Audio
Phone End End Reject Voice End End Reject/Source Mute
1. The radio select rotary switch on the side of the interface must be adjusted to the proper radio setting before plugging the interface
into the vehicle.
2. Make all connections as described in the chart on page 1. If there is a Bose® Audio system present: Connect the RCA inputs to the
aftermarket radios pre-amp output. The audio level will vary depending on the new radios pre-amp output voltage (2-4 volts is recommended).
If there is not a Bose® Audio system present: Cut the RCA inputs off and connect the aftermarket radios speaker outputs to the remaining
wire according to the chart on page 1.
3. Base model vehicles may not have a factory ground wire. In these vehicles you will have to manually ground the aftermarket radio and RP4
module.
4. If the vehicle is equipped with a reverse camera and the aftermarket radio has a reverse camera input, connect the yellow RCA plug to the
aftermarket radios reverse camera input.
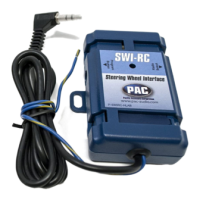
5. Connect the SWC wire according to the chart on page 1 (aftermarket radio MUST support a wired remote input).
6. If you wish to reassign functions to the SWC follow the programming instructions on the next page.
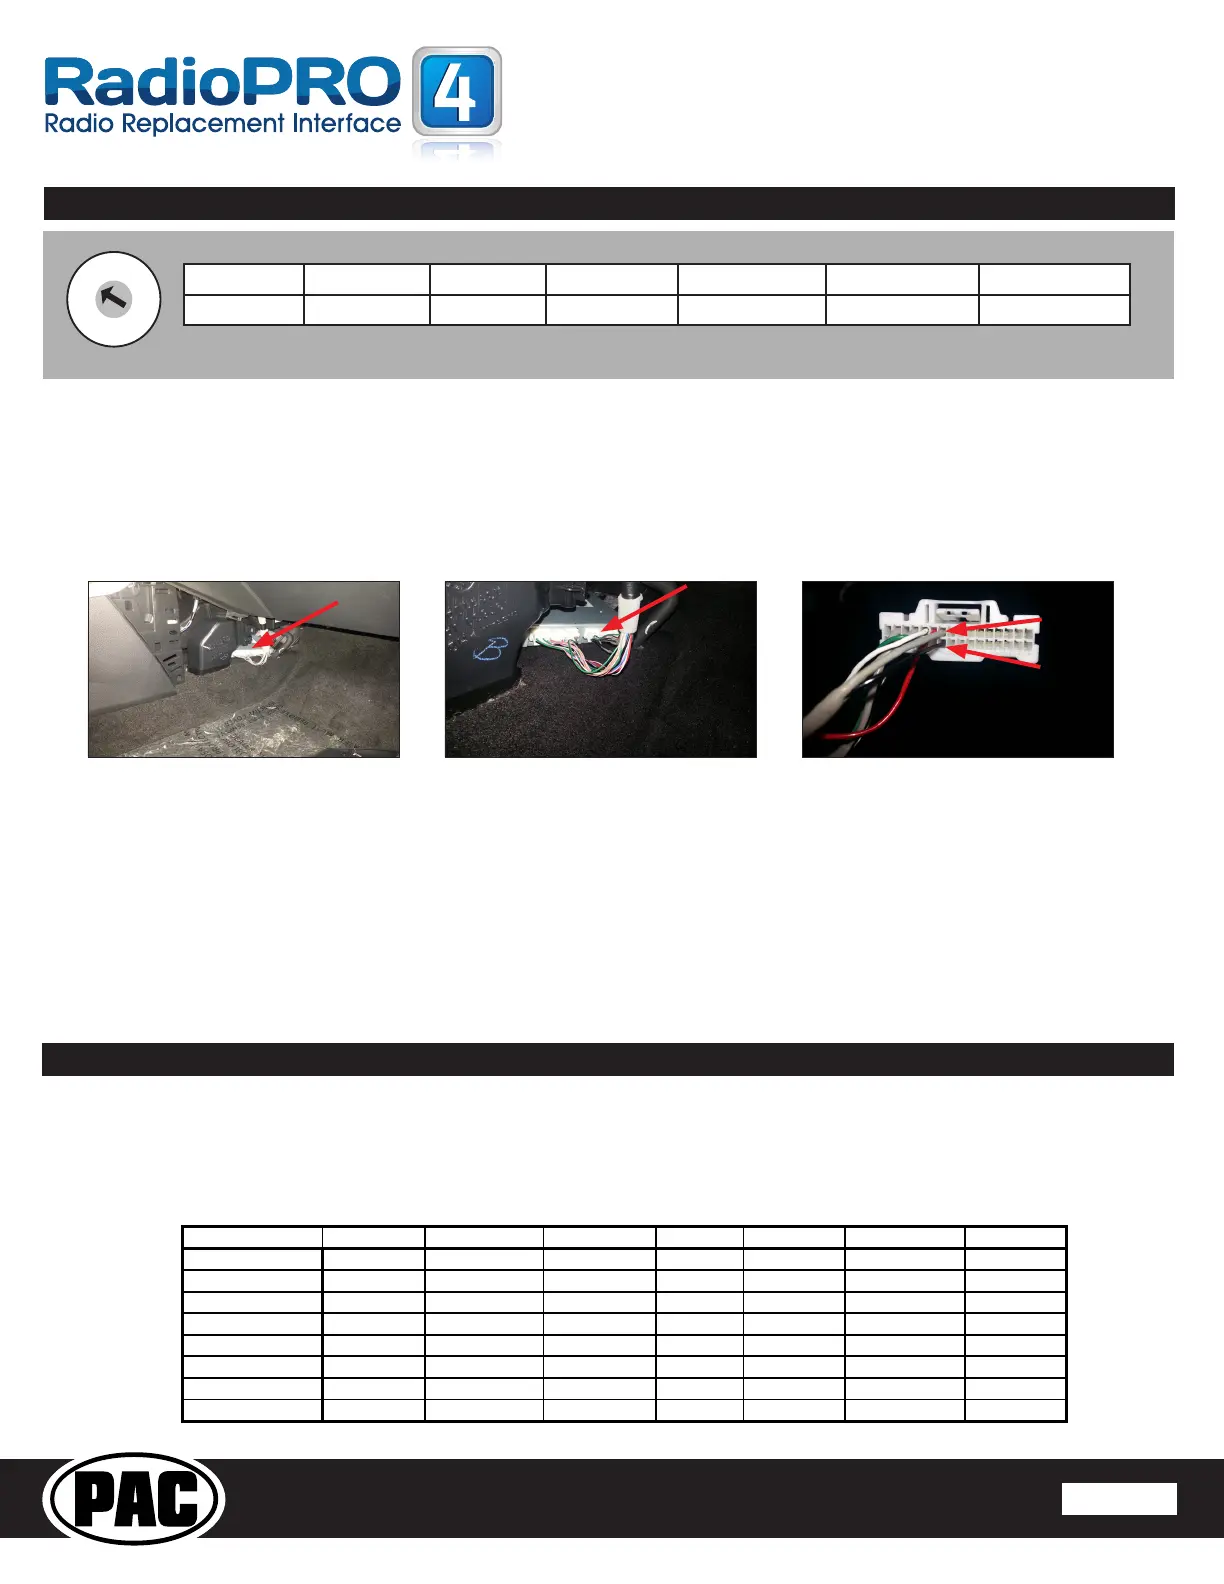
IMPORTANT! In 2014-2015 vehicles, if you wish to retain the reverse camera in vehicles equipped with factory navigation and
a BOSE system you must solder a video RCA cable into the factory wires at the ITS module. The ITS module can be found by
removing the plastic panel in the passenger footwell that is connected to the center console (Fig. 1). The connector in which you
will nd the video wires is shown in Fig. 2 . Finally you must connect a video RCA cable into the two wires as shown in Fig. 3 (Wire
colors are normally Gray (-) and Black (+) but may vary by vehicle ). Once connected, run this RCA to the aftermarket head unit
and connect to the reverse camera input.
Alpine JVC Kenwood Clarion Pioneer/Other Sony Fusion
1 2 3 4 7 8 9
Other = Advent, BOYO, Dual, Lightning Audio, Rockford Fosgate, Visteon
SET RADIO SELECT SWITCH
Fig 1 Fig 2
Fig 3
ITS Module
This Plug
Video -
Video +
 Loading...