Page 9For Pump technical questions, please call 1-888-866-5797.
For Engine technical questions, please call 1-800-520-0882.
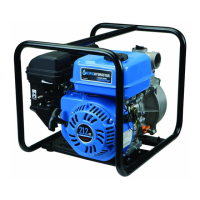
ITEM 69747
SAFETYOPERATIONMAINTENANCE SETUP
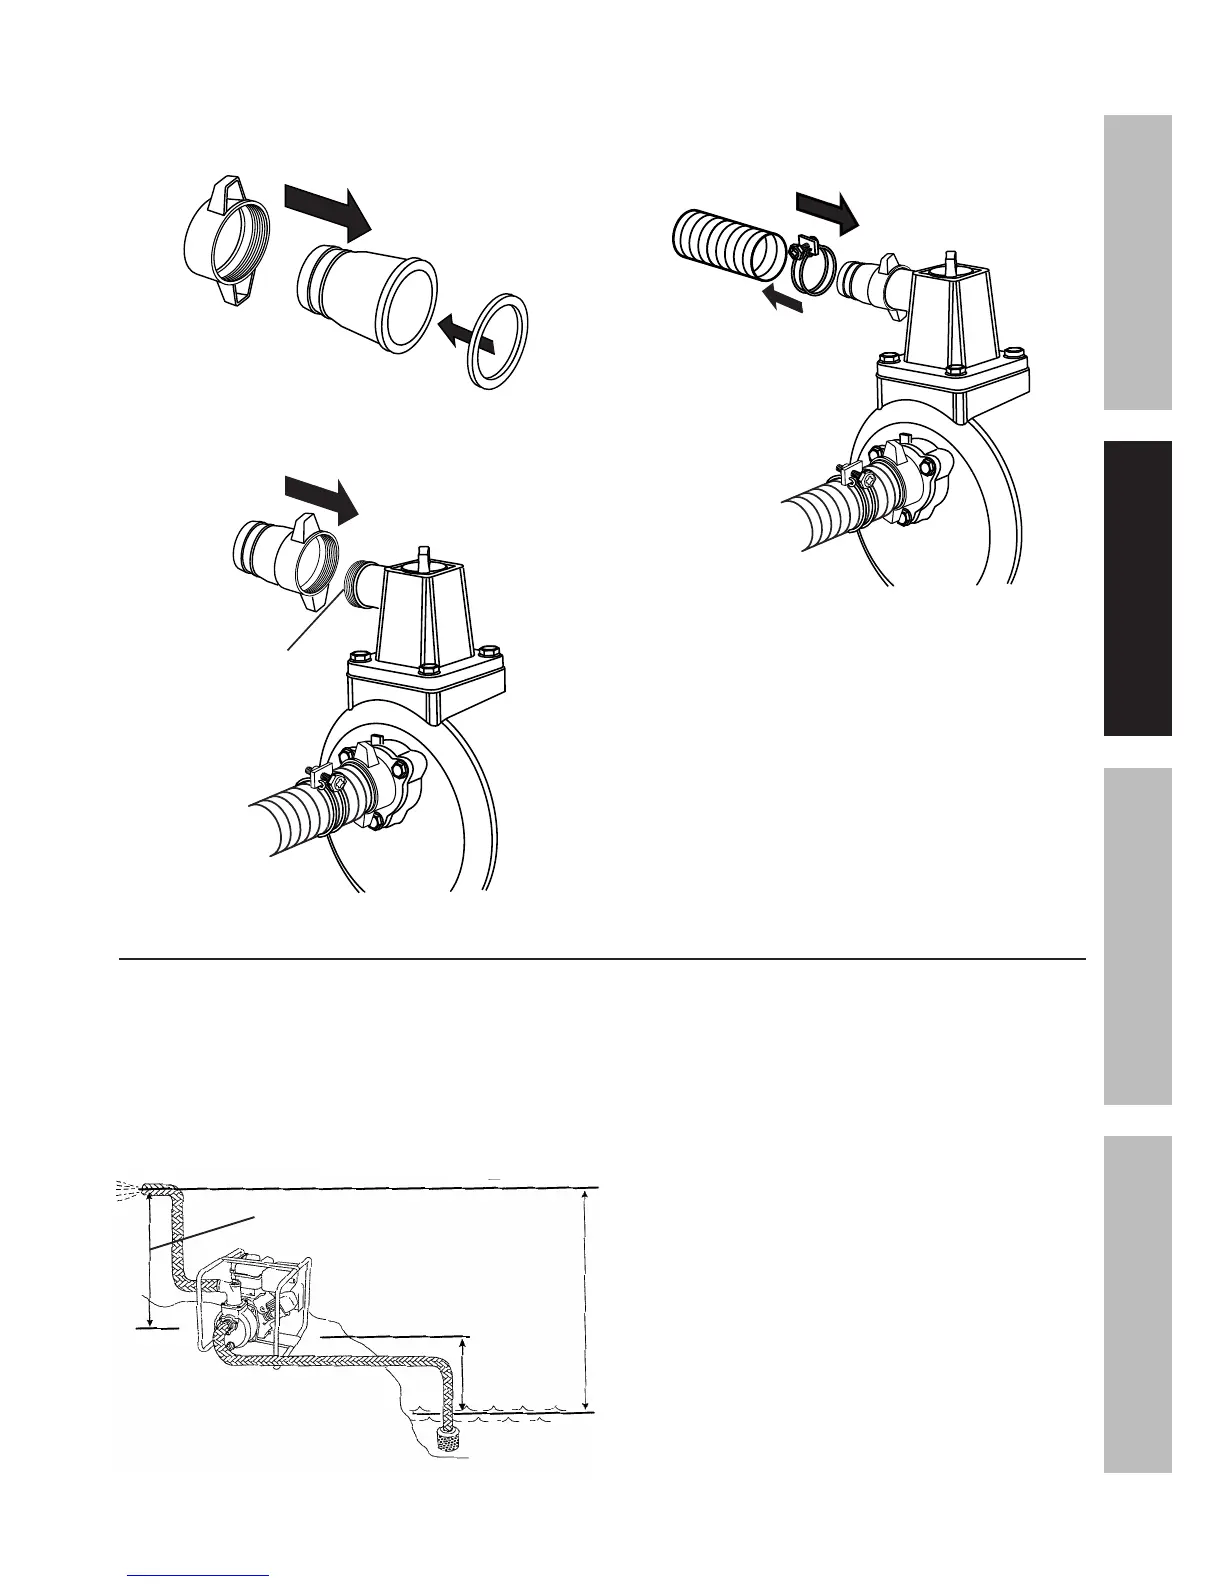
1. For the discharge hose, slide a Hose Coupling
Ring over the remaining Hose Coupler (a)
and place a Gasket onto the end of the
Hose Coupler (b) (all not included).
a
b
2. Thread the Hose Coupling Ring clockwise onto
the Discharge Port until tightened securely.
Discharge Port
3. Slide a Hose Clamp over the end of the
Discharge Hose (a). Slide the Discharge Hose
onto the Hose Coupler (b). Use a screwdriver
to tighten the Hose Clamp until secure.
a
b
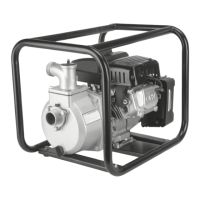
Locating the Water Pump
Locate the Water Pump on a flat, level, sturdy surface
capable of supporting the weight of the Pump.
1. For best Pump performance, place the Pump
near the water level and use hoses that are
no longer than necessary. This will allow the
Pump to produce the greatest output with the
least self-priming time. See diagram below.
Total Head
Suction
Head
Water Pump
Discharge Head
As the head (pumping height) increases,
pump output decreases. The length, type,
and size of the suction and discharge hoses
can also significantly affect Pump output.
Discharge head capability is always greater than
suction head capability. This means pumping height
for the Intake Hose (suction head) should be shorter
than the pumping height for the Discharge Hose.
Minimizing suction head (placing the Pump
closer to the water level) will also help reduce
self-priming time. This is the time it takes the
Pump to bring the water from the water level
to the Pump during the initial operation.
2. Route the Intake Hose with the Intake Strainer
fully immersed in the water supply source.
 Loading...