35
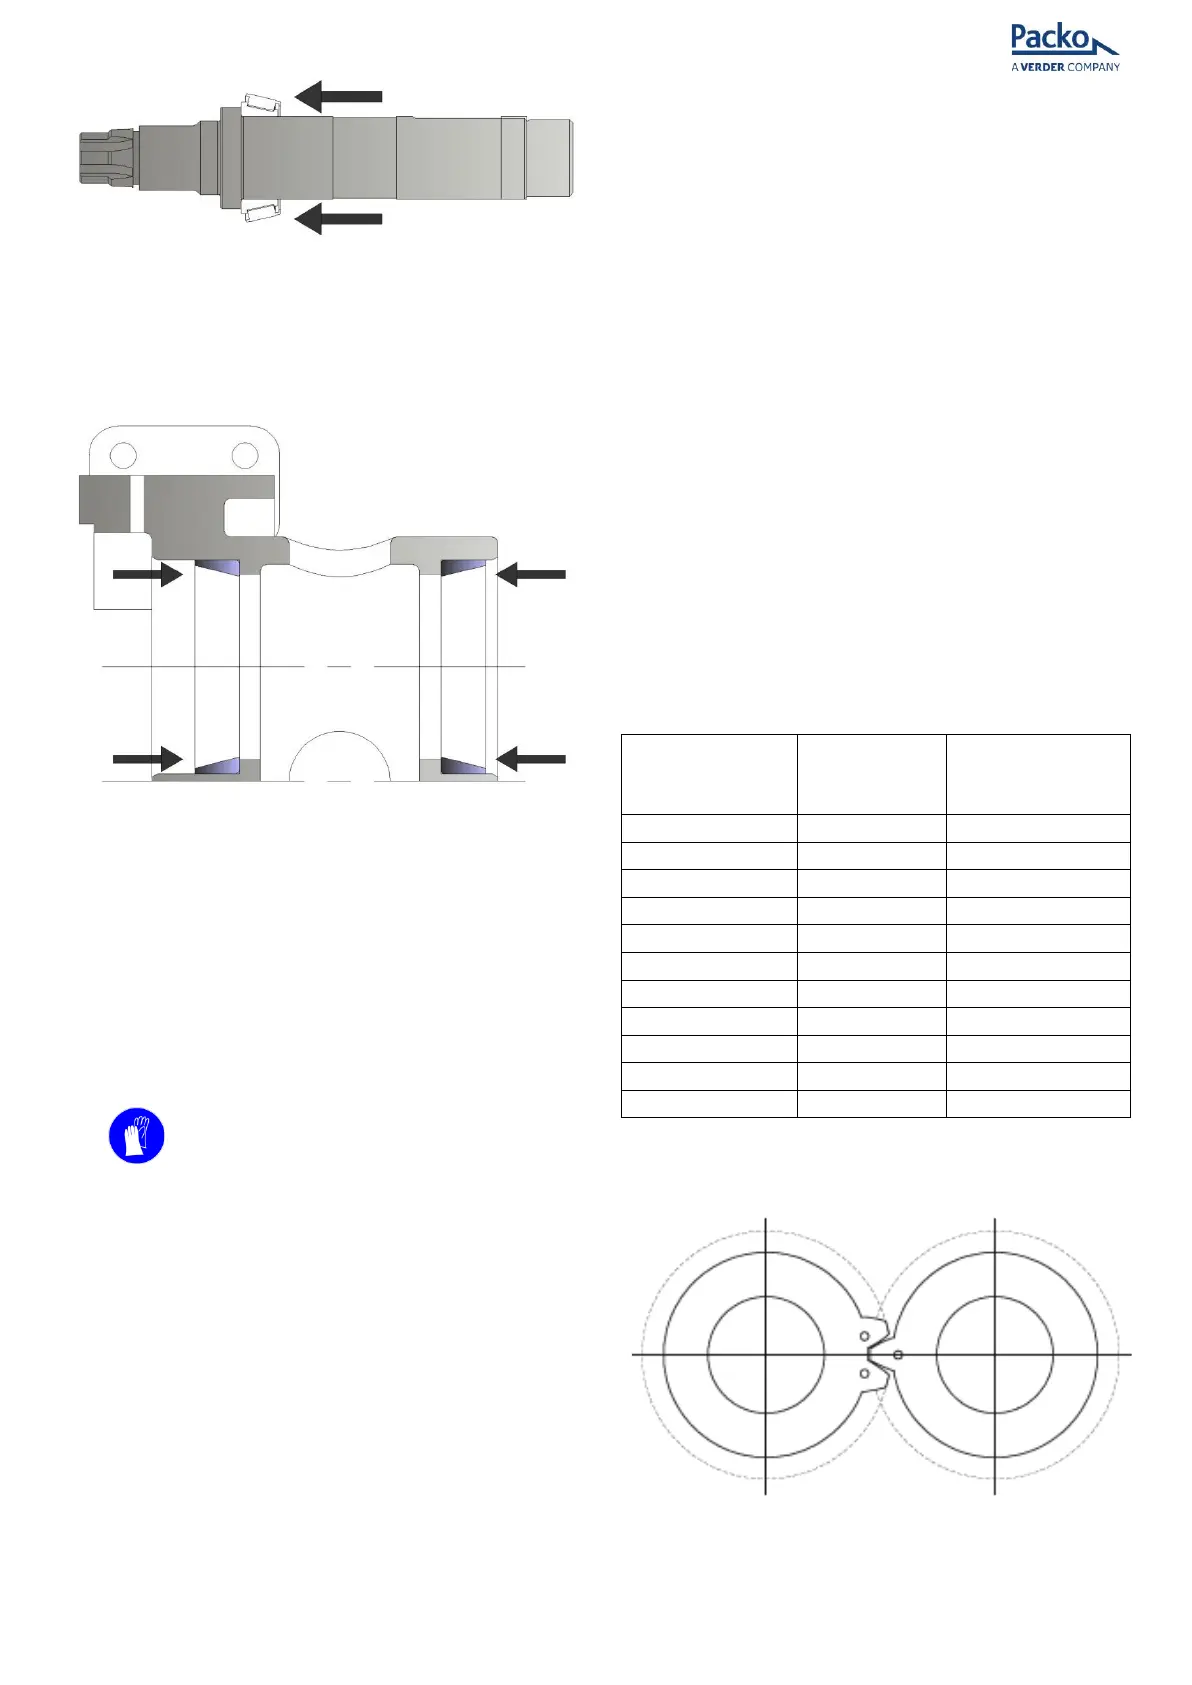
Figure 34 - Inner-ring fitment
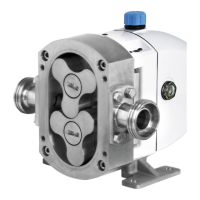
• Press both front (5) and rear (4) outer races
into the bearing housing, (Figure 35) making
sure they are square and pressed tight
against the bearing housing shoulder.
Figure 35 - Outer-ring fitment
NOTE: At this stage DO NOT put additional oil
on bearings.
• Stand shafts (24 & 25) on their front face and
lift the front of the bearing housing (1) over
them sliding the inner races of front bearings
(4) onto the shafts until the front inner
bearing races are in light contact with their
outer races.
ATTENTION
1. USE GLOVES: Heat inner races of rear
bearings (4) and assemble onto the shafts (24
& 25) making sure they are square and
pressed tight against the outer races in the
bearing housing. Ensure bearings are in the
correct orientation.
2. Put the bearing housing assembly (with shafts
in position) onto its feet.
3. Fit the gear drive key (28), gear (6), tab
washer (7) and gear nut (8). Tighten the gear
nut (8) by hand to hold the assembly in place,
taking-up any end float.
Note: To stop the shafts spinning the rotors can
be attached to the front of the shafts so a plastic
block can be placed between them as if you were
tightening the rotor screws. Alternatively a plastic
block can be inserted between the gears to stop
the rotors turning.
For all HP3, HP7 and HP8 sized pumps do not fit
the gear drive key (28), gear (6), tab washer (7)
and gear nut (8) yet. Use the second tab washer
(7a) and gear nut (8a) between the gears (6) and
the rear bearings (4).
4. Rotate the shaft a minimum of 4 times and
tighten the gear nut (8) again by hand.
(Bearing nut (8a) for HP3 models)
5. Rotate the shaft a further 4 times, tighten the
gear nut again by hand and then tighten the
nut a further quarter turn, using the C-
Spanner. (Bearing nut (8a) for HP3 models)
6. Rotate the shaft 4 more times and torque the
gear nut (8) (or bearing nut 8a for HP3
models)
7. Repeat two-three times until no further
tightening of the gear nut is perceived.