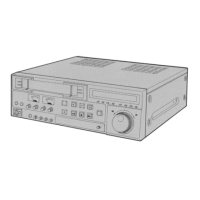
1-4
1.4.4 FRONT board assembly
(1) Remove the front panel to examine the front board.
(2) Remove the screw
5
, and pull the board down to examine
the B-side.
Fig. 1.4.4
1.5 HOW TO REMOVE THE MECHANISM UNIT
(1) Remove the six screws .
(2) Remove the front panel.
(3) Remove the CN111 connector on the MDA/DC board.
(4) Remove the wire that are attached to the DV CONN board.
Fig. 1.5.1
(5) Pull up the mechanism unit.
(6) Remove CN4002 and CN4003 (FFC cables connected to the
main board).
Fig. 1.5.2
Fig. 1.5.3
FRONT board
assembly
DV CONN board
CN111
CN4003
Mechanism unit
CN4002
5
6
6
6
 Loading...