24.Marker. When this indicator is visible it indicates
that the Marker (spot meter) function is active.
e Marker function can be activated by pressing
the Zebra button once or twice.
25.Optical Image Stabilizer. When this icon appears
it indicates that the Optical Image Stabilizer (OIS)
is active.
26.Scene lename. Indicates the currently active
scene le (the scene les you create can be given
custom names, see page 50 of the owners manual).
27.Battery. Displays the remaining battery capacity
is in minutes. Not displayed when using AC
adapter. e battery display will change as battery
capacity decreases and will be displayed in red
when less than 3 minutes are remaining, and will
ash when the battery is empty. Remaining battery
capacity may not be displayed correctly when
using the camera in very hot or cold conditions or
low temperatures, or when the battery has not
been used for a long period of time. To ensure that
remaining battery capacity is displayed correctly,
use the battery completely from a fully-charged
state, and then charge the battery again. Batteries
that have been recharged a large number of times
will not display accurate information. e
remaining battery capacity display will disappear
momentarily when switching between modes or
when changing the LCD brightness since the
capacity is recalculated at these times.
28. Operation status. Displays what the camera is
currently doing: recording (REC); paused
{PAUSE), performing a record check (CHK),
playback, playback paused, frame by frame
playback, skipping, fast-forward, etc. An
exclamation mark indicates a warning is being
displayed.
29.Standby. Displayed when the camera is in
standby mode (see page 23 of the owners manual
for a description of this mode).
30.Recording function. Displays a “P” when the
PREREC MODE item on the settings menu
RECORDING SETUP screen is set to ON. e
prerecording function prevents you from missing
shots by starting a recording ahead of when you
press record.
31.Monitor audio level. When you press the
AUDIO MON/ADV button, the sound volume
output from the built-in speaker and headphone
jack are displayed on the screen.
32.Safety zone. Displays the extent of the SAFETY
ZONE (see page 94 of the owners manual) on the
DISPLAY SETUP screen. 4:3 lets
you see where the image would
be cropped when cropping to the
4:3 aspect ratio of standard
denition television. 90%
indicates the range in which
signals can be displayed by an
ordinary home use television set
(you can’t assume the entire
image edge to edge can always be seen, so this
allows a little padding for safety. ese guides will
not be displayed in LCD monitor or viewnder
when the FOCUS ASSIST item in the SW
MODE settings menu has been set to
EXPANDED.
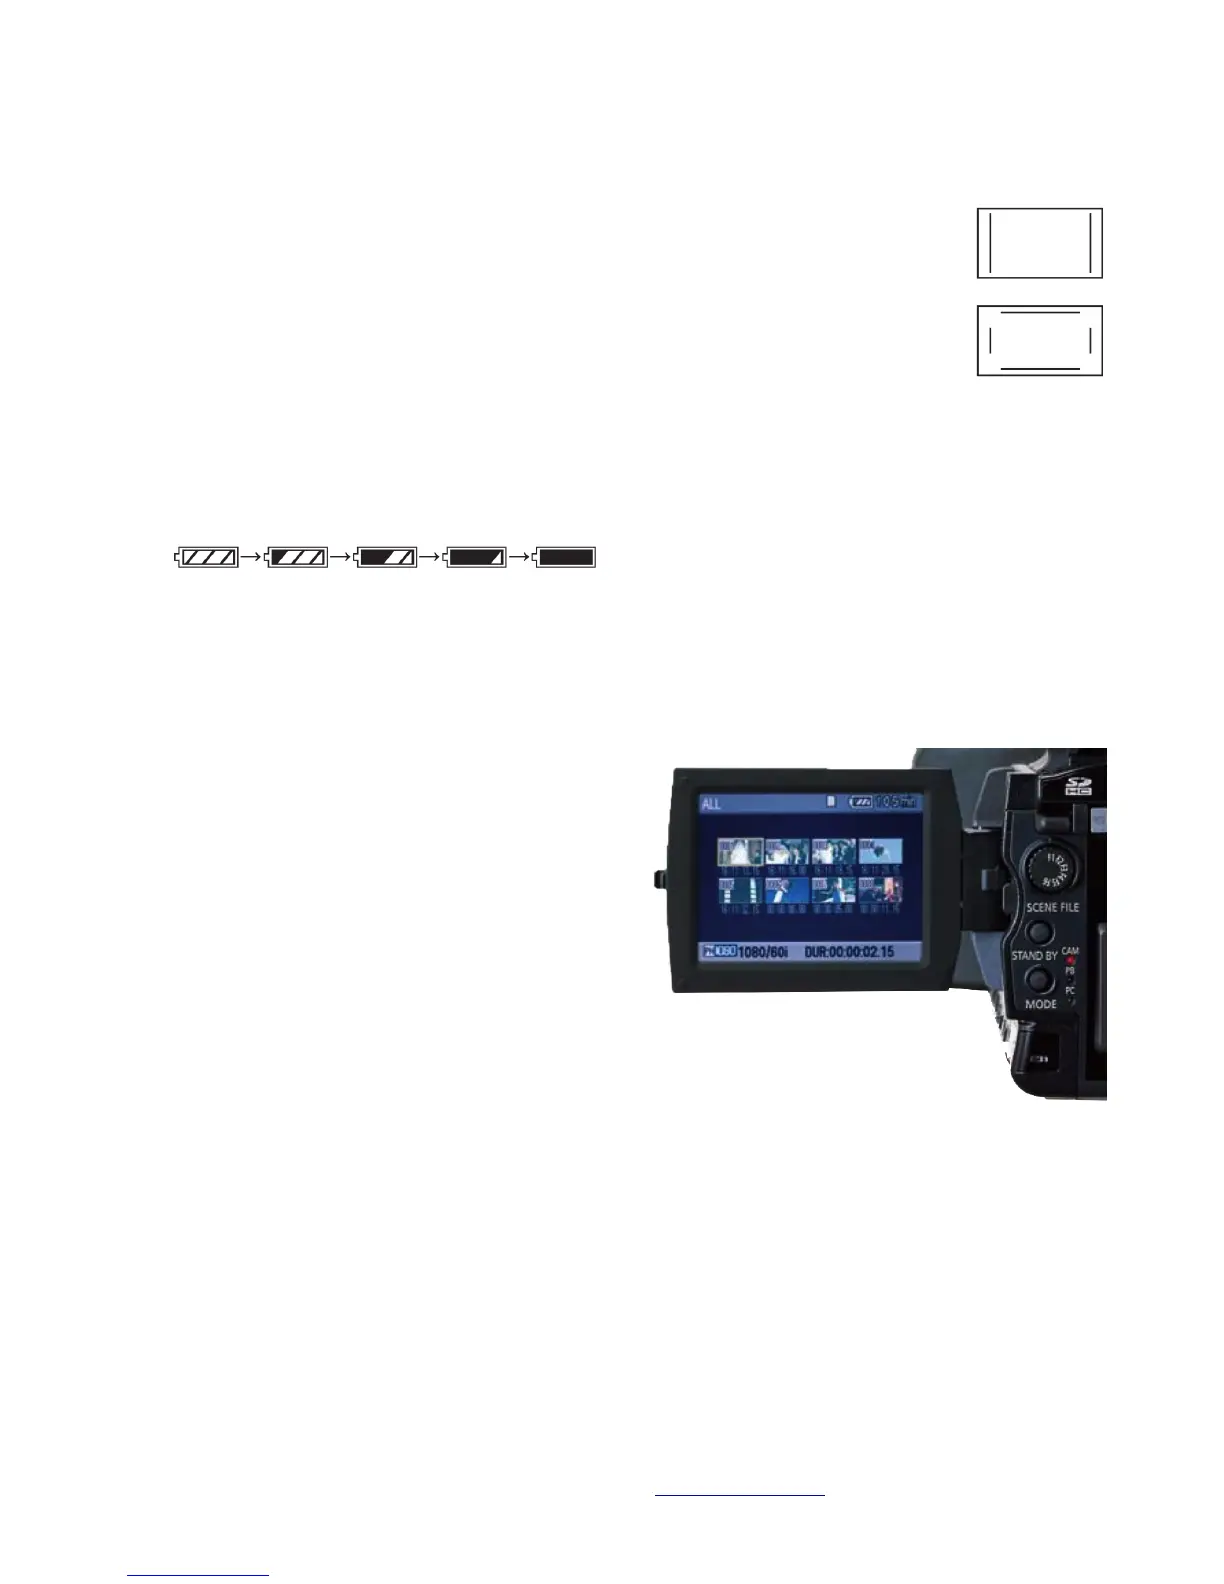
Playback
When you power on the camera, it automatically
enters camera (CAM) mode. To view and listen to the
clips you’ve recorded with the camera, you’ll need to
place the camera into playback (PB) mode.
Playback mode. To place the camera in PB mode,
after powering on the camera, press the MODE
button on the back of the camera. Each time you
press the MODE button, it will switch the camera
between modes. When you press the MODE button
while PB is selected, the camera will go into PC
connection (PC) mode. In PC mode you can transfer
media les from the camera to your PC or Macintosh
workstation for editing.
Navigating the thumbnail screen. In PB mode
you’ll see thumbnails of your clips in the viewnder.
Use the “operation lever” to select thumbnails by
pushing the lever in one of the {up, down, left, right}
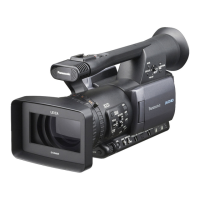
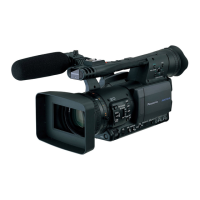
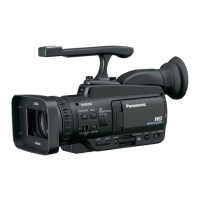
Introduction to the Panasonic AG-HMC150 AVCHD camcorder (rough draft) http://kino-eye.com/dvb/ 17 /35
 Loading...