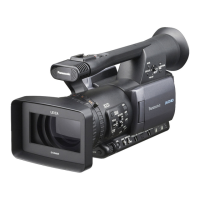
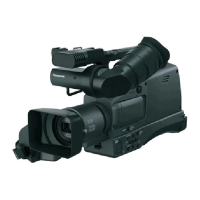
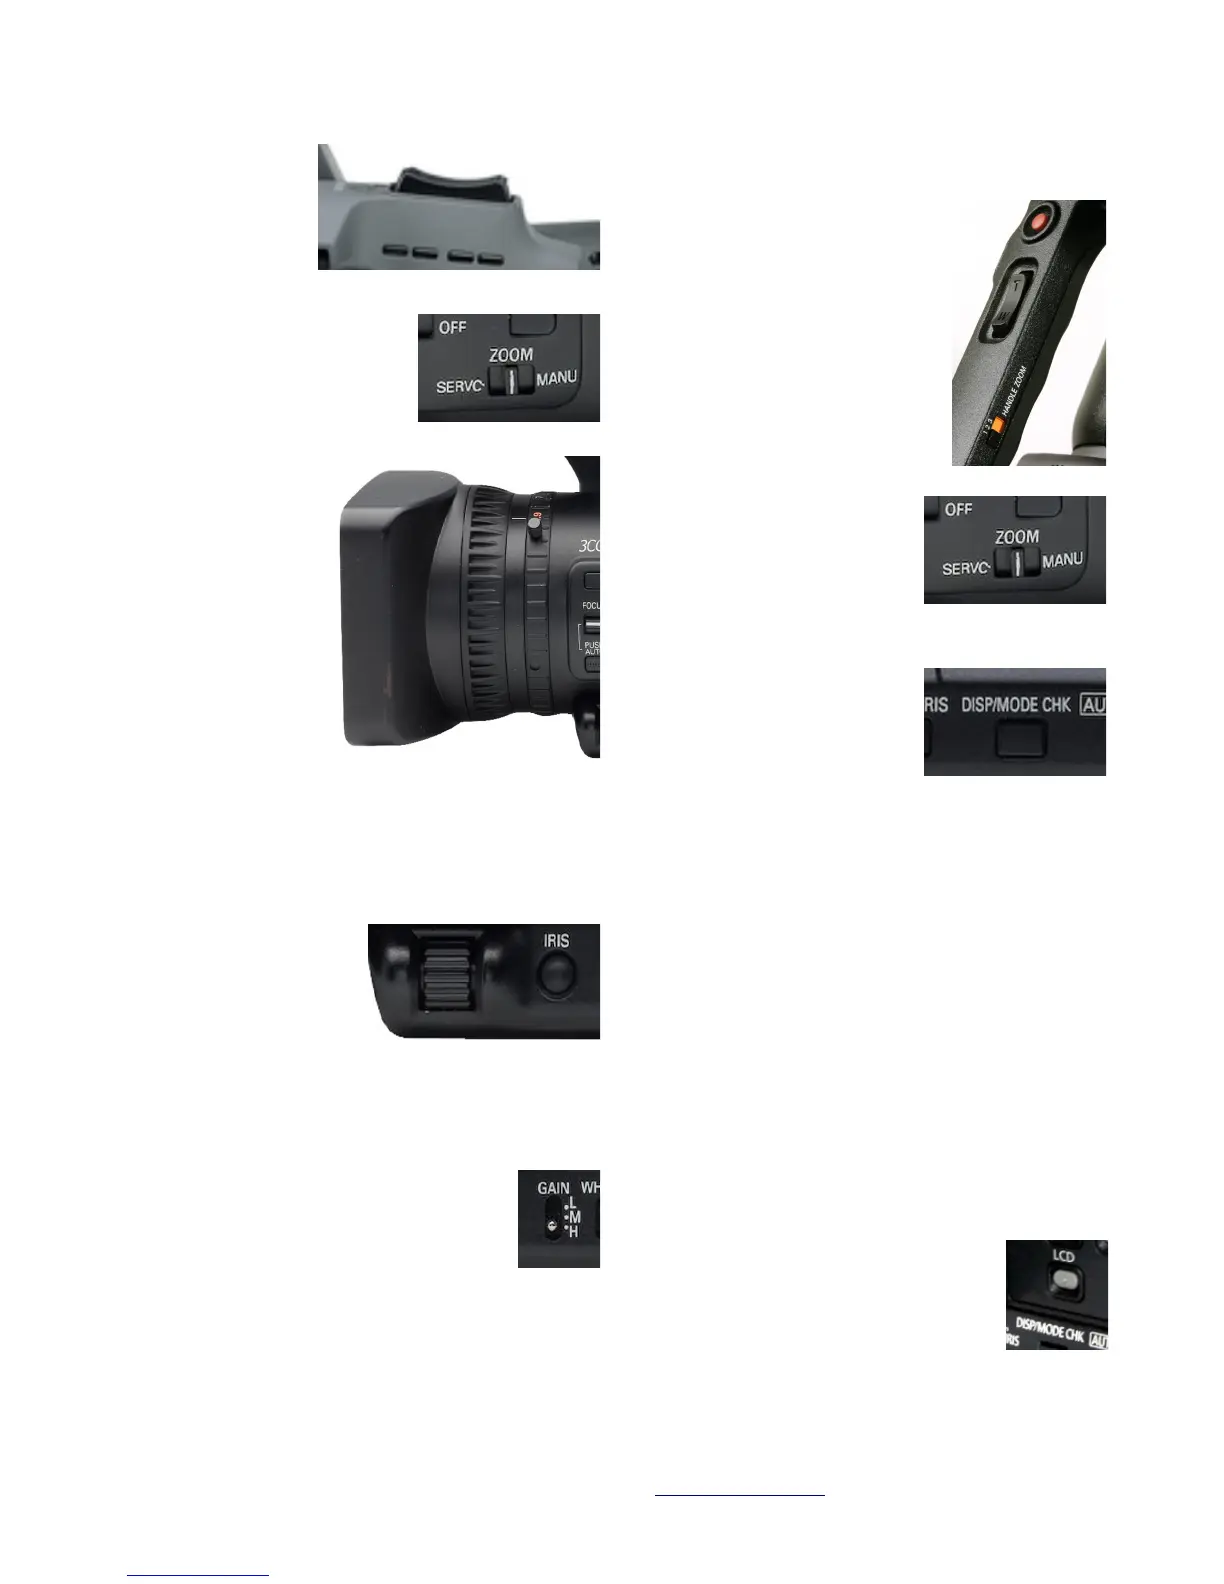
Zoom Control
Servo control of
the zoom is
provided by this
rocker switch on
the camera above
the tape compartment. Notice
you can press it a little for a
slow zoom and press it further
for a faster zoom. e Zoom
Servo/Manual switch on the
LCD side of the camera needs
to be set to Servo
for this rocker
switch to work.
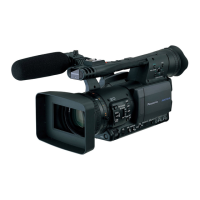
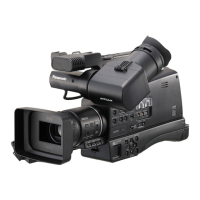
Zoom Ring
e zoom ring right
behind the focus
ring allows you to
manually control
the zoom setting.
Switch the servo
control to
MANUAL before
doing manual zoom.
Look for the Zoom Servo/Manual switch on the side
of the camera, otherwise the gears controlling the
zoom may be damaged. If you feel resistance to
moving the zoom ring, change the setting of the
Servo/Manual switch.
Iris Button and Dial
When the Iris Button is
pressed, the camera
toggles between the auto
and manual iris control
modes. e Iris Dial is
used to adjust the lens iris when you desire to
adjusting exposure manually. (See Iris Dial item in
the menu under SW mode).
Gain Switch
is is used to adjust the video gain (like
cranking up the volume). In low light
situations, you might need to. Settings are
H (12dB), M (6dB) or L (0dB), these
defaults can be changed in the menu setting. Be
careful, gain adds noise to the image.
Secondary Camera Functions
Handle Zoom 1 2 3
ese are the speed settings for
the handle zoom. is zoom is
different from the other zoom
because it is not pressure sensitive.
In the menu of the camera the
speed can be set to Low-Medium-
High or Low-Off-High.
Zoom Servo/Manual
Use to choose servo zoom
(controlled by the zoom
buttons) or manual zoom
(controlled manually by the
zoom ring). Make sure to set
the SERVO/MANU switch
on the side of the camera to
MANU before manually adjusting zoom.
DISP/MODE CHK button
During recording or while
paused, information like
recording functions setting
status and a list of functions
allocated to the USER buttons can be displayed by
holding down the DISP/ MODE CHK button.
Release the button to return to the normal display.
Pressing the DISP/MODE CHK button during
recording or while recording is paused will
remove all displays from the screen except for the
operation status, standby mode display, counter,
marker, and safety zone display. Press the button
again to return to the normal display. is setting will
be maintained even if the camera’s power is turned off
by moving the POWER switch to the OFF position
or if the operating mode is changed.
Pressing the DISP/MODE CHK button while the
thumbnail screen is displayed in PB mode will display
the properties of the selected clip. Clips can be
selected by moving the cursor with the Operation
lever.
LCD button
Use this button to vary how much
information the camera displays in the
Viewnder or LCD panel.
Introduction to the Panasonic AG-HMC150 AVCHD camcorder (rough draft) http://kino-eye.com/dvb/ 6 /35
 Loading...