65
RQT9059
(All factory default settings are indicated with underlined text.)
List of TV Reception Channels
§
Only for 8 MHz channel raster
Others
Remote Control
Change the remote control code on the main unit and the remote
control (the two must match) if you place other Panasonic
products close together.
[DVD 1
] [DVD 2] [DVD 3]
Use “DVD 1”, the factory set code, under normal circumstances.
1 Press [3, 4] to select the code (“DVD 1”, “DVD 2” or
“DVD 3”) and press [OK].
To change the code on the remote control
2 While pressing [OK], press and hold the numbered button
([1], [2] or [3]) for more than 5 seconds.
3 Press [OK].
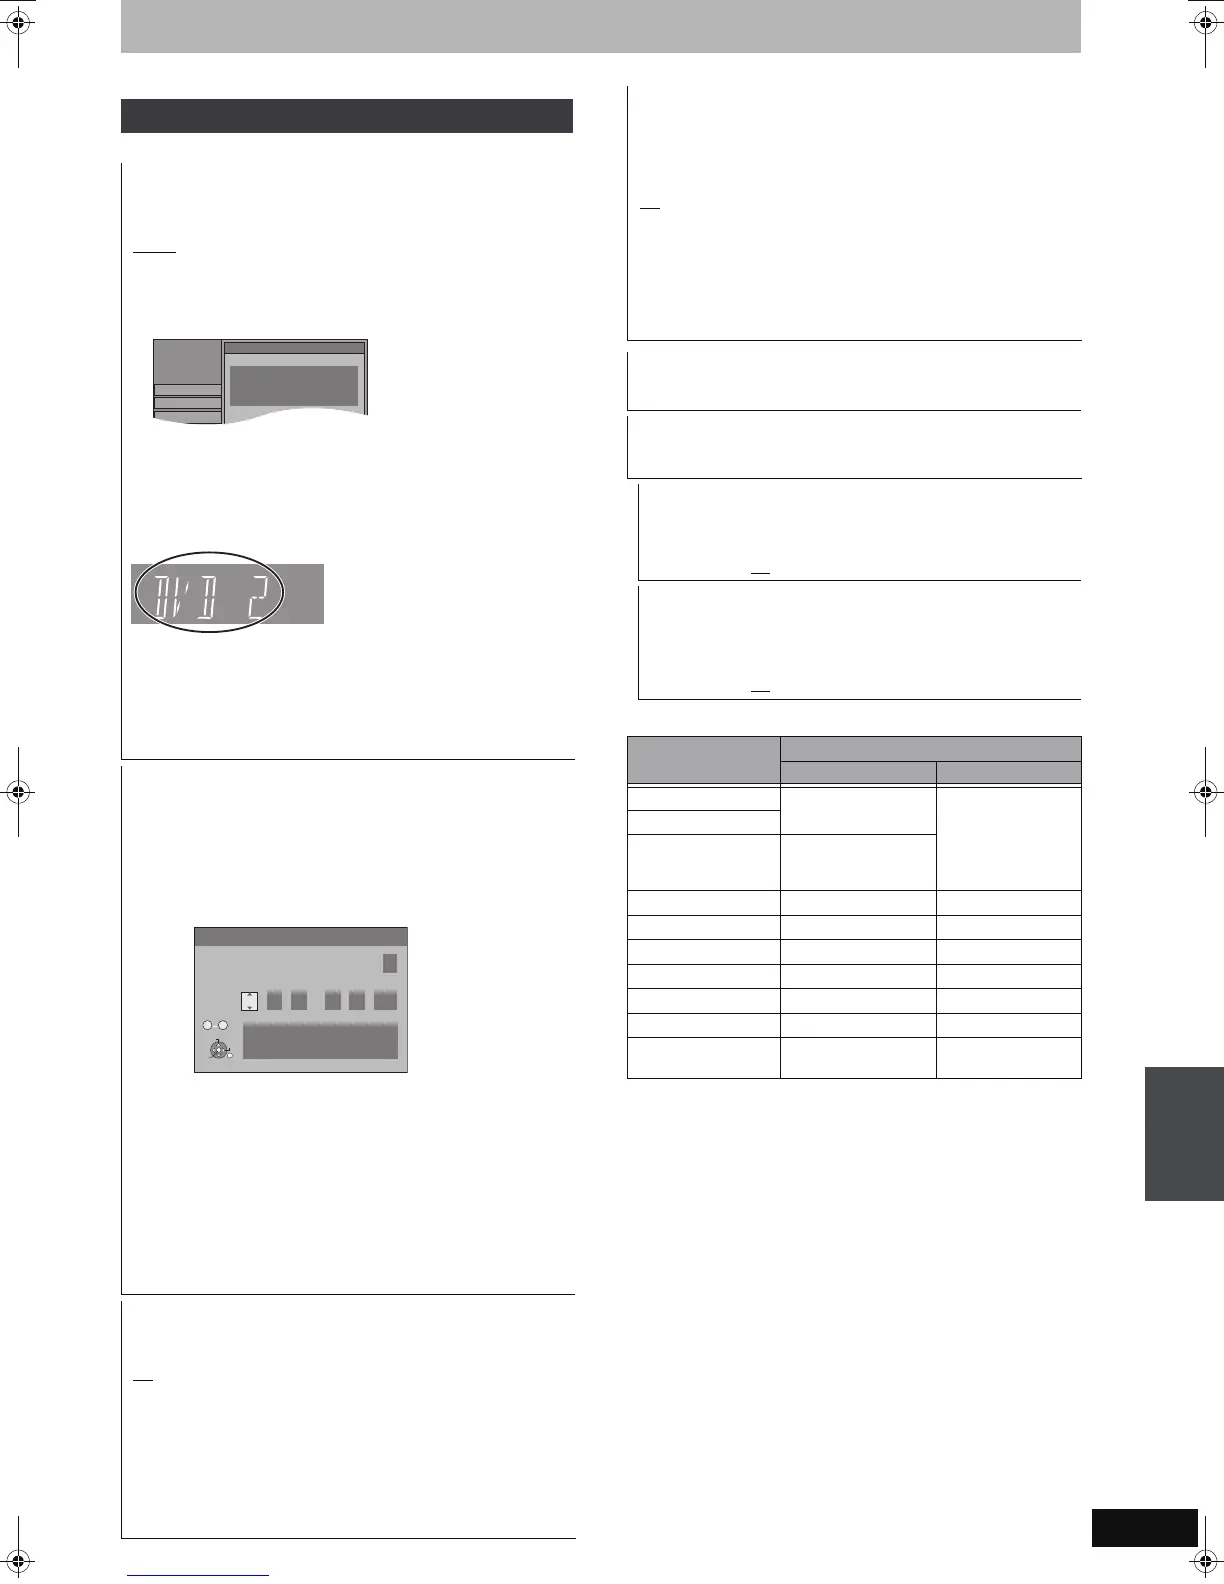
∫ When the following indicator appears on the
unit’s display
The unit’s remote control code
Change the code on the remote control to match the main unit’s
(➡ step 2).
[Note]
Executing “Shipping Condition” in the Setup menu returns the
main unit code to “DVD 1”. Change the remote control code to 1
(➡ step 2).
Clock
Usually, the unit’s setup function (➡ 8) automatically adjusts the
clock to correct time. Under some reception conditions, however,
the unit cannot set the clock automatically.
In this case, follow the operation steps below to manually set the clock.
≥In the case of a power failure, the clock setting remains in
memory for approximately 60 minutes.
1 Press [3, 4] to select “Off” of “Automatic” and press
[OK].
2 Press [2, 1] to select the item you want to change.
The items change as follows:
Hour!#Minute!#Second!#Day!#Month!#Ye a r
^-----------------------------------------------------------------------------------------J
3 Press [3, 4] to change the setting.
You can also use the numbered buttons for setting.
4 Press [OK] when you have finished the settings.
The clock starts.
[Note]
If a TV station transmits a time setting signal, and when
“Automatic” in the Clock setting menu is set to “On”, the automatic
time correction function checks the time and if necessary it is
adjusted several times every day.
Power Save
[On] Power consumption is minimized when the unit is turned to
standby (➡ 80).
[Off
]
(If “Quick Start” is set to “On”, “Power Save” is automatically
turned to “Off”.)
≥Refer to the following when “Power Save” is set to “On”.
– “FL Display” is automatically set to “Automatic” (➡ 63).
– The “Quick Start” function does not work. (It is automatically
turned to “Off”.)
– When the unit is off, Pay TV programmes cannot be watched
on the TV because the signal from the connected decoder is
not looped through. To watch them, turn on the unit.
Setup
Tuning
Remote Control
Press “n” and “OK” together
for more than 5 seconds on the remote
control.
Disc
Picture
Clock
Automatic Off
Time Date
15
:
45 :
39
1
. 8
.
2008
Please set clock manually.
OK: store RETURN: leave
0 9
Number
OK
RETURN
SELECT
CHANGE
Quick Start
The Quick Start feature enables this unit to be ready to start
recording as quick as approx. 1 second
§
after turning it on. You
can start recording soon after deciding you want to record
something.
§
Only when recording to the HDD or DVD-RAM.
[On
]
[Off] Standby power consumption is less than when this is set to
“On”.
(If this is set to “On”, “Power Save” is automatically turned to “Off”.)
≥Startup takes up to a minute when:
– You play a disc or start recording to discs other than DVD-RAM.
– You want to make other operations.
– The clock has not been set.
DivX Registration
You need this registration code to purchase and play DivX Video-
on-Demand (VOD) content (➡ 33).
Initialize
Set to match the connected equipment.
≥Press [OK] to show the following settings.
Shipping Condition
All the settings except for the ratings level, ratings password and
clock settings return to the factory preset. The timer recording
programmes are also cancelled.
[Yes] [No
]
Default Settings
All the settings other than the tuning settings, clock settings,
country settings, language settings, disc language settings,
ratings level, ratings password, remote control code, return to
the factory presets.
[Yes] [No
]
Channel indication TV Channel
Germany/Italy Other Countries
2 – 4 E2 – E10 E2 – E12
5 – 10
11 – 12 E11 – E12
(Germany)
H1 – H2 (Italy)
13 – 20 A – H (Only Italy) —
21 – 69 E21 – E69 E21 – E69
74 – 78 S01 – S05 S1 – S5
80 S1 M1
81 – 89 S2 – S10 M2 – M10
90 – 99 S11 – S20 U1 – U10
121 – 141
S21 – S41
§
(Hyperband)
S21 – S41
(Hyperband)
Changing the unit’s settings
DMREH585EG-RQT9059-L_eng.book 65 ページ 2007年12月24日 月曜日 午後6時42分

 Loading...