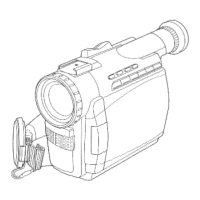
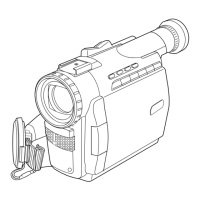
Removethelenscapandclipittothehand
strap.
C(iphere
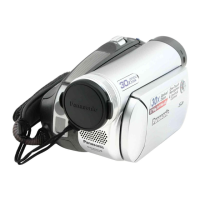
REC/PAUSE mode
1,5
POWER
2Vision-
Adjustment
Control
3MENU
-Before you begin
• Connect the Pa(mcorder to a power
source. (pp. 11, 12)
• }nsen a cassette with the record tab
dosed. (p. 6)
i Set POWER to CAMERA.
• The POWER Lamp [(ghts red.
• Be sure POWER (s {u(ly turned to the
CAMERA posit{on.
2
Ul
With the View"finder Eye Cup held up
against your eye, adjust the Vision
U
Adjustment Control to your eyesight,
Adjust the EVF Brightness of the
Viewfinder if necessary.
Please refer to "To adjust the LCD/
EVF BRIGHTNESS or COLOR" on
page t 6.
Set to REC-SPEED "SP" or "LP" in
the CAMERA Mode Menu.
(Menu OSD: p. 59)
Press REC/PAUSE to start recording.
• "REC" is displayed on the screen.
Press REC/PAUSE again to pause
recording,
Set POWER to OFF when finished.
• To remove the cassette, slide TAPE
EJECT.
• When the Pa;mcorder is aimed at
excessively bright objects, or bright lights,
a vertical bar may appear in the picture.
This Jsa normal characteristic of the CCO
pick.up device, Try to avoid this whenever
possible.
WARNING:
• Do notleave the Pa|mcorderwith the
EVFaimed directly at the sun as this
may causedamage to the Internal parts
ofthe EVF.
• Do not lift, or carry,the Palmcorder
by theEVF or the LCD Monitor.
To conserve power
fief 5 minutes, the Record/Pause mo_e
ill automatically change to Standby
ode.
o resume recording, set POWER to
FF and then ON again.
15
 Loading...