Preparation
8
VQT1C52
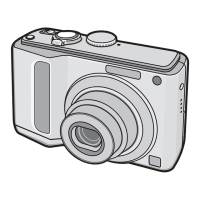
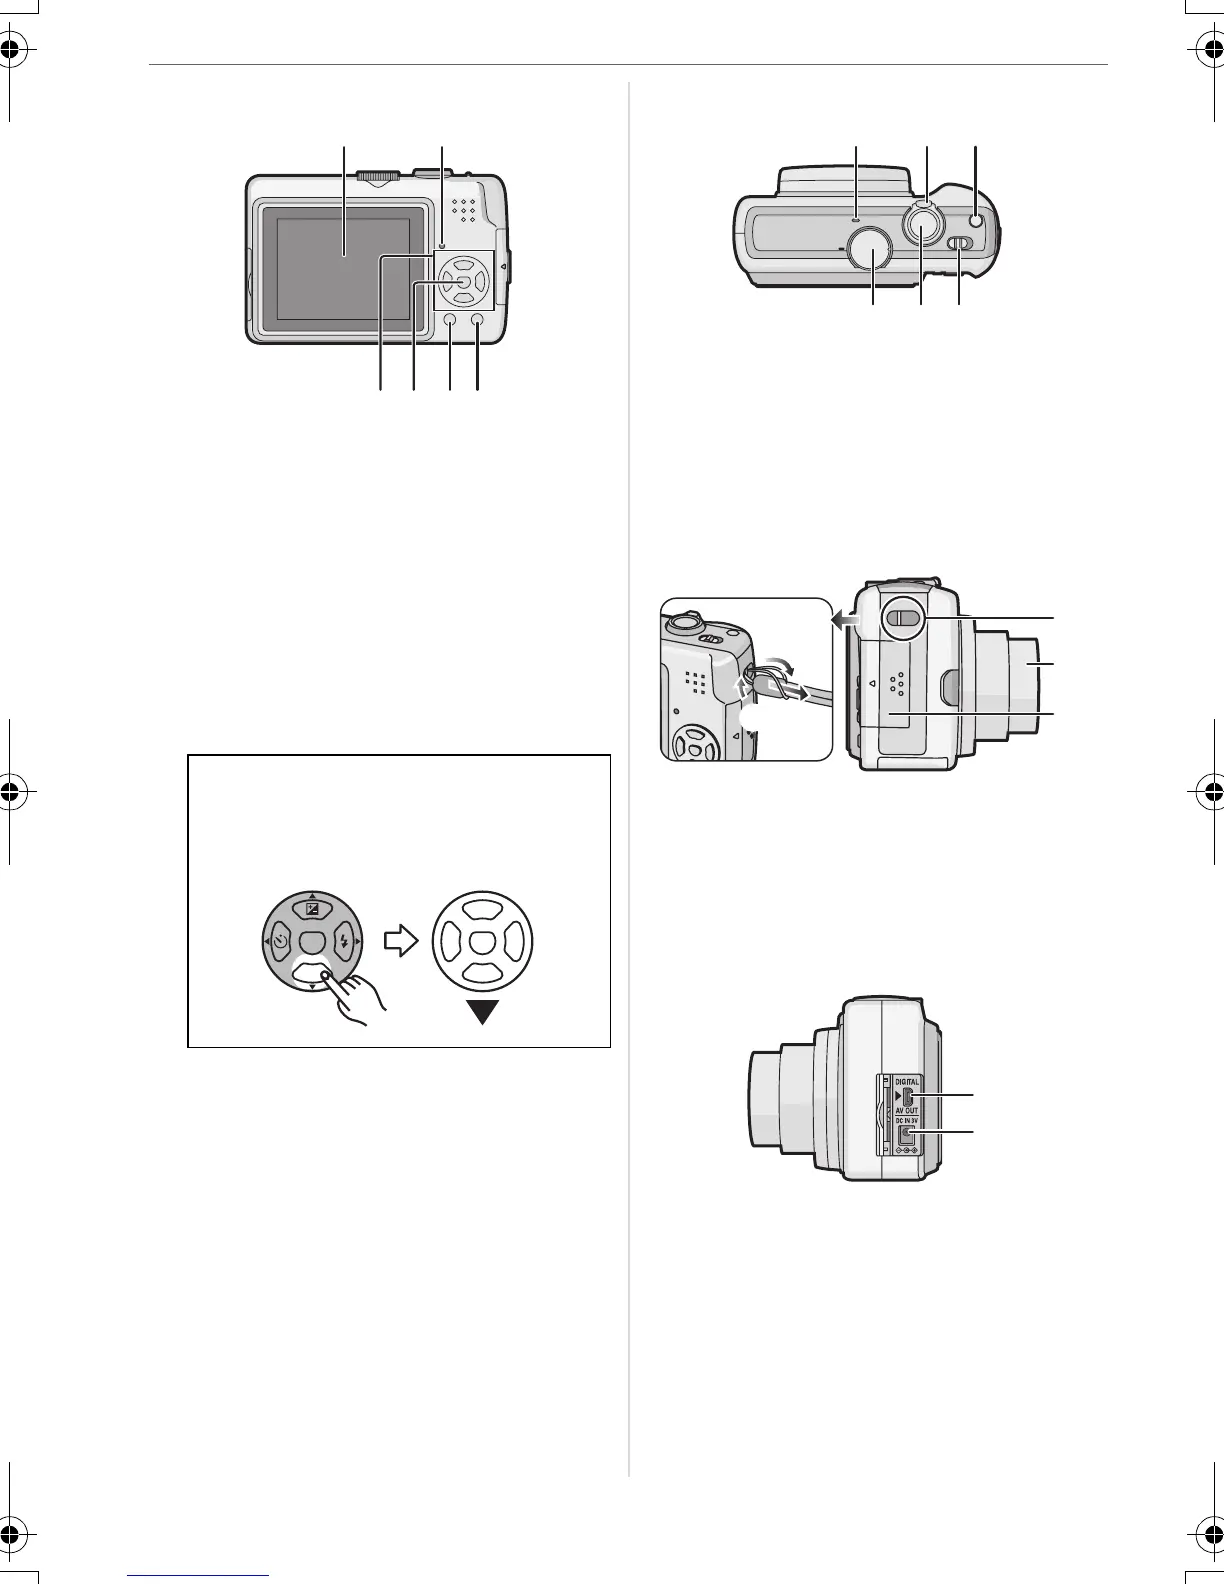
4 LCD monitor (P22, 34, 88)
5 Status indicator (P14, 20, 22)
6 Cursor buttons
2/Self-timer button (P40)
4/[REV] button (P30)
1/Flash setting button (P37)
3/Exposure compensation (P41)/White
balance fine adjustment (P58)/Backlight
compensation in simple mode button
(P27)
7 [MENU/SET] button (P19)
8 [DISPLAY] (P34)/[HIGH ANGLE] (P36)
button
9 [FUNC] (P56)/Delete (P31) button
10 Microphone (DMC-LZ7) (P50)
11 Zoom lever (P27)
12 [E.ZOOM] button (P28)
13 Mode dial (P17)
14 Shutter button (P23, 50)
15 Camera ON/OFF switch (P9, 16)
16 Strap eyelet
• When detaching the strap, untie the
knot in the string with a pointed object
and then detach it.
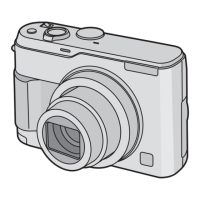
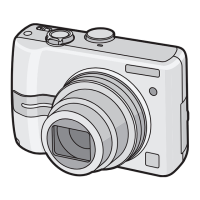
17 Lens barrel
18 Card door (P14)
19 [DIGITAL/AV OUT] socket
(DMC-LZ7)
[DIGITAL/V.OUT] socket
(DMC-LZ6)
(P80, 83, 87)
20 [DC IN] socket (P80, 83)
• Always use a genuine Panasonic AC
adaptor (DMW-AC6E; optional).
In these operating instructions,
operations using the cursor button
are described with illustrations below.
e.g.: When you press the 4 button
45
7689
REV
MENU
SET
10 11 12
13 1514
1
1
1
2
1
19
20
VQT1C52ENG.book 8 ページ 2006年12月29日 金曜日 午後2時14分