10
VQT3V72
After connecting your new player for the first time
and pressing [Í], a screen for the basic settings
will appear.
Preparation
Turn on the television and select the
appropriate video input on the television.
1 Press [Í].
Setup screen appears.
2 Follow the on-screen instructions and
apply the settings.
Playback
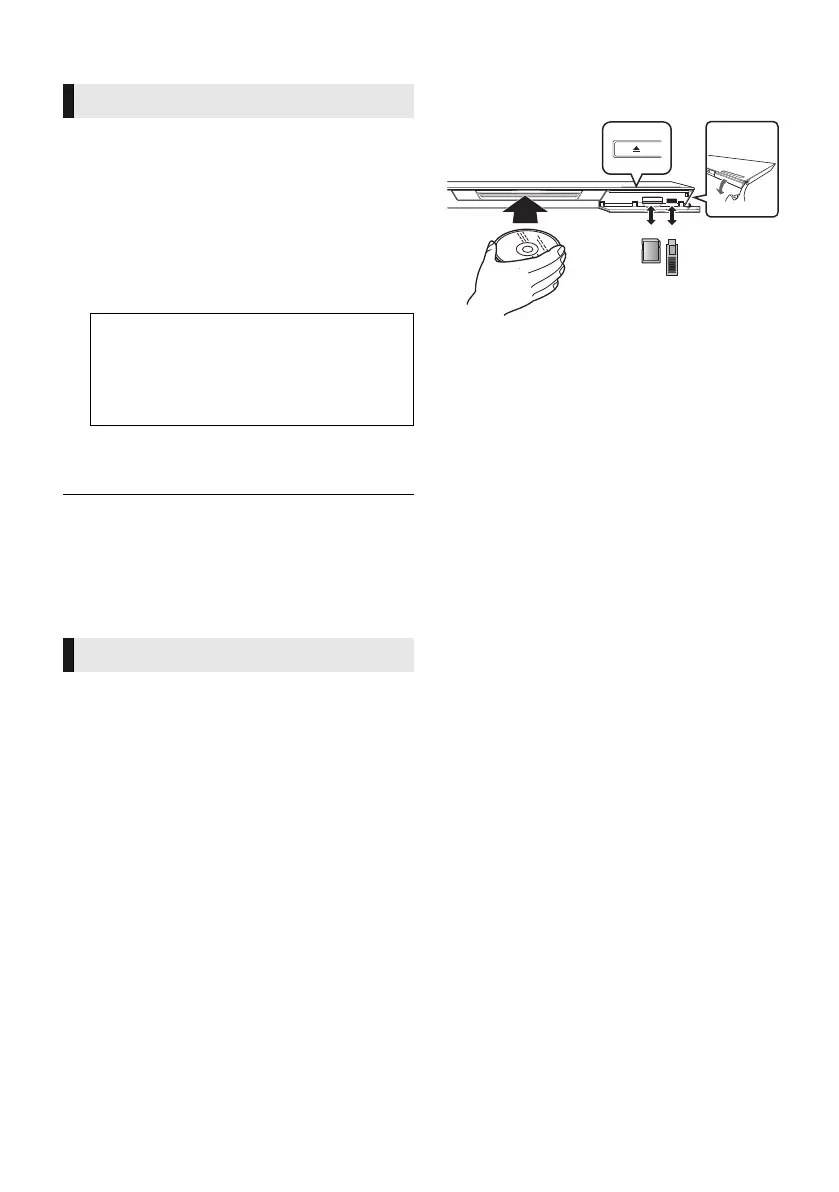
Inserting or removing
media
Notes
≥ When inserting a media item, ensure that it is
facing the right way up.
≥ When removing the SD card, press the centre
of the card and pull it straight out.
≥ If you connect a Panasonic product with a USB
connection cable, the setup screen may be
displayed on the connected equipment. For
details, refer to the instructions for the
connected equipment.
STEP 4 : Settings
Easy Setting
Standby/on switch (Í/I)
Press to switch the unit from on to standby
mode or vice versa. In standby mode, the
unit is still consuming a small amount of
power.
≥ You can perform this setup anytime by selecting “Easy
Setting” in the Setup menu. ([HOME] > “Setup” > “Player
Settings” > “System”)
≥ If this unit is connected to a Panasonic TV (VIERA)
supporting HDAVI Control 2 or later via an HDMI cable,
then setting information on the TV such as “On-Screen
Language” is acquired by this unit.
Easy Network Setting
After completing “Easy Setting”, you can perform
“Easy Network Setting”.
Select “Wired” or “Wireless”.
∫ “Wired” connection
Follow the on-screen instructions to apply your
connection settings.
∫ “Wireless” connection
Select “Search for wireless network” or “WPS
(PUSH button)”, then follow the on-screen
instructions and apply the settings.
Inserting disc in the disc slot
≥ The disc will be pulled in when inserted
partially.
To eject the disc
Touch
[
<
].
≥ Use the front USB port when you connect a
USB memory or a USB HDD. The USB port on
the rear panel is only for the Communication
Camera.
(10)
DMP-BDT320EG-VQT3V72.book 10 ページ 2012年1月5日 木曜日 午前11時24分
 Loading...