Do you have a question about the Panasonic DMP-BDT110 and is the answer not in the manual?
Instructions on how to power the unit on and switch it to standby mode.
Details on using TV-specific buttons on the remote control for TV operation.
Explanation of fundamental buttons used for controlling playback functions.
Connects the unit to a TV via HDMI for high-quality video and audio, supporting 3D.
Connects the unit to a TV using composite video and audio cables for standard quality.
Connects the unit to an amplifier/receiver via HDMI for high-quality audio, supporting 3D.
Connects the unit to an amplifier/receiver using an optical cable for digital audio.
Instructions for connecting the unit to a network using a wired LAN cable.
Guide for connecting the unit to a wireless network, including built-in and adapter options.
Guides through the initial basic settings for the player upon first use.
Steps to configure a wired network connection for the unit.
Steps to configure a wireless network connection, including SSID and encryption.
How to navigate and select items within the HOME menu for various functions.
How to use BD-Live features by connecting to the internet and using an SD card.
Options for configuring 3D playback, including format, type, and precautions.
How to play 3D Blu-ray discs, including options for 2D conversion.
Selecting the correct 3D format based on the connected TV.
Steps required before using VIERA CAST, including network connection.
How to navigate and select services from the VIERA CAST home screen.
How to play back media from a DLNA server using the unit.
Steps to prepare for using DMC to control DLNA server content.
Instructions on controlling DLNA server content via a compatible DMC device.
How the unit and connected equipment turn off simultaneously with the TV.
How the TV automatically switches input when playback starts or actions are performed.
Settings related to disc playback, including ratings and language options.
Settings for HDMI output, including resolution and 24p output.
Guides on how to update the unit's firmware via internet or CD-R.
| 3D | Yes |
|---|---|
| Wi-Fi | No |
| Weight | 1600 g |
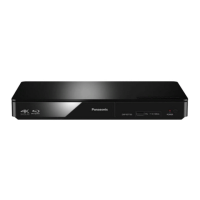
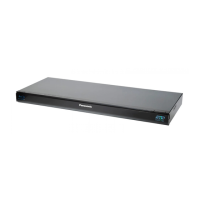
| Device type | Blu-Ray player |
| Audio system | Dolby Digital Plus, Dolby TrueHD |
| Product color | Black |
| AC input voltage | 220 - 240 V |
| Playback formats | DivX HD |
| AC input frequency | 50 Hz |
| Dimensions (WxDxH) | 430 x 35 x 179 mm |
| Composite video out | 1 |
| Disc types supported | BD-R, BD-RE, BD-ROM, CD, CD-R, CD-RW, DVD, DVD+R, DVD+R DL, DVD+RW, DVD-R, DVD-R DL, DVD-RW |
| Audio formats supported | MP3 |
| Image formats supported | JPG |
| Video formats supported | DIVX, MKV |
| Power consumption (standby) | 0.2 W |
| Power consumption (typical) | 11 W |