11.1.3. CHECKING AND REPLACING OF DVD-RAM DRIVE
1. Top Case
· Remove 2 Screws (A) on side and 3 rear Screws (B)
· Remove Top Case
2. Front Panel
· Unlock 2 Locking Tabs on side and 3 Locking Tabs on bottom
· Remove Front Panel
3. SD Card P.C.B.
· Remove 2 Screws
· Lift up SD Card P.C.B. and wrap it with insulation sheet.
4. HDD
· Remove 4 Screws fixing HDD Angle to remove it with HDD
· Disconnect FFC from HDD
5. RAM/Digital P.C.B. Module
· Remove 4 Screws fixing DVD-RAM Drive
· Disconnect FFC from HDMI P.C.B.
· Lift up Digital P.C.B. slightly to disconnect Main P.C.B. Connector and DV IN P.C.B. Connector on the bottom side.
· Take DV IN P.C.B. out of the Main P.C.B. and attach it to the Digital P.C.B.
· Put RAM/Digital P.C.B. Module on the side.
Connect Extension Cable:
− between Main P.C.B. and DVD-RAM Drive with RFKZ0260
− between Hard Disc Drive and Digital P.C.B. with FFC Extension Cable RFKZ0366
− between HDMI P.C.B. and Digital P.C.B. with FFC Extension Cable RFKZ0366
Caution
Orginal screws should be used.
39
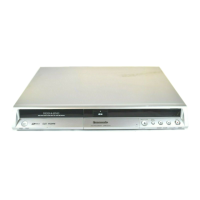
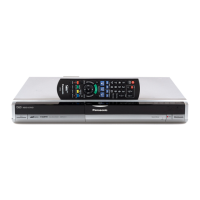
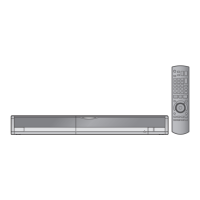
DMR-EX75EG / DMR-EX75EC / DMR-EX75EB / DMR-EX85EG / DMR-EX85EB
 Loading...