Getting started
SQT0136
14
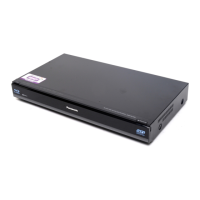
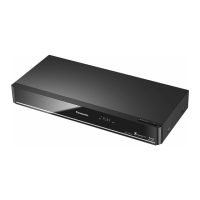
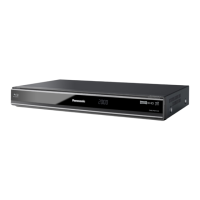
Connection
3D programmes can be played back when this unit is connected to a 3D compatible TV.
• Before connection, turn off all equipment and read the appropriate operating instructions.
To connect and register the USB HDD (optional)
Refer to “Registering the external HDD (USB HDD)”. (> 59)
About HDMI cable
If you use an optional HDMI cable, use the High Speed HDMI cables. Non-HDMI-compliant cables
cannot be utilized.
It is recommended that you use Panasonic’s HDMI cable.
When outputting 1080p signal or 24p (4K) signal, please use HDMI Cables 5.0 meters or less.
• This unit cannot connect the TV that does not have the HDMI terminal.
• Keep the RF coaxial cables as far away as possible from other cables.
• The HDMI connection supports VIERA Link “HDAVI Control” (> 61).
• You cannot connect this unit to DVI devices that are incompatible with HDCP.
Depending on the device, images may not display properly or at all when connecting with a DVI/HDMI switching cable. (Audio
cannot be output.)
• If you are connecting to a TV that is only compatible with 2 channel audio output, audio with 3 channels or more will be down
mixed and output as 2 channels, even if connecting with an HDMI cable. (Some discs cannot be down mixed.)
Basic connections
TV’s rear panel
This unit’s rear panel
Household mains socket
(AC 220 to 240 V, 50 Hz)
Cooling fan
AC mains lead
(supplied)
• Connect only after all other
connections are complete.
HDMI cable
(supplied)
To the aerial
Aerial cable
RF coaxial cable
(supplied)
DMRPWT540GL_eng.book 14 ページ 2014年2月6日 木曜日 午前11時28分
 Loading...