29
Set TC PRESET so you can record a value of your
choice as the initial setting for the time code to be
used at the start of recording.
1 Set the POWER switch to ON.
2 In the setup menus, RECORDING SETUP
screen FIRST REC TC, select PRESET.
• For menu operation (Page 66)
• You can also use the menu buttons on the
remote control. (Page 19)
3 Move the OPERATION lever r to select TC
PRESET.
4 Press the OPERATION lever [h] (or move it
y), move it r to move to select YES and
press [h] again.
5 The following screen appears, so use the
OPERATION lever to set the time code.
Move the OPERATION lever e or r to
change the time code.
Move the OPERATION lever t or y to
move to the next digit.
Specifying the time code (TC PRESET)
P
O
W
E
R
O
N
O
F
F
RECORDING SETUP
PUSH MENU TO RETURN
MIC ALC
AUDIO REC
MIC GAIN2
MIC GAIN1
-50B
ON
48K(16bit)
SP
-50B
REC SPEED
TC MODE
FIRST REC TC
TCG
REC RUN
DF
TC PRESET
RECORDING SETUP
PUSH MENU TO RETURN
UB PRESET
UB MODE
REC TIME
ONE-SHOT REC
OFF
0.5
S
USER
- - - -
YES
TC PRESET
RECORDING SETUP
PUSH MENU TO RETURN
UB PRESET
UB MODE
REC TIME
ONE-SHOT REC
OFF
0.5
S
- - - -
You can reset the time code to zero by pressing
COUNTER RESET.
TC PRESET
PUSH MENU TO RETURN
0 0 h 0 0 m 0 0 s 0 0 f
+/
-
SEL
: PUSH PLAY/STOP
: PUSH REW/FF
TC PRESET
PUSH MENU TO RETURN
1 0 h 0 0 m 0 0 s 0 0 f
+/
-
SEL
: PUSH PLAY/STOP
: PUSH REW/FF
TC PRESET
PUSH MENU TO RETURN
1 0 h 0 0 m 0 0 s 0 0 f
+/
-
SEL
: PUSH PLAY/STOP
: PUSH REW/FF
OSD
COUNTER
RESET TITLE
VOL +
MULTI/
P-IN-P
REC A.DUB
PLAY/REW FF/
ZOOM
DATE/
TIME
PHOTO
SHOT
START/
STOP
-
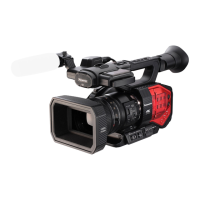
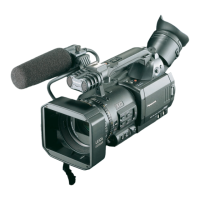
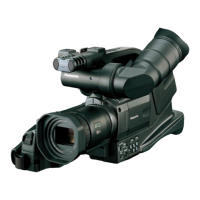
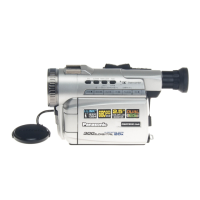
Camera or Remote control
Preparations