12
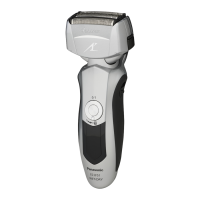
Parts identication
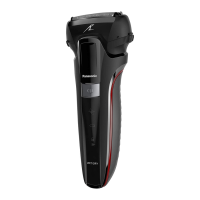
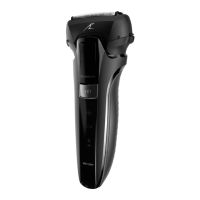
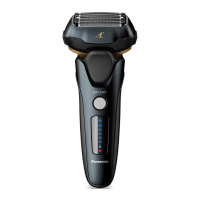
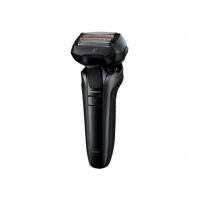
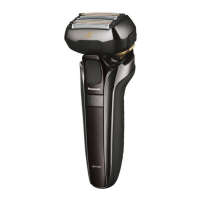
A
Main body
1 Protective cap
2 System outer foil
3 Foil frame
4 Power switch
5 Lamp display
a. Shaving sensor
lamp (
)
b. Battery capacity
lamp ( )
c. Switch lock lamp ( )
d. Charge status lamp
( )
6 Appliance socket
7 Foil frame release
buttons
8 Outer foil section
9 Inner blades
Trimmer
Trimmer handle
System outer foil
release buttons
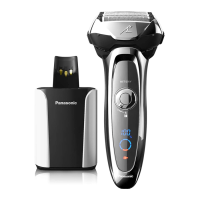
B
AC adaptor (RE7-87)
Adaptor
Power plug
Appliance plug
Cord
C
Length adjustment
comb attachment
(1~3 mm)
Comb attachment
release buttons
D
Length adjustment
comb attachment
(5~7 mm)
Comb attachment
release buttons
Accessories
E
Cleaning brush
F
Oil
G
Operating Instructions
H
Guarantee Card
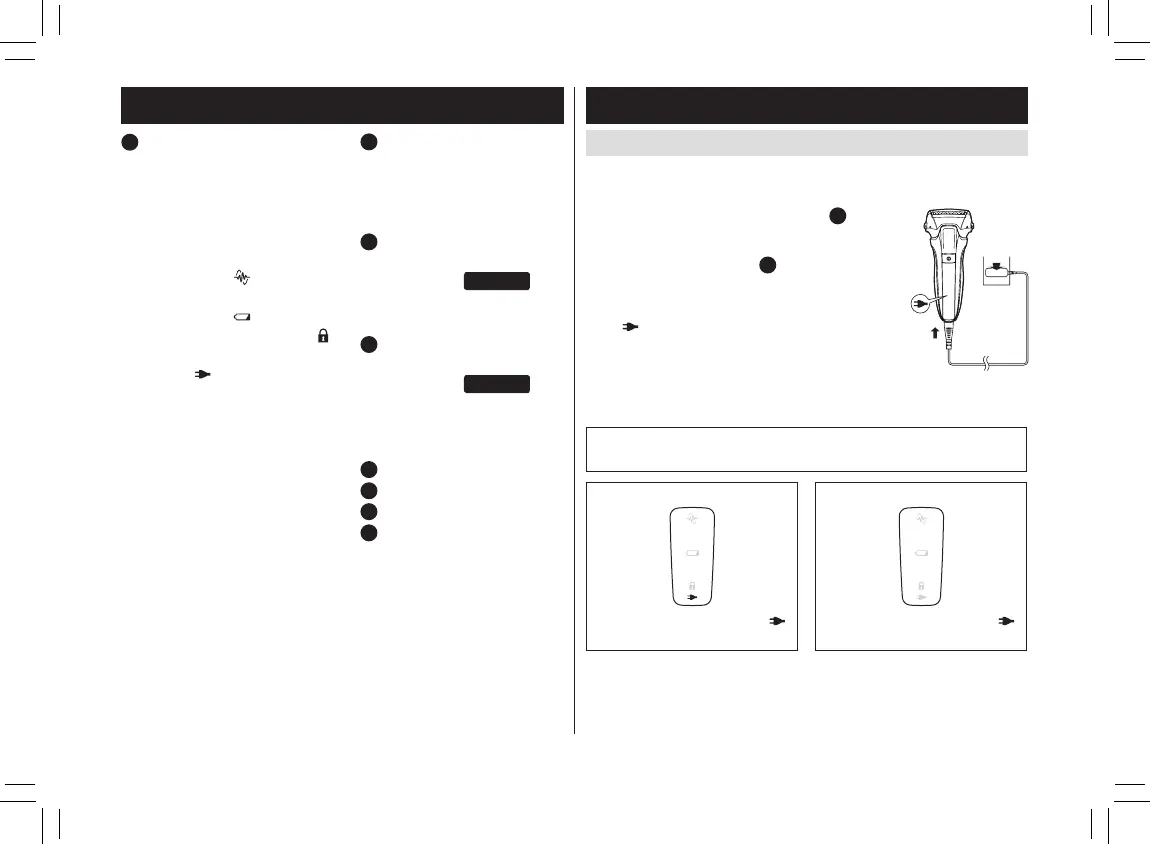
Preparation
Charging the shaver
•Turntheshaveroff.
•Wipeoffanywaterdropletsontheappliancesocket.
1. Insert the appliance plug [
B
]
into appliance socket.
2. Plug the adaptor [
B
] into a
household outlet.
•Checkthatthechargestatuslamp
( ) is glowing.
•Chargingiscompletedafter
approx. 1 hour.
3. Disconnect the adaptor after
charging is completed.
1
2
Note
You cannot operate the shaver while charging.
While charging
The charge status lamp ( )
glows.
After charging is completed
The charge status lamp ( )
turns off.
ES‑LL21������.indb12 2018/6/1911:47:34