INSTALLATION I
-
Wall thickness is
4.5"~
6"
(1
14mm~1 52mm)
NOTE
1
This ventilating fan can be installed with an
interior wall covering thickness of
1/2"-1
1/4"
(12.7mm-31.8mm).
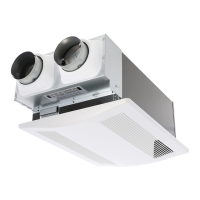
The figures below are applicable to both
the
FV-01WS2 model and the FV-04WS2
model.
1 . Cut an interior and exterior hole matching the fan
duct diameter. For the interior hole, maintain an
8"
clearance between the outer hole diameter and
walls or ceilings. For the exterior hole, the ideal
height would be between
72"
(1829
mm) and
84"
(2137
mm). (Fig
1)
Model
A
B
C
FV-01WS2
5 11/16
(145)
4 1/2
(114)
3/16
(4)
FV-04WS2
7 1/2
(190)
6 5/16
(160)
3/16
(4)
A
CAUTION
The hole should be made in an area where
pipes, cables and telephone line are not run,
and
there are not studs in the way.
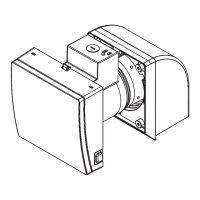
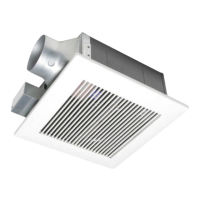
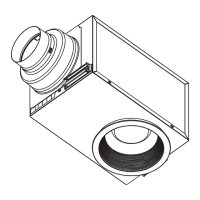
2. Separate the product to main unit, duct unit and
hood unit. (Fig.
2)
3. Unscrew two screws, lower the junction box into
the duct and pull it out from duct unit. (Fig.
3)
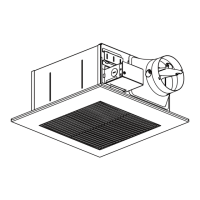
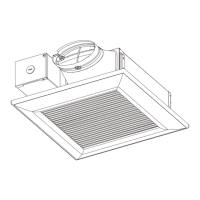
. Insert the duct unit into wall and secure it to the
drywall or other wall covering
by
screw
II
(ST4.2X20) in accessory. (Fig.
4)
Before installation, adjust the direction of
the duct unit in accordance with UP mark.
The upper edge should be kept horizontal.
A
CAUTION
Particularly in the extremely cold area, please
take thermal insulation around the duct unit,
to avoid condensation.
5. Pull flexible conduit or other supply wiring
through the junction box holeintheductunit
and into the room
6"-1
0"
. (Fig.
5)
Unit: inches (mm)
Stud
Exterior sheathing
and siding
=8(203
s8(203)
lnterior drywall
Fig. 1
Fig.
2
Junction box
Screws
Fig. 3
Interior drywall
Fig. 4
Flexible Conduit
Fig. 5
6