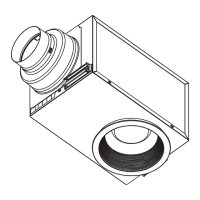
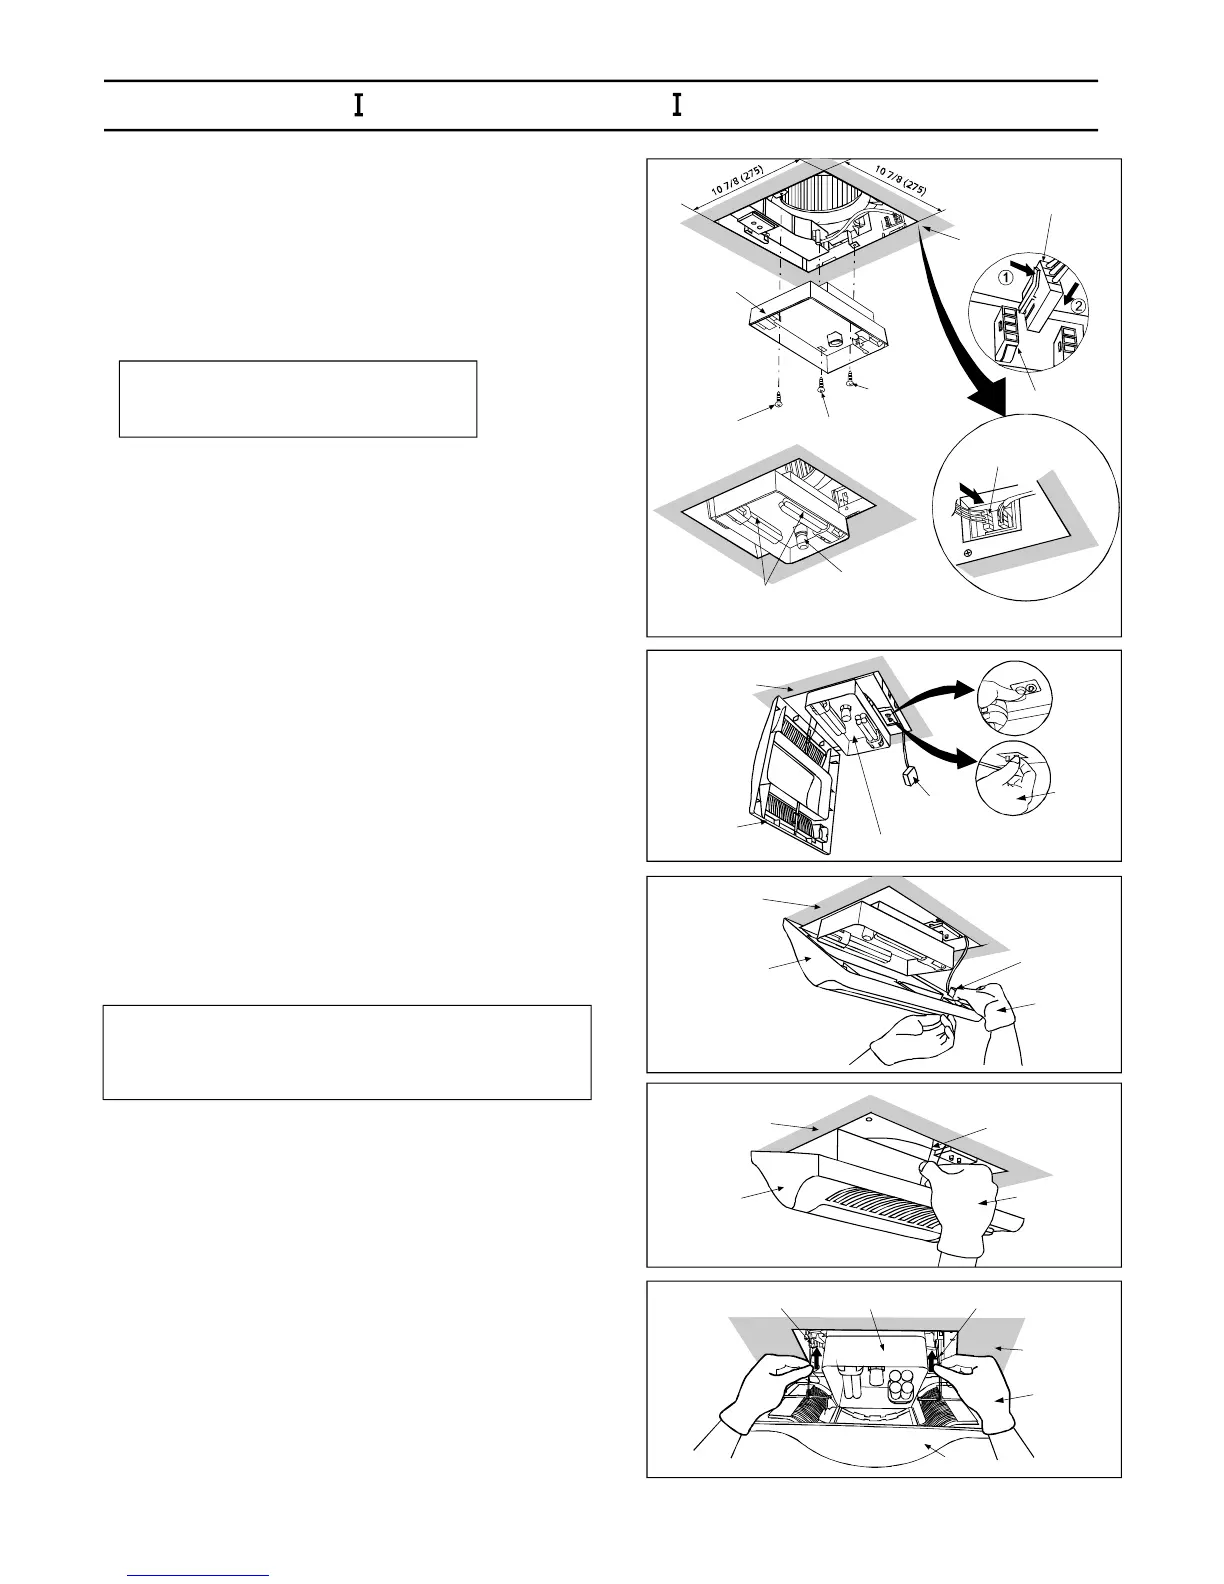
7.Finishceilingwork.Ceilingholeshouldbealigned
withtheedgeoftheflange.(Fig.5)
8.Inserttheplugconnectorintothereceptacle,
andsecurethelightingunittothefan
bodywith1screw(ST4.2X16)and2machine
screws(M4X8).(Fig.5)
IIII
III
9.Insertthefluorescentlampsandsecurethenight
lampintothelightingunit.(Fig.5)
10.Insertmountingspringintotheslotasshownand
adjusthigh/lowdelaytimepresetswitchandlow
speedairvolumepresetswitch.Refertoswitch
indicationonpage5(FV-08VKML2)(Fig.6-1)
11.Insertthesensorunitintothehousingofthegrille
andinsertothermountingspringintotheslotas
shownandmountgrilletofanbody(FV-08VKML2)
(Fig.6-2,Fig.6-3)
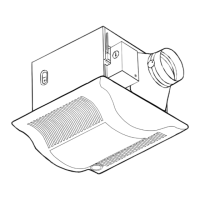
12.Insertmountingspringsintotheslotsasshownand
mountgrilletofanbody.(FV-08VKSL2)(Fig.7)
Mountgrillecarefullysothatleadwireofsensorunit
isnotpinched.
CAUTION:
INSTALLATION(JOISTMOUNTING-)CONTINUED
Ceiling
Lightingunit
Machinescrew
(M4X8)
Machinescrew
(M4X8)
Screw(ST4.2X16)III
4WNightlamp
Fluorescentlamps
Inches(mm)
Plugconnector II
Mountingspring
Mountingspring
Ceiling
Ceiling
Ceiling
Ceiling
Grille
Grille
Grille
Gloves
Grille
Slot
Lightingunit
Lightingunit
Sensorunit
Sensorunit
Fig.5
Fig.6-1
Fig.6-2
Fig.6-3
Fig.7
Gloves
10
Receptacle II
Plugconnector II
Gloves
Gloves
Themachinescrewsmustbetightfit.
CAUTION:
PDF created with pdfFactory Pro trial version www.pdffactory.com