Do you have a question about the Panasonic HDC-SD60 and is the answer not in the manual?
| Optical zoom | 25 x |
|---|---|
| Image stabilizer | Yes |
| Focal length range | 3.02 - 75.5 mm |
| Focal length (35mm film equivalent) | 36 - 900 mm |
| Sensor type | MOS |
| Total megapixels | 3.32 MP |
| Optical sensor size | 1/4.1 \ |
| Interface | USB 2.0, AV multi |
| Display diagonal | 2.7 \ |
| Camera shutter speed | 1/2 - 1/2000 s |
| Minimum illumination | 4 lx |
| USB 2.0 ports quantity | 1 |
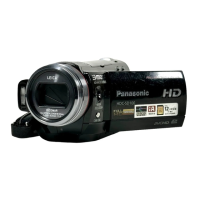
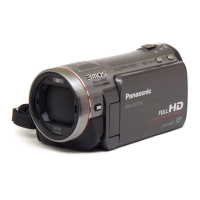
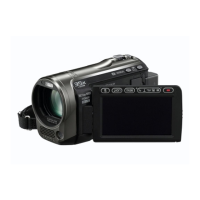
| Product color | Silver |
| Depth | 65.5 mm |
|---|---|
| Width | 51.5 mm |
| Height | 112 mm |
| Weight | 255 g |
Information regarding electromagnetic compatibility and use of recommended accessories.
Information on compatible batteries and recommendations for genuine Panasonic packs.
Guidance on operating the LCD monitor via touch screen and stylus pen.
List and description of various operation icons for image effects.
Automatic settings for different shooting situations via scene modes.
Instructions for manual focus adjustment when auto focus is difficult.
Guidance on adjusting white balance manually for natural colors.
Operations for fast forward, rewind, slow-motion, and frame-by-frame playback.
How to save a single frame from motion playback as a still picture.
Playing back recorded scenes and pictures in chronological order.
Extracting and playing back specific parts of recordings with added music.
Steps to delete multiple scenes or still pictures from the thumbnail view.
Deleting scenes or still pictures after confirming them during playback.
Instructions for connecting the unit to a TV using various terminals.
Steps for connecting the unit to a TV using an HDMI mini cable.
Connecting the unit to a VIERA Link compatible TV for linked operations.
Steps for copying motion or still pictures between storage media.
Information on recommended discs and preparing for copy operations.
Copying motion/still picture data to PC hard drives.
System requirements for installing and running HD Writer AE 2.0.
Check points for when the unit fails to power on.
Check points for battery issues and short operating times.
Steps to reset the unit when it does not operate normally.
Reasons for recording stopping, including SD card issues and AGS function.
Troubleshooting steps for automatic error detection and unit restart.
Check points for VIERA Link functionality issues.
Troubleshooting steps when the PC does not detect the unit via USB.
Troubleshooting charging errors based on status indicator flashing patterns.