Initial setup (for Android device
u
sers)
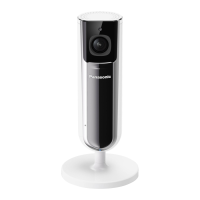
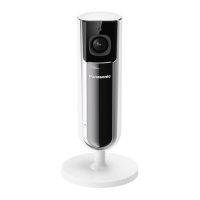
1 Plug in the camera and wait
about 1 minute for the
camera’s LED to light in green.
R If the LED does not light in
green, or if you experience
trouble during this
procedure, reset the
camera (page 22) and
then repeat this procedure.
2 Start the [HomeHawk] app.
R The end-user license
agreement is displayed the
first time you start the app.
3 Follow the on-screen
instructions.
4 Tap [Indoor HD Camera].
5 Tap [Set up the HD Camera].
6 When prompted, press the
MSETUPN button on the back
of the camera.
R The LED indicator blinks in
green.
R The app temporarily
changes your mobile
device’s wireless LAN
setting so that it connects to
the camera directly.
7 If necessary, enter the
password required to connect
to your wireless router and
t
hen tap [Next].
R The camera and your
mobile device connect to
your wireless router.
R If you enter the wrong
password, an error is
displayed. Repeat the initial
setup procedure from the
beginning.
8 When prompted, press the
MSETUPN button on the back
of the camera.
R The camera registers your
mobile device.
9 When prompted, set the
password that will be used to
access the camera.
10 When prompted, enter a
name for your mobile device
and then tap [OK].
R This setting allows you to
change the name assigned
to your device. It can help
you identify your mobile
device when performing
certain operations, such as
deregistering a mobile
device.
R A list of all cameras
registered to the app is
displayed when initial setup
is complete.
20
For a
ssistance, please visit http://shop.panasonic.com/support
Setup
 Loading...


