


L
Linda PhillipsSep 12, 2025
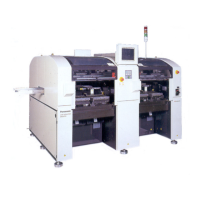
Why is marking disordered on Panasonic Printer?
- SSheila DuranSep 12, 2025
If the marking is disorder (Characters lose shape or not formed.) on your Panasonic printer, make sure the head has fixation strength and fix head with the specified torque. Also, improve strength of head mounting. Perform vibration prevention measures if there is constant vibration from surrounding equipment.