D
Deanna LutzAug 4, 2025
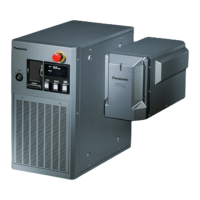
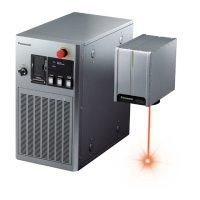
What to do if my Panasonic LP-Z256 Label Maker does not start?
- SStephanie DavisAug 5, 2025
If your Panasonic Label Maker isn't starting, make sure the power cable is securely connected. Also, verify that the key switch is turned on. Ensure that the power supply is working. If none of these steps work, the fuse might be blown and needs replacing.