11. Using the Wi-Fi function
166
• Confirm encryption key of the selected wireless access point if the network authentication is
encrypted.
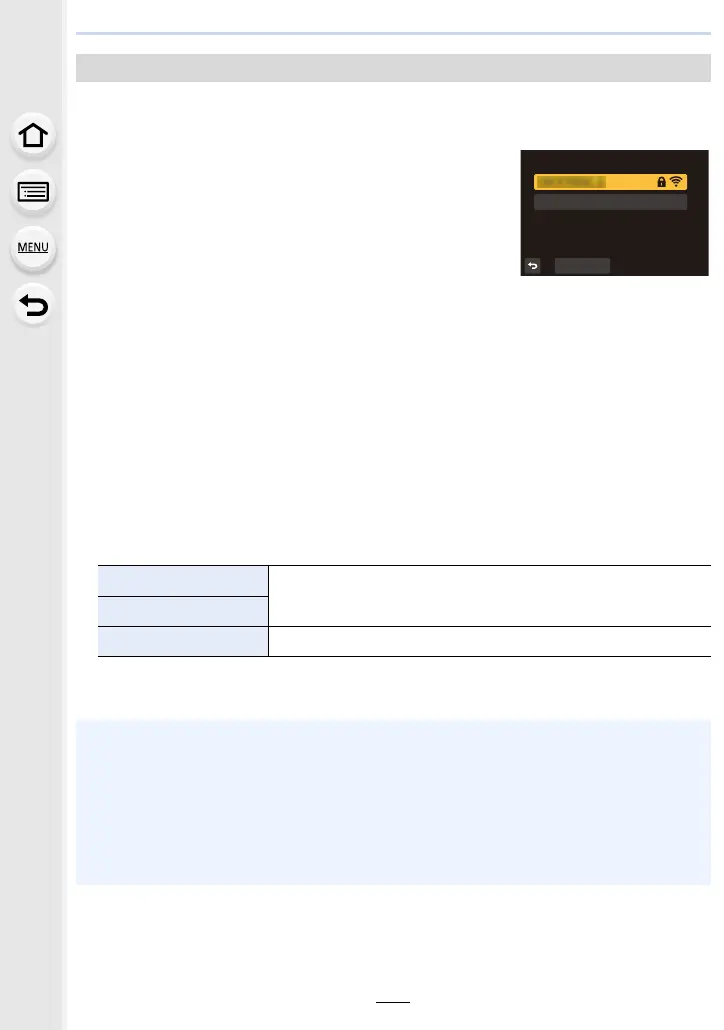
1 Press 3/4 to select the wireless access point you
are connecting to, and press [MENU/SET].
• Pressing [DISP.] will search for a wireless access point
again.
• If no wireless access point is found, refer to “When
connecting with [Manual Input]” on P166.
2 (If network authentication is encrypted)
Enter the encryption key.
• For information on how to enter characters, refer to P44.
• Except for the first-time connection, a connection will be made automatically using the
previously-used encryption key.
∫ When connecting with [Manual Input]
• When connecting by [Manual Input], confirm SSID, authentication type, encryption type,
encryption key of the wireless access point you are using.
1 On the screen displayed in step 1 of “If you are not sure about the WPS compatibility
(connecting by [From List])”, select [Manual Input] by pressing 3/4, then press
[MENU/SET].
2 Enter the SSID of the wireless access point you are connecting to, then select [Set].
• For information on how to enter characters, refer to P44.
3 Press 3/4 to select the network authentication type, and press [MENU/SET].
4 (When an option other than [No Encryption] is selected)
Enter the encryption key and select [Set].
If you are not sure about the WPS compatibility (connecting by [From List])
[WPA2-PSK]
Supported encryption type: [TKIP], [AES]
[WPA2/WPA-PSK]
[No Encryption] —
• Check the wireless access points instruction manual and settings when saving a wireless
access point.
• If no connection can be established, the wireless access point’s radio waves may be too
weak.
Refer to “Message Display” (P181) and “Troubleshooting” (P183) for details.
• Depending on your environment, transmission speed between the camera and wireless
access point may decrease. In addition, the wireless access point may not be available for
use.
',63
8SGDWH
0DQXDO,QSXW
6HOHFWWKHGHVWLQDWLRQ$3

 Loading...