250
Connecting with other devices
Viewing on TV screen
Preparation
Turn off both camera and TV.
1
Connect camera to TV
Check the plug direction and insert it straight in. (Inserting these at an angle may
cause deformation or malfunction) Also, do not insert into the wrong socket. Doing
so may cause damage to this unit.
HDMI micro cable
Use a High Speed HDMI micro cable (Type D–Type A plug) with the length less than 3 m
(9.8 feet).
[HDMI] socket
To HDMI video/audio input socket
2
Turn on the TV and switch the TV input source to match the
connection socket
3
Turn on the camera and press [ ] (Playback) button
●
Bars may appear at the sides or at the top and bottom of the screen, depending on the aspect
ratio setting.
●
Change the screen mode on your TV if the picture is displayed with the top or bottom cut off.
●
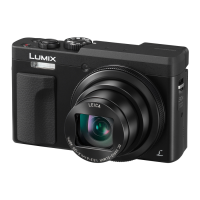
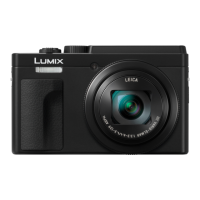
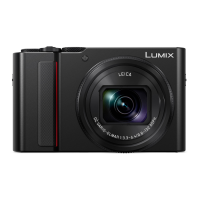
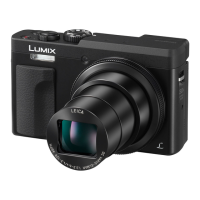
With camera models DC-TZ99E/DC-TZ99GA/DC-TZ99GH/DC-TZ99GN:
Depending on the TV to be connected, motion picture files or 4K burst files may not be played
back correctly.
●
Check the [HDMI Mode (Play)]. (→201)
●
Pictures are not displayed on the camera screen. Also, sound is not produced from the camera’s
speaker.
●
HDMI output will be canceled if a USB connection cable is connected simultaneously.
●
Read the operating instructions for the TV.

 Loading...
