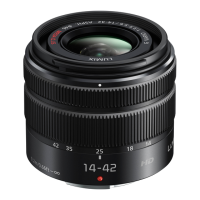
7.4.3. Master Body(DC-S1R) Setting and Position
7.4.3.1 Master Body(DC-S1R) Setting
7.4.3.2 Master Body(DC-S1R) Position
- The Guide line of the Checking Chart shall enter the upper
edge of the LCD screen.
- These adjustment execute in case of both TELE end checking
and WIDE end checking.
- Cancel the Initial Setting
- Set the function parameter to below setting
end is full display (camera LCD).
Place the Lens so that the center of the Checking chart come the
the center of the taking a picture screen of Master Body(DC-S1R).
Set the height of a tripod as the center of the Checking Chart
is corresponding to the height of the lens.
Set the position of DSC by using a setsquare etc.
Adjustment distance between the camera and Checking Chart
so that picture size and horizontal level in TELE end and WIDE
Setting Item Setting value
Mode dial A (Aperture-Priority AE Mode)
Aperture F 4 (Maximum aperture)
Focus mode
【S】([AFS])
ISO 100
Image stabilizer OFF
White balance AWB
AF mode 1point
Photo style Monochrome
Metering mode Multi
Picture size
L(46.5M)
Picture quality FINE
Flash mode Off
Aspect Ratio 3:2
Exposure compensation 0EV
<TELE end>
<WIDE end>
Checking
Chart
About 4200mm
About 960mm
Move the Tripod to show expected frame of chart
on the LCD for both TELE end and WIDE end
Guide line of the Chart
27

 Loading...
