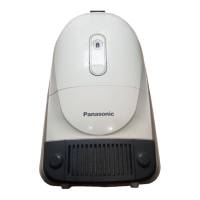
12
REMPLACEMENT OF MAIN PARTS
4. Remove the lead wires (provided with quick-connect
terminal) from the contact springs tab-terminals and take
out cord reel ass’y. (Fig. 3)
5. Take out motor ass’y, and disconnect from the power control
circuit tabs yellow and white lead wires (provided with
quick-connect terminals).
6. Remove motor cover and noise suppressor then disconnect
the lead wires from the carbon brush holder tabs. (Fig. 4)
7. Remove front and rear motor supports. (Fig. 5)
8. Replace the motor with a new one and connect the lead
wires according to the schematic diagram.
9. Reassemble front / rear motor supports, noise suppressor
and motor cover.
Note: Adjust the position of the rear motor support on the
proper motor position.
10. Place motor ass’y and body cover into the lower body,
connect the lead wires accoding to the schematic diagram
and reassemble the remaining parts in the reverse order.
Fig. 4
Fig. 3
Quick-connect terminals
Front motor
support
Fig. 5
Motor
Rear motor
support
Motor
Cord reel
ass’y
Tab-terminals
Motor cover
Carbon brush holder
Motor cover
Body cover
Noise suppressor