EN6
How to use the scraper
Ɣ
,WFDQEHLQVHUWHGWKURXJKWKHOLGRSHQLQJZKLOHEOHQGLQJZLWKRXW
LQWHUIHULQJZLWKWKHEOHQGHUEODGH
Ɣ
6OLGHWKHVFUDSHUWKURXJKWKHOLGRSHQLQJDQGVFUDSHWRUHPRYHIRRGVWLFNLQJWREOHQGHUMXJVLGHV
Ɣ
To avoid ingredients splattering, it is recommended to insert the scraper from the lid opening
ZKHQXVLQJEOHQGHUMXJ
Scraper is useful when
Ɣ
WRROLWWOHOLTXLGPDNHVLQJUHGLHQWVKDUGWREOHQGHJIRUGLSVVDXFHVFXUU\GLVKHV
Ɣ
LQJUHGLHQWVVWLFNWRWKHLQQHUVLGHRIFRQWDLQHUHJJDUOLFFKLOHSHSSHU
Align the
Ÿ
on the motor
housing with the
ӟ
on the mill
container.
Ύ
Twist mill container clockwise
XQWLO\RXKHDUDFOLFNVRXQG
z
0LOOFRQWDLQHURQO\FDQEHDWWDFKHG
E\DERYHVWHSV
4
:KHQEOHQGLQJLVFRPSOHWHG
turn the rotary switch to
SRVLWLRQWRVZLWFKRII
Unplug.
Turn the mill container
anticlockwise to remove it,
open the mill container, and
take out the ingredients.
1
Turn the mill container upside down and place the
ingredients in it. Twist the mill container base
clockwise until you hear a click sound.
2
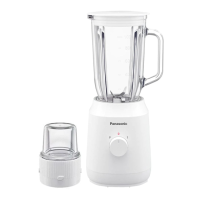
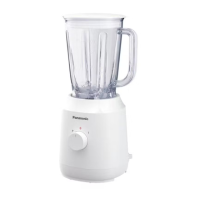
Attach blender jug to the motor housing.
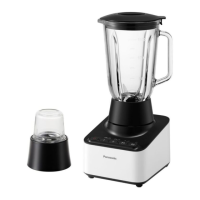
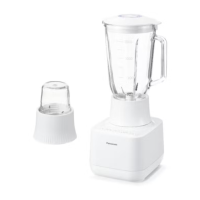
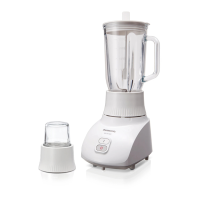
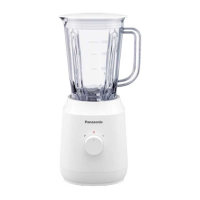
Blender
Dry mill
1
Place the ingredients into blender jug, and then close the lid.
To disassemble
Turn anticlockwise
Ɣ
3RXUOLTXLGILUVWIROORZHGE\VRIWLQJUHGLHQWVDQGWKHQRWKHUV
L/LTXLGLL6RIWLQJUHGLHQWVLLL+DUGLQJUHGLHQWVLY,FHFXEHV
Align the
Ÿ
on the motor
housing with the
ӟ
on the
EOHQGHUMXJ
Ύ
7ZLVWEOHQGHUMXJFORFNZLVH
XQWLO\RXKHDUDFOLFNVRXQG
z
%OHQGHUMXJRQO\FDQEHDWWDFKHG
E\DERYHVWHSV
3
Plug in. Hold the blender jug, and then turn the rotary
VZLWFKWRSRVLWLRQWRVWDUW
Ɣ
If the appliance stops
during operation. (P. EN8
Ɣ
If the appliance stops during
operation. (P. EN8
2
Attach the mill container to the motor housing.
3
Plug in. Hold the mill container, and then turn the rotary
VZLWFKWRSRVLWLRQWRVWDUW
2
1
2
1
How to Use
1
2
3
4
:KHQEOHQGLQJLVFRPSOHWHG
turn the rotary switch to
SRVLWLRQWRVZLWFKRII8QSOXJ
Turn the blender jug
anticlockwise to remove it,
open the lid and take out
the ingredients.
To assemble
Turn clockwise
Make sure the mill
gasket is not damaged
DQGSODFHGSURSHUO\
EHIRUHDVVHPEOH
3
1
2
4
1
2
1
2
1
2
3
1
2
3
4