1 FEATURE CHART 5
2 CONTROL PANEL
5
3 SCHEMATIC DIAGRAM
6
4 DESCRIPTION OF OPERATING SEQUENCE
7
4.1. Variable power cooking control
7
4.2. Inverter power supply circuit
7
4.3. Auto Menu cooking
7
4.4. Grill cooking control
7
4.5. Convection & Grill Convection cooking control
8
5 CAUTIONS TO BE OBSERVED WHEN TROUBLESHOOTING
9
5.1. Check the grounding
9
5.2. Inverter warnings
9
5.3. Part replacement.
10
5.4. When the 15A fuse is blown due to the malfunction of the
short switch:
10
5.5. Avoid inserting nails, wire etc. through any holes in the
unit during operation.
10
5.6. Verification after repair
10
5.7. Sharp edges
10
6 DISASSEMBLY AND PARTS REPLACEMENT PROCEDURE
11
6.1. Inverter power supply
11
6.2. Magnetron
12
6.3. Digital programmer circuit (D.P.C)
12
6.4. Low voltage transformer and/or power relays (RY1, RY2,
RY4, RY6)
14
6.5. Fan motor
14
6.6. Quartz heater
15
6.7. Door assembly
15
6.8. Stirrer motor
16
6.9. Convection fan motor and convection heater
16
7 COMPONENT TEST PROCEDURE
19
7.1. Primary, Secondary Latch Switch interlocks & Power
Relay RY1
19
7.2. Short Switch
19
7.3. Magnetron
19
7.4. Inverter power supply (U)
20
7.5. Temperature thermistor
20
8 MEASUREMENTS AND ADJUSTMENTS
21
8.1. Adjustment of primary latch switch, secondary latch switch
and short switch.
21
8.2. Measurement of microwave output
21
9 TROUBLESHOOTING GUIDE
22
9.1. (Troubleshooting) Oven stops operation during cooking
23
9.2. (Troubleshooting) Other problems
24
9.3. Troubleshooting of inverter circuit (U) and magnetron
25
9.4. Simple way of H.V. Inverter/magnetron troubleshooting
26
9.5. How to check the semiconductors using an OHM meter
26
9.6. H.V. INVERTER MAIN PARTS LIST (F606Y6Y40BP)
27
10 EXPLODED VIEW AND PARTS LIST
28
10.1. EXPLODED VIEW
28
10.2. PARTS LIST
29
10.3. ESCUTCHEON BASE ASSEMBLY
31
10.4. DOOR ASSEMBLY
32
10.5. WIRING MATERIALS
33
10.6. PACKING AND ACCESSORIES
34
11 DIGITAL PROGRAMMER CIRCUIT
35
11.1. SCHEMATIC DIAGRAM
35
CONTENTS
Page Page
4
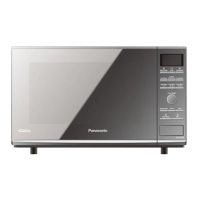
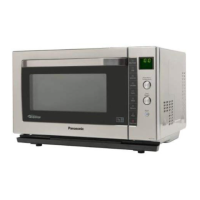
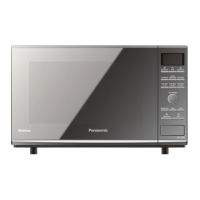
NN-CF771S

 Loading...