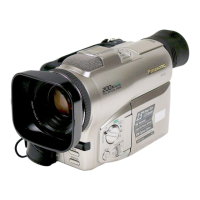
No. Item / Part Fig. Removal (Screw &
Other)
(5) VTR Main
C.B.A. &
Camera/
Power C.B.A.
Fig.4-1 2-Screws (O)
Disconnect the
following Connectors.
FP3501, FP6002,
FP6001, PS3002,
PS3001, FP3504.
(FP3002/PS3001/
FP3504 located on
Button Side of VTR
Main C.B.A.)
Fig.4-2 Remove the VTR Main
C.B.A.
1-Screw (P)
Disconnect the
following Connectors.
FP304, PS201, FP701,
FP303, P101
Remove the Camera/
Power C.B.A.
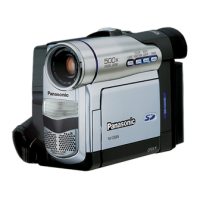
(6) Top Case Unit Fig.5 Slide the Top Case
Unit.
Unlock----4 locking
Tabs.
(7) Lens Unit Fig.6 4-Screws (Q/R)
Remove the Lens
Frame, Lens Unit.
(8) Top Frame &
Camera
Frame & Rear
Jack Unit
Fig.7-1 3-Screws (S/T)
Fig.7-2 1-Screw (U)
Remove the Top Frame
/Camera Frame.
Fig.8-1 3-Screws (V/W)
Fig.8-2 4-Screws (X/Y)
Fig.8-3 3-Screws (Z)
Fig.8-4 Remove the LCD Lock
Cover.
Remove the Rear Jack
Unit with EVF Unit.
Fig.8-5 Disconnect the FP1201.
Remove the EVF Flex.
From Remove the EVF
Flex. from
11