33
Preparations for Editing
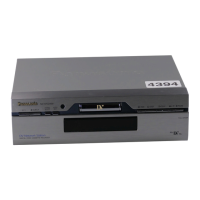
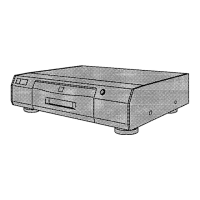
Playback Unit
[S-VHS (VHS) Video Equipment with an
Edit socket]
1 Turn on the Video Equipment.
2 Set the unit so that it is ready to be controlled.
≥ Read the operating instructions of the playback
unit and make the necessary settings.
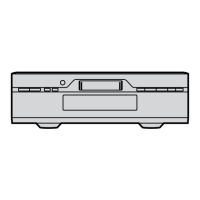
Recording VCR
(the NV-DV2000)
1 Turn on the VCR.
2 Set Edit Mode to RECORDER.
3 Set Edit Terminal to EDIT.
4 Press INPUT SELECT so that A2, A3 or A4 is
selected.
Hint:
When the “TBC” and “REC 3D DNR” functions activate,
you can record with the clear pictures. [R17,23,24]
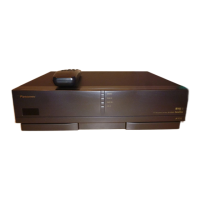
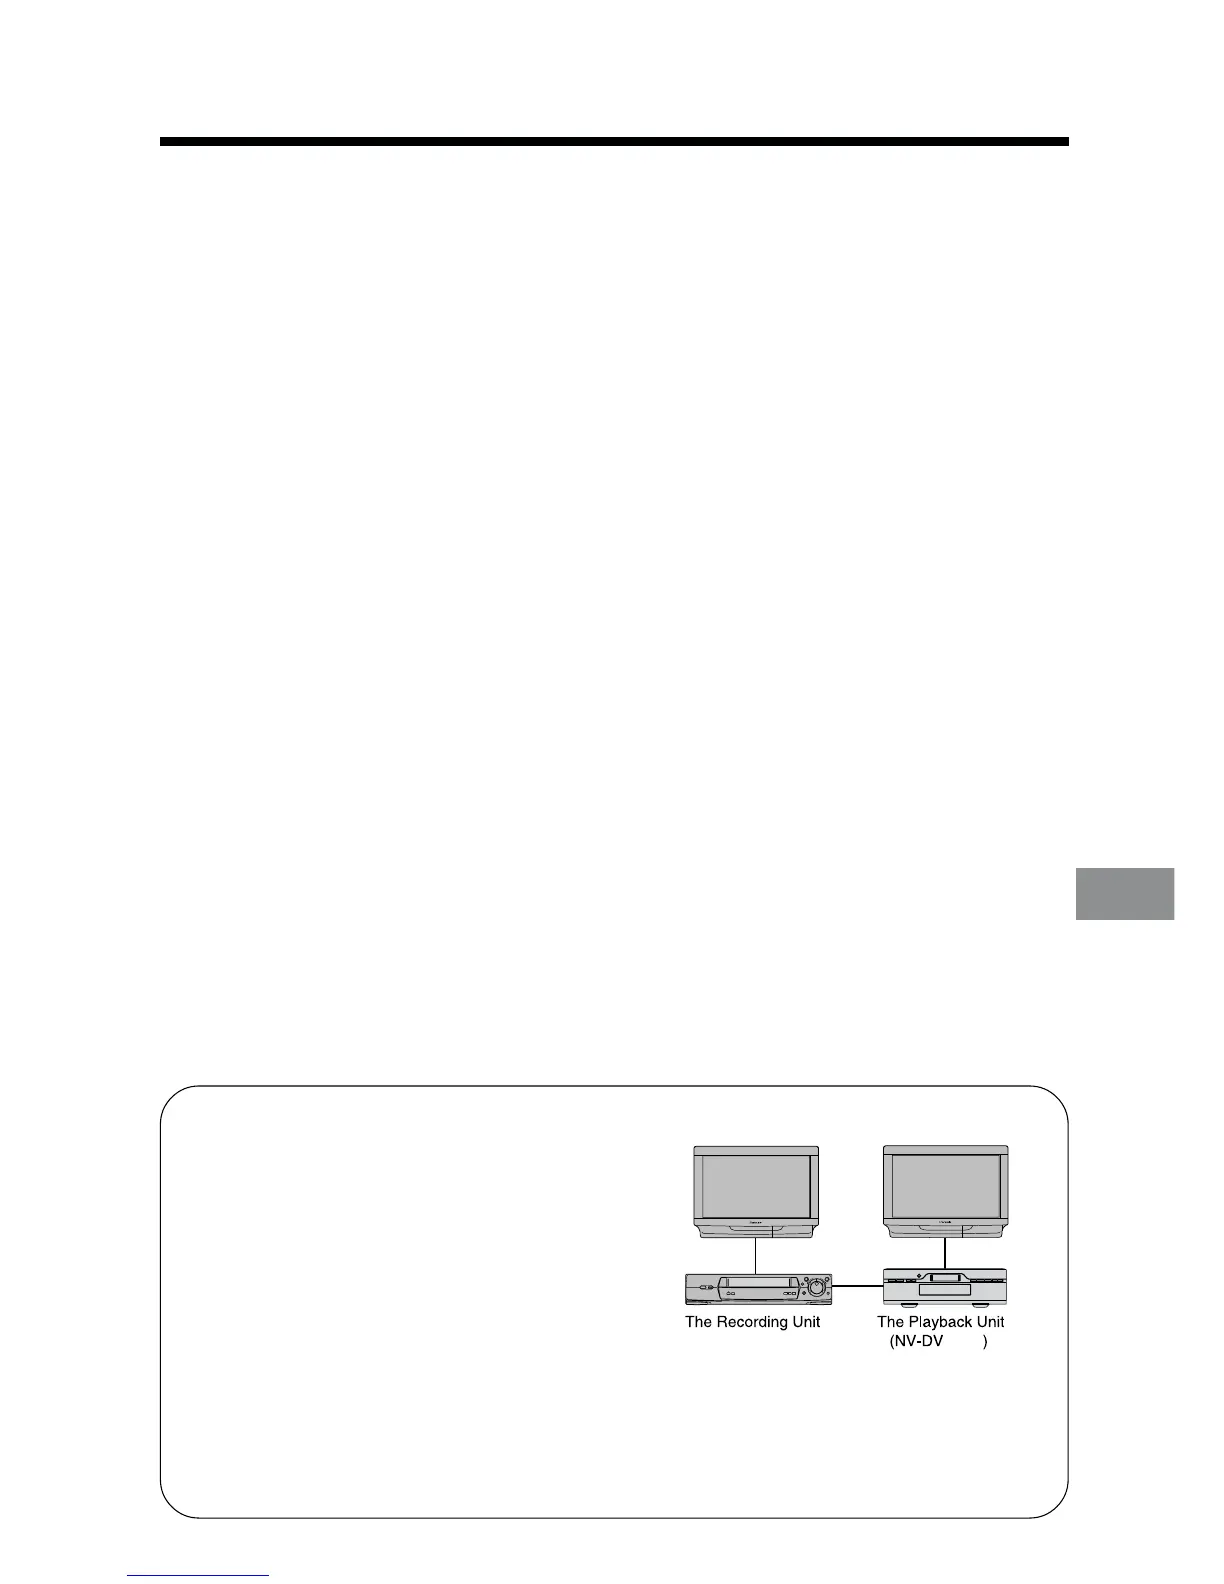
Connecting the NV-DV2000 as the
Playback VCR to an S-VHS (VHS) VCR
Follow the procedure described below.
≥ Use AV cables to connect the output sockets on
the NV-DV2000 with the input sockets on the
S-VHS (VHS) VCR.
≥ Press INPUT SELECT on the NV-DV2000 so that
A2, A3 or A4 is selected.
≥ Connect two TVs, one to the NV-DV2000 and one
to the S-VHS (VHS) VCR, so that the screens
from both VCRs can both be seen.
≥ Set Edit Mode on the NV-DV2000 to PLAYER.
≥ Make the necessary editing control settings for
the S-VHS (VHS) VCR. Read the operating
instructions of S-VHS (VHS) VCR.
2000
Note:
Audio Insert and AV Insert are not possible in this
configuration.