Do you have a question about the Panasonic Palmcorder MultiCam PV-DV203 and is the answer not in the manual?
General information, product details, and hazard warnings for safe operation.
Crucial safety instructions covering electrical, operational, and environmental hazards.
Detailed safety measures for servicing, handling, and environmental exposure.
Instructions for unboxing, identifying accessories, and connecting power.
Step-by-step guide for inserting and ejecting video cassettes.
Procedures for charging the battery pack and using the AC adapter.
Configuration process for setting the camcorder's date and time.
Guide to operating the camcorder using the optional remote control.
Steps for starting, pausing, and using the LCD for recording.
Using Digital PhotoShot and Progressive modes.
Operating the zoom lens and adjusting microphone sensitivity.
Applying CINEMA mode, Backlight correction, and Fade effects.
Using automatic exposure settings for various shooting scenarios.
Creating smooth scene transitions using fade effects.
Controlling color balance under different lighting conditions.
Utilizing auto and manual focus for sharp images.
Adjusting shutter speed for motion and iris for exposure.
How to play back recordings using the camcorder's LCD screen.
Using volume, blank search, and repeat playback functions.
Utilizing visual search, still picture, and rewind check.
Replacing or adding audio tracks to recordings.
Setting automatic stop points for editing and dubbing.
Transferring video to VHS/S-VHS or via digital connections.
Using Card PhotoShot and managing memory card content.
Recording images from tape and playing back card images.
Deleting specific images or formatting the memory card.
PC specifications and software setup for image transfer.
Connecting and operating the software for image transfer.
Connecting the camcorder to a PC using an i.LINK DV cable.
Utilizing the software for image transfer via i.LINK connection.
Connecting for USB driver installation and memory card access.
Transferring still images from the memory card to the PC.
Converting JPEG data and resizing images for PC use.
Requirements and initial steps for using the camcorder as a webcam.
Detailed steps for connecting the camcorder to the PC.
Details on memory card compatibility and clock battery replacement.
Brightness values and color temperature for different lighting.
Details on power, interface, video, audio, and lens parameters.
Information on dimensions, weight, and operating environment.
Instructions for video head cleaning and common issue resolution.
Explanations of various warning messages and indicators.
Guidelines and forms for requesting product repair services.
Details on warranty terms, parts, labor, and service procedures.
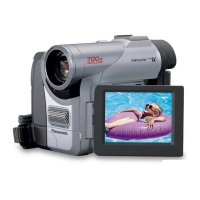
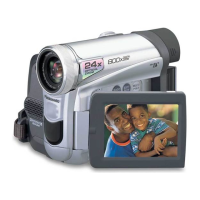
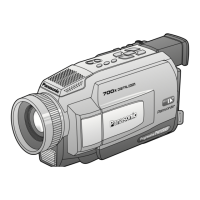
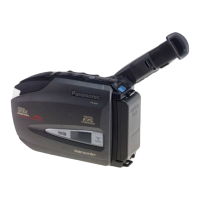
Locating and identifying controls on the camcorder's exterior.
Identifying controls on the AC adapter and remote control.
| Type | Camcorder |
|---|---|
| Recording Format | MiniDV |
| Optical Zoom | 10x |
| Digital Zoom | 700x |
| LCD Screen Size | 2.5 inches |
| Optical Sensor Type | CCD |
| Image Stabilizer | Electronic |
| Display Type | LCD |
| Microphone | Built-in |
| Image Sensor | CCD |
| Viewfinder | Color |
| Battery Type | Lithium-ion |
| Optical Sensor Size | 1/4 inch |
| Connector Type | IEEE 1394 (FireWire) |
| Effective Pixels | 680, 000 |
| Video Recording Format | DV |
| Audio Recording Format | PCM |
| Interface | IEEE 1394 (FireWire) |