49
With a PC
• When the Camcorder and personal computer
(with Windows 2000) are connected via USB
Cable, a message, such as the one below, is
displayed. However, testing by the manufacturer
has confirmed functionality of this Camcorder
with Windows 2000. Click [Yes] and proceed.
3 Connect the Camcorder to your personal
computer with USB Cable.
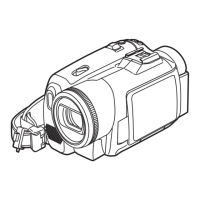
2 For PV-GS35 :
Tape Recording Mode :
Set [ ADVANCE] >> [ USB FUNCTION]
>> [WEB CAM].
Tape Playback Mode :
Set [ BASIC] >> [ USB FUNCTION] >>
[WEB CAM].
35
30
1 Set the Camcorder to Tape Recording Mode
or Tape Playback Mode.
• To send the live camera picture to a PC, set the
Camcorder to Tape Recording mode.
• To send pictures recorded on a tape to a PC,
set the Camcorder to Tape Playback mode.
Connecting the Camcorder to Personal
Computer (For Using as a Web Camera)
2 Click [Camcorder] on the screen.
3 Click [Video Stream Driver version 1.00].
4 Decompress the downloaded data.
5 Double click icon.
• The set up program starts running.
6 Finish installation by following the
on-screen instructions.
• Click [Next] and proceed with installation.
• After completing the installation, click [Finish].
7 After the Video Stream Driver is installed,
please restart your computer.
• For Windows XP users, the USB equipment
operates with the driver installed as standard in OS.
• If you have direct dial-up connection capability to the
Internet, please download the Video Stream Driver.
1 In order to download and install the Video
Stream Driver, go to
http://www.panasonic.com/consumerdownloads
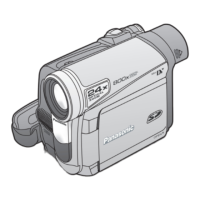
For PV-GS19/PV-GS31
• For Windows 98SE/Me users, “USB Audio
Device” is required. Click [Next] and proceed.
• If you use Windows 98SE, the OS installation
CD may be required.
 Loading...
