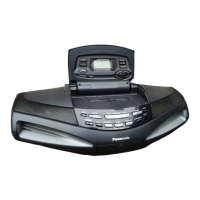
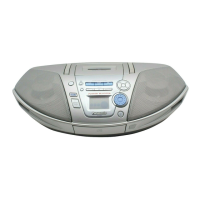
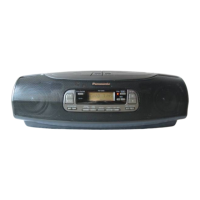
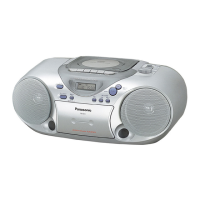
Recording
CD
Oc
77=
23
451
.0
-0°
Recording
tracks
from
several CDs onto
a
single tape
If there Is still room
on the tape after one CD has been recorded,
the
unit will be
set to the
reconting
standby mode.
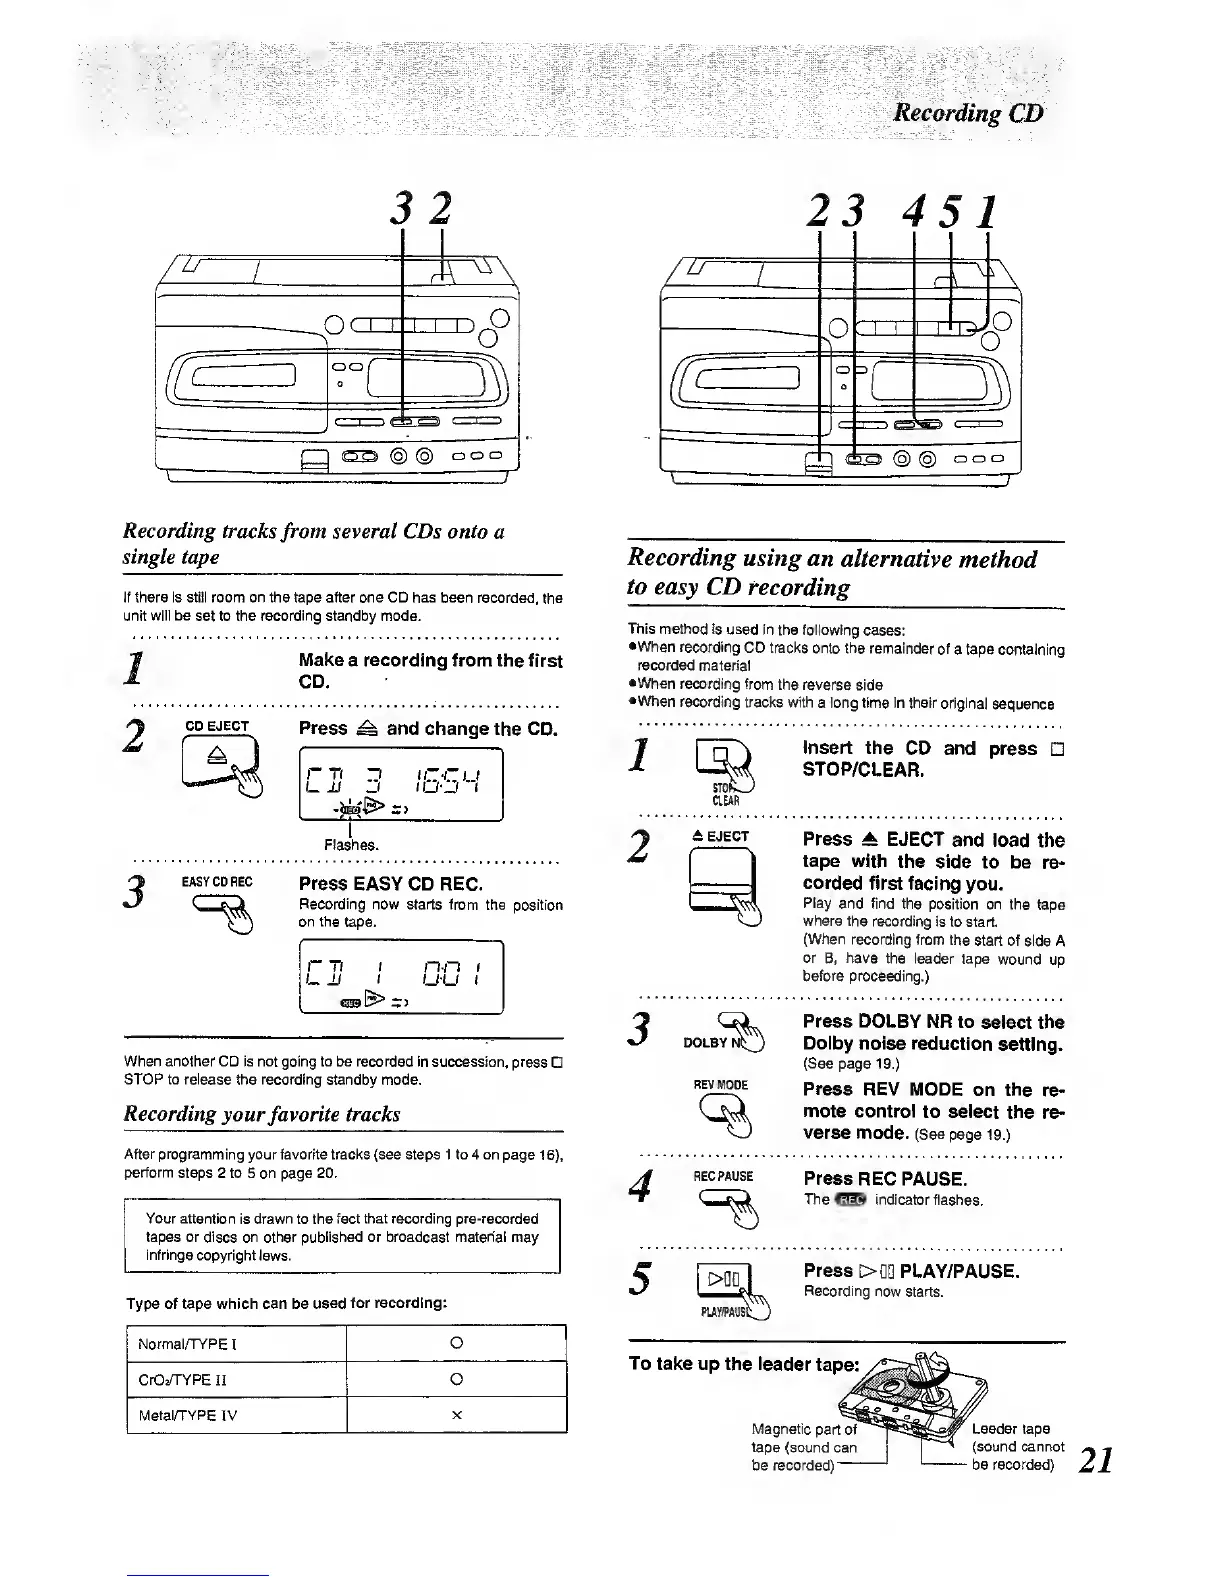
1
2
Make
a
recording
from the first
CD.
CD EJECT
Press
^ and change
the CD.
Flashes.
3
EASY CD REG
Press
EASY CD REC.
Recording
now starts from
the position
on the
tape.
ri)
I
n-n
t
When another CD is not going to be recorded in
succession, press
STOP to release the recording
standby mode.
Recording
yourfavorite tracks
After programming
your favorite traci<s (see steps 1 to 4 on
page
16),
perfonn
steps 2 to 5 on page 20.
Your attention
is
drawn
to the
tact that recording pre-recorded
tapes or discs on other published or broadcast material may
infringe
copyright laws.
Type of tape which can be
used for recording:
Normal/TYPE
I
O
CrO/TYPE
II 0
Metain"YPE
IV
Recording
using an
alternative
method
to
easy CD
recording
This method
is used in
the following
cases:
•When
recording
CD tracks onto the
remainder of
a tape
containing
reconjed
material
•When
recording
from the reverse
side
•When recording tracks with
a long
time In their
original
sequence
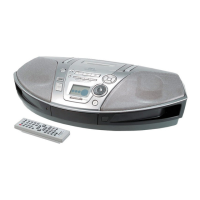
Insert the
CD and
press
STOP/CLEAR.
2
DOLBY
REV
MODE
Press
A EJECT
and load
the
tape
with the side
to be
re-
corded
first facing
you.
Play
and find the
position on the
tape
where the recording
is to
start.
(When
recording from
the
start of side
A
or
B, have the leader
tape
wound up
before
proceeding.)
Press DOLBY
NR to
select the
Dolby noise
reduction
setting.
(See
page
19.)
Press
REV MODE
on the
re-
mote control
to select
the re-
verse
mode. (See
page
19.)
4
REC PAUSE
Press
REC PAUSE.
The
indicator flashes.
Press
>m
PLAY/PAUSE.
5
1
>QD 1
Recording
now starts.
To
take up the leader
tape:
Magnetic part
of
tape
(sound can
tie recorded)
Leader tape
(sound cannot
be recorded)