NOTE:
1. Follow the reverse procedure to replace the CD Traverse Unit and
CD Tray.
2. Make sure that the 2 gear is in position shown above and the hole
on the right gear is align with the hole below it when replacing the
CD Traverse Unit and CD Tray.
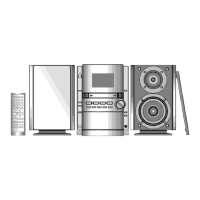
NOTE: When replacing the CD Tray, make sure the Dented line is at the position as shown.
8.3. Main Component Replacement Procedure
- Follow the (Step 1) - (Step 4) of Item 8.1.1.
- Follow the (Step 1) - (Step 5) of Item 8.1.2.
- Follow the (Step 1) - (Step 9) of Item 8.1.3.
- Follow the (Step 1) - (Step 3) of Item 8.1.4.
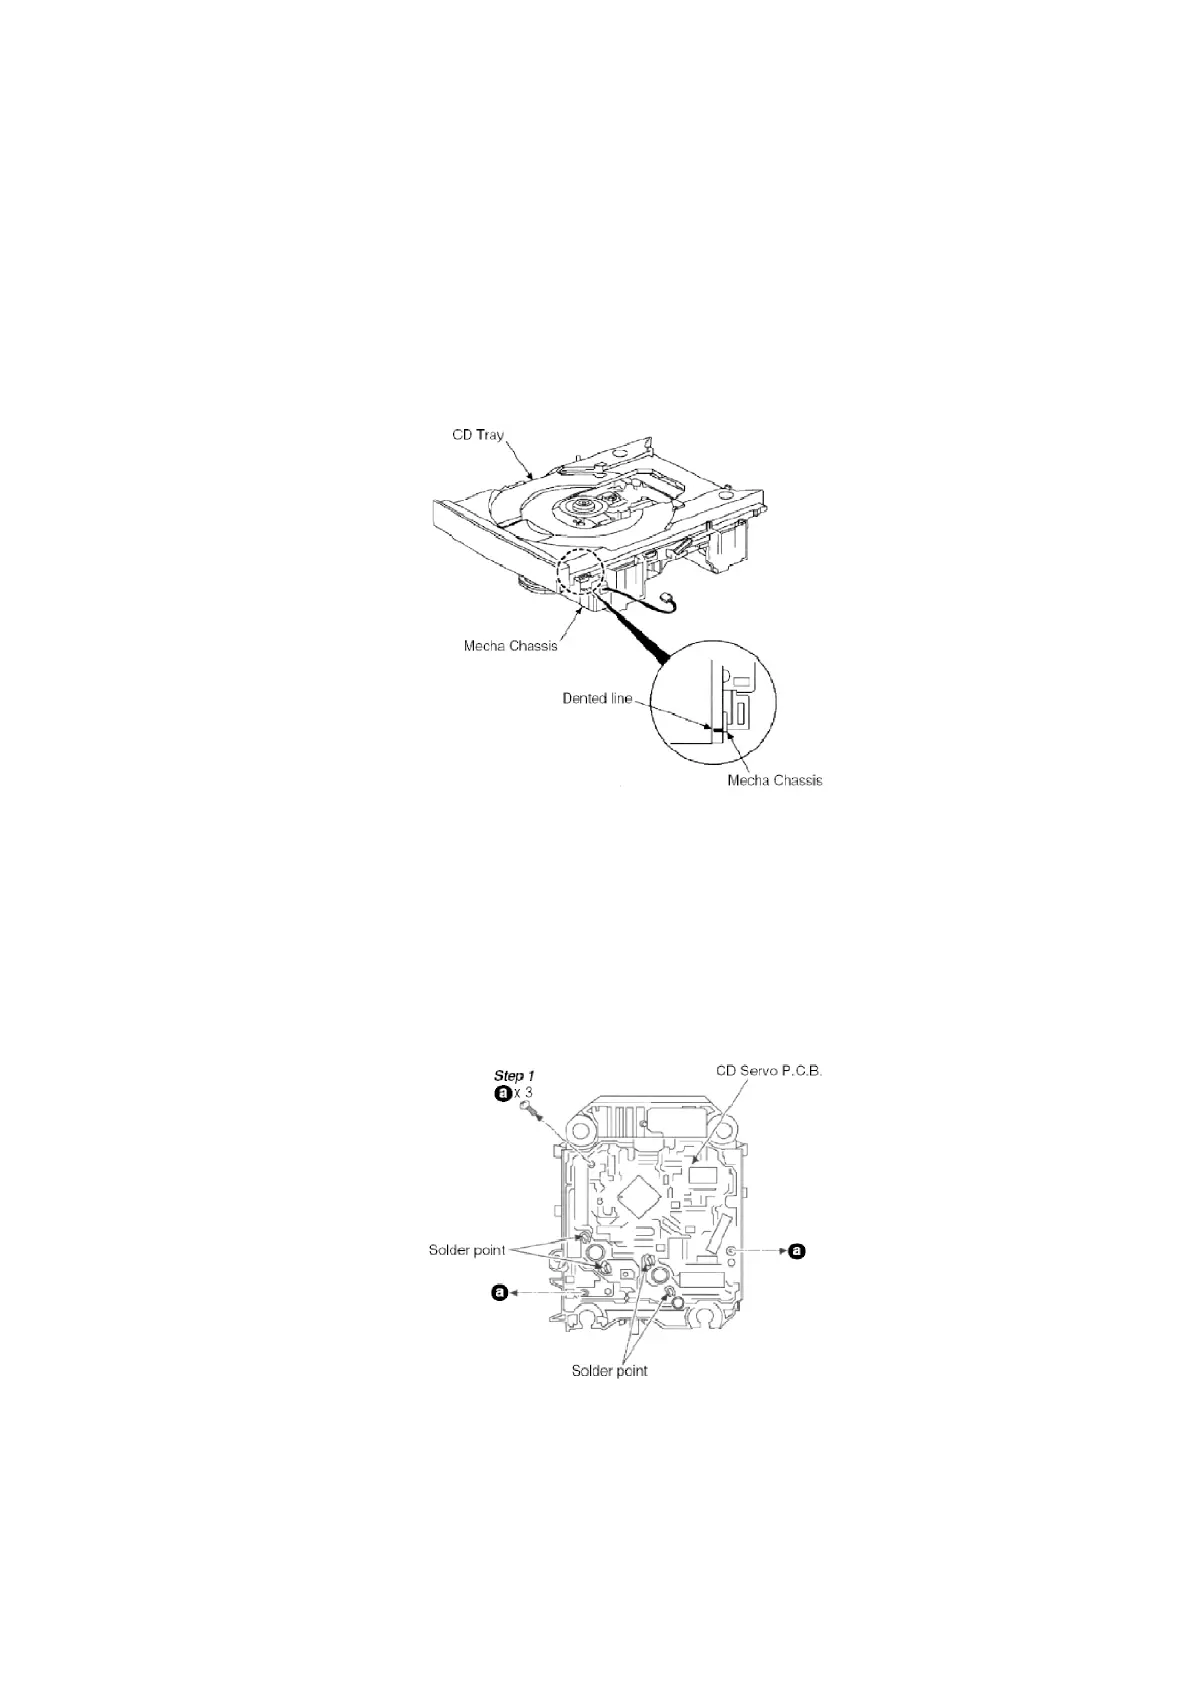
8.3.1. Replacement of the CD Servo P.C.B. and Optical Pick-up Unit.
Step 2 Desolder the 4 legs of 2 motors and flip over the CD Servo P.C.B.
Step 3 Remove the flexible cable at CN701.
- Removal of the flexible cable / Push the top of the connector in the
22