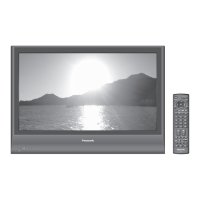
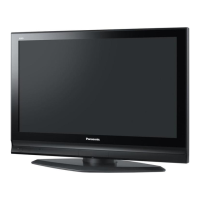
6.1. Remove the rear cover
1. See Service Hint (Section 5)
6.2. Remove the rear terminal
cover
1. Remove the screws (×8 ,×5 ,×1 ,×2 ).
2. Remove the rear terminal cover.
6.3. Remove the P-Board
Caution:
To remove P.C.B. wait 1 minute after power was off for
discharge from electrolysis capacitors.
1. Unlock the cable clampers to free the cable.
2. Disconnect the connectors (P2, P6, P7, P9, P11, P12 and
P25).
3. Remove the screws (×10
) and remove the P-Board.
6.4. Remove the Tuner unit
1. Unlock the cable clampers to free the cable.
2. Disconnect the connectors (DG1, DG5, DG6, DG7, and
DG12).
3. Remove the screws (×4
) and remove the tuner unit.
6.5. Remove the DG-Board
1. Remove the tuner unit. (See section 6.4.)
2. Remove the screws (×1
) and remove the SD card
bracket.
3. Remove the screw (×1
) and remove the tuner fixing
metal.
4. Remove the screws (×8
) and remove the DG-Board.
6 Plasma panel replacement method
10
TH-37PV7F / TH-37PV7P / TH-37PX7B / TH-37PX7E / TH-42PV7F / TH-42PV7P / TH-42PX7B / TH-42PX7E
 Loading...

