8
0
1
2
345
6
1/2 1/2 1/2 1/2 1/2 1/2
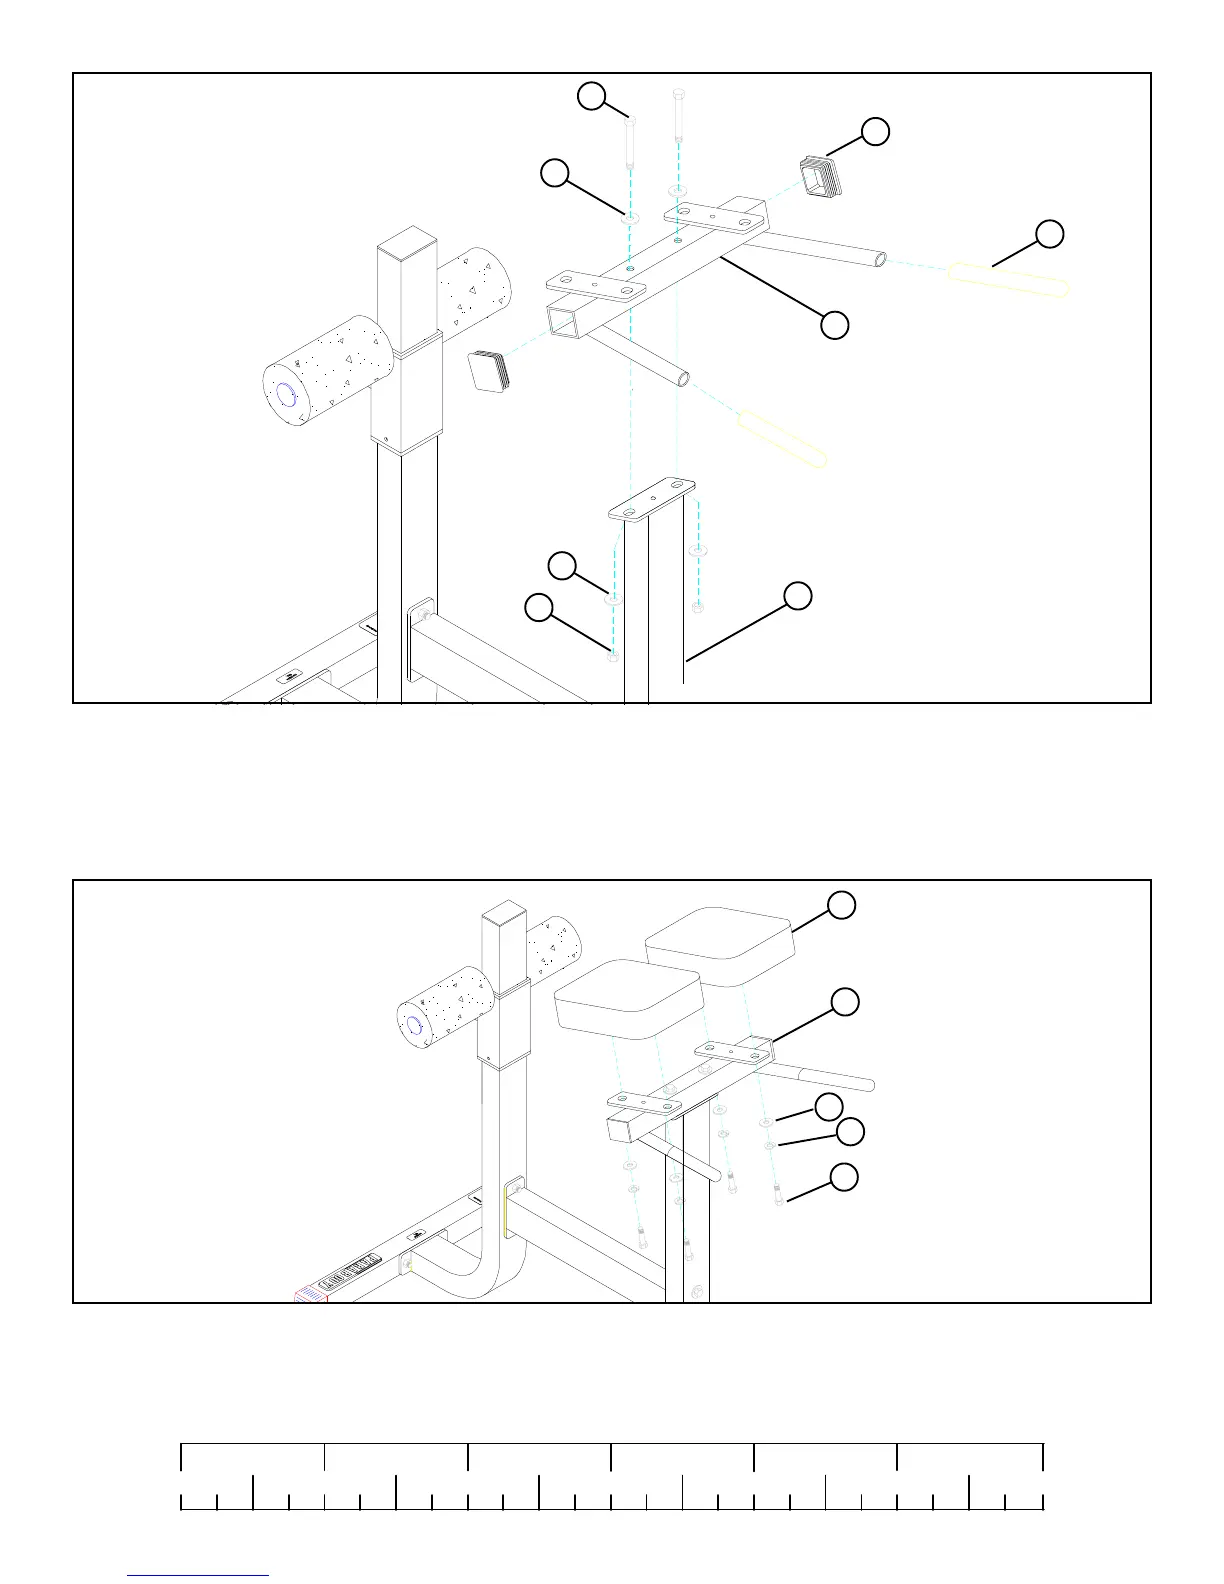
FIGURE 5
STEP 5:
• SECURELY assemble the HIP PAD SUPPORT (3) to the FRONT UPRIGHT (5) using two 3/8” X 3” BOLTS (10),
four 3/8” WASHERS (14), and two 3/8” LOCK NUTS (12). See FIGURE 5.
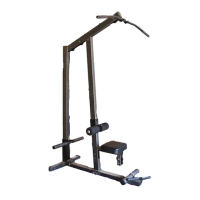
THIS CONCLUDES THE ASSEMBLY OF THE 821 HYPEREXTENSION ROMAN CHAIR
• Insert two 2” SQ. END CAPS (23) into the ends of the HIP PAD SUPPORT (3) as shown in FIGURE 5.
• SECURELY assemble the PADS (7) to the HIP PAD SUPPORT (3) using two 3/8” X 1” BOLTS (9), four 3/8”
WASHERS (14), four 3/8” LOCK WASHERS (13). See FIGURE 6.
FIGURE 6
STEP 6:
3/8 X 3” 10
12
14
5
20
3
23
14
• Slide two 1 X 8” GRIPS (20) onto the HIP PAD SUPPORT (3). (Using water will help slide them on.)
9 3/8 X 1”
14
3
13
7