Do you have a question about the Parasound NewClassic Model 2125 and is the answer not in the manual?
Read all safety and operating instructions before use and retain them for future reference.
Follow all warnings, use product safely, avoid water, ensure ventilation, proper power, etc.
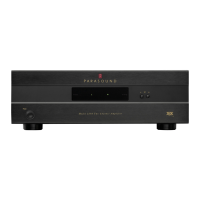
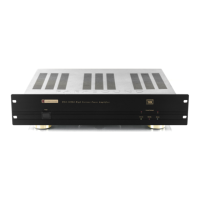
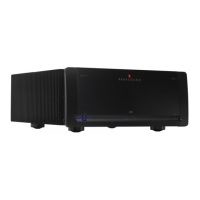
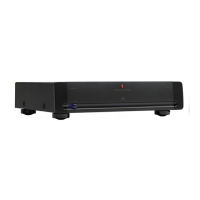
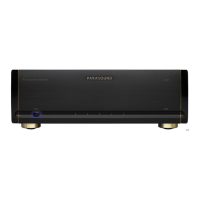
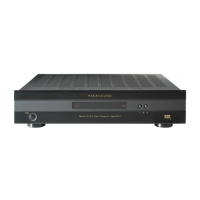
Congratulations on the purchase of the Parasound Model 2125 audio component.
Carefully unpack the unit and accessories, and record ownership details for reference.
Ensure the AC voltage selector is correctly set to match your region's mains voltage.
Proper placement and ventilation are crucial to prevent overheating and ensure reliable operation.
Details on using the RMK22 rack mounting kit for secure and isolated installation.
Always disconnect power before making any wire connections to prevent damage.
Connect audio sources to L/R inputs; loop jacks facilitate daisy-chaining other amplifiers.
Adjust listening level per channel by turning the L and R Level knobs clockwise to increase gain.
Use the High Pass filter (Flat, 20Hz, 40Hz) to optimize bass response and protect speakers.
Connect speaker pairs A and B using various wire termination types to the respective terminals.
Ensure correct speaker polarity and set the Bridging switch for Stereo or Mono operation.
Steps for setting up bridged mono operation using the R channel input and specific speaker terminals.
Select 2-3 Ohms or 4-8 Ohms based on speaker load to prevent overheating.
Scenarios requiring the 2-3 Ohms setting for the Load Impedance switch to prevent overheating.
Configure auto turn-on via 12V trigger or audio signal sensing for convenience.
Connect a 2.5mm trigger wire for 12V auto turn-on from a compatible source component.
Details on Manual, 12V, and Audio positions for the Auto Turn On switch.
Adjust sensitivity for audio-triggered turn-on to avoid false triggering from noise.
Use the 'Lift' position to resolve background hum caused by ground loops.
Use Power button to turn on/off; Speaker A/B buttons select speaker pairs.
Monitor unit status via Protect, Hi-Temp, and L/R channel indicators for fault detection.
Clean exterior with a soft, damp cloth; no internal user-serviceable parts.
Steps to diagnose and fix common problems when no audio output is heard.
Solutions for background hum and overheating, including ground lift and ventilation improvements.
Contact your dealer first, then Parasound's Technical Service Department for assistance.
Instructions for returning a unit for service and conditions for warranty repair eligibility.
Detailed technical specifications for power output, frequency response, THD, S/N, and crosstalk.
Covers input sensitivity, auto turn-on, power requirements, dimensions, weight, and rack mount accessory.
A blank section for users to record their own connection and setup notes.
| Power Output (8 Ohms) | 125 Watts per channel |
|---|---|
| Power Output (4 Ohms) | 200 Watts per channel |
| Power Output (Bridged) | 400 Watts |
| Total Harmonic Distortion (THD) | < 0.1% |
| Signal-to-Noise Ratio | > 110 dB |
| Input Sensitivity | 1.2 Volts |